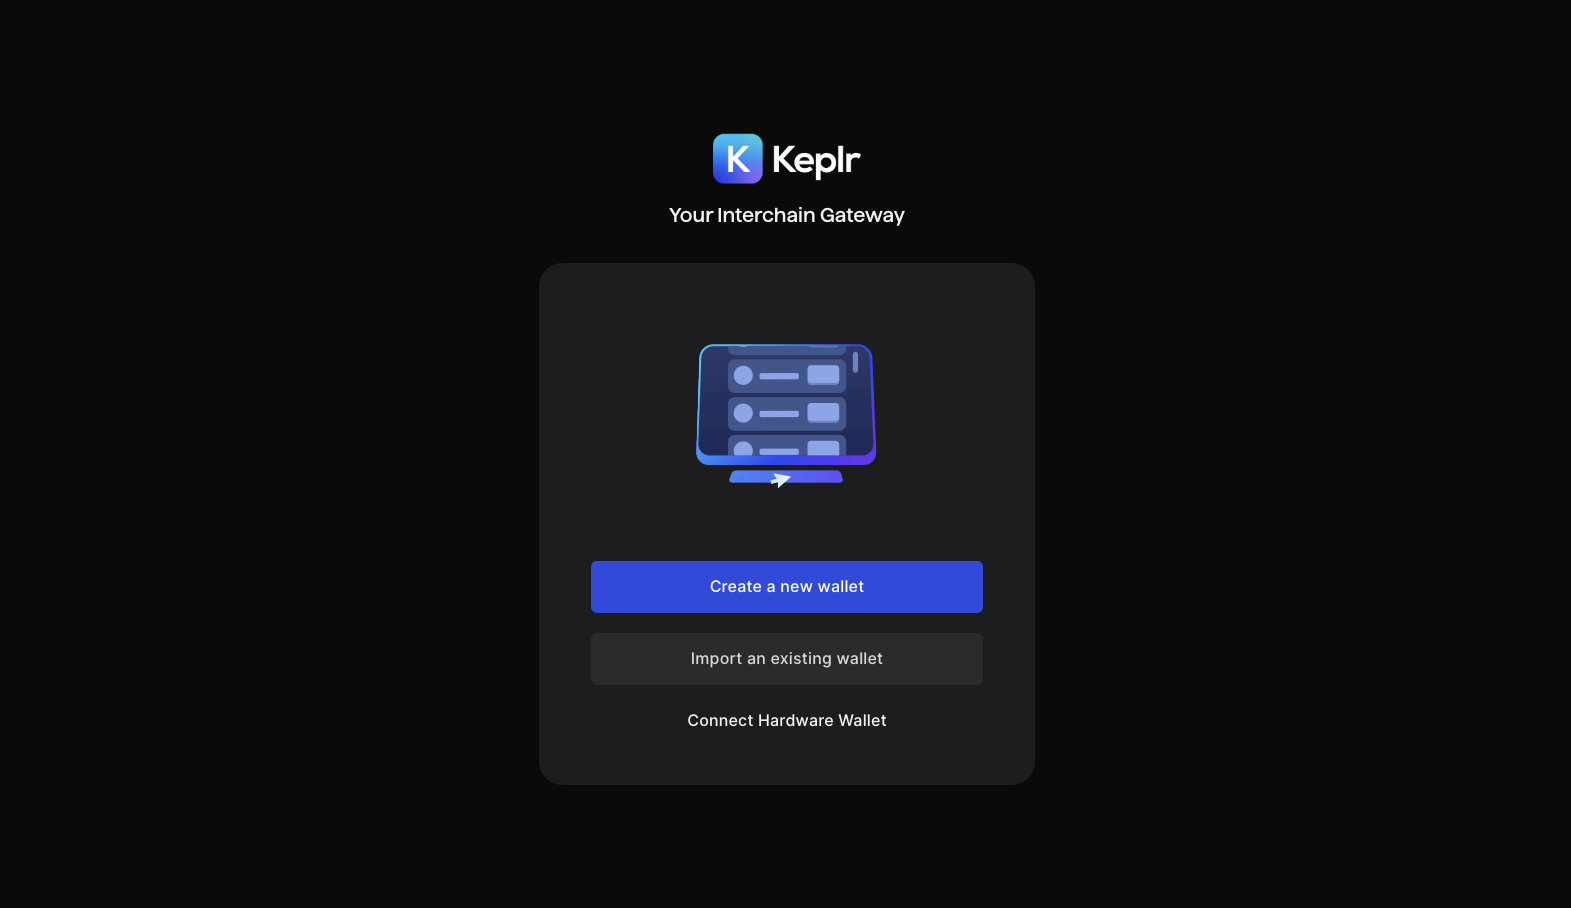
Create a new Gonka account
To start using Gonka Network, you first need to create a Gonka Account. There are several ways to do this:
- Via external wallet (Keplr)
- Via
inferencedCLI tool
Important note on wallet-bridge compatibility. Please read carefully if you intend to sell Gonka coins via the Ethereum bridge in the future
An Ethereum bridge is a system that lets you securely move assets or data between Ethereum and another blockchain, locking coins on one chain and minting or releasing equivalent coins on the other. Essentially, it’s the mechanism you need if you want to sell, trade, or use coins from another chain within the Ethereum ecosystem. At the moment, there is no bridge to Ethereum on Gonka. Any future deployment of such a bridge would require on-chain governance approval. If an Ethereum bridge is approved by on-chain governance, only accounts with a raw private key are expected to be eligible.
Eligible (you can export/use a raw private key):
- Accounts created via
inferencedCLI tool - Accounts created via the “Connect with Google” flow in Keplr
Not eligible (no private key export):
- Keplr wallets created from a recovery phrase. Keplr does not export the private key, so avoid creating mnemonic-based wallets there if future bridge compatibility matters.
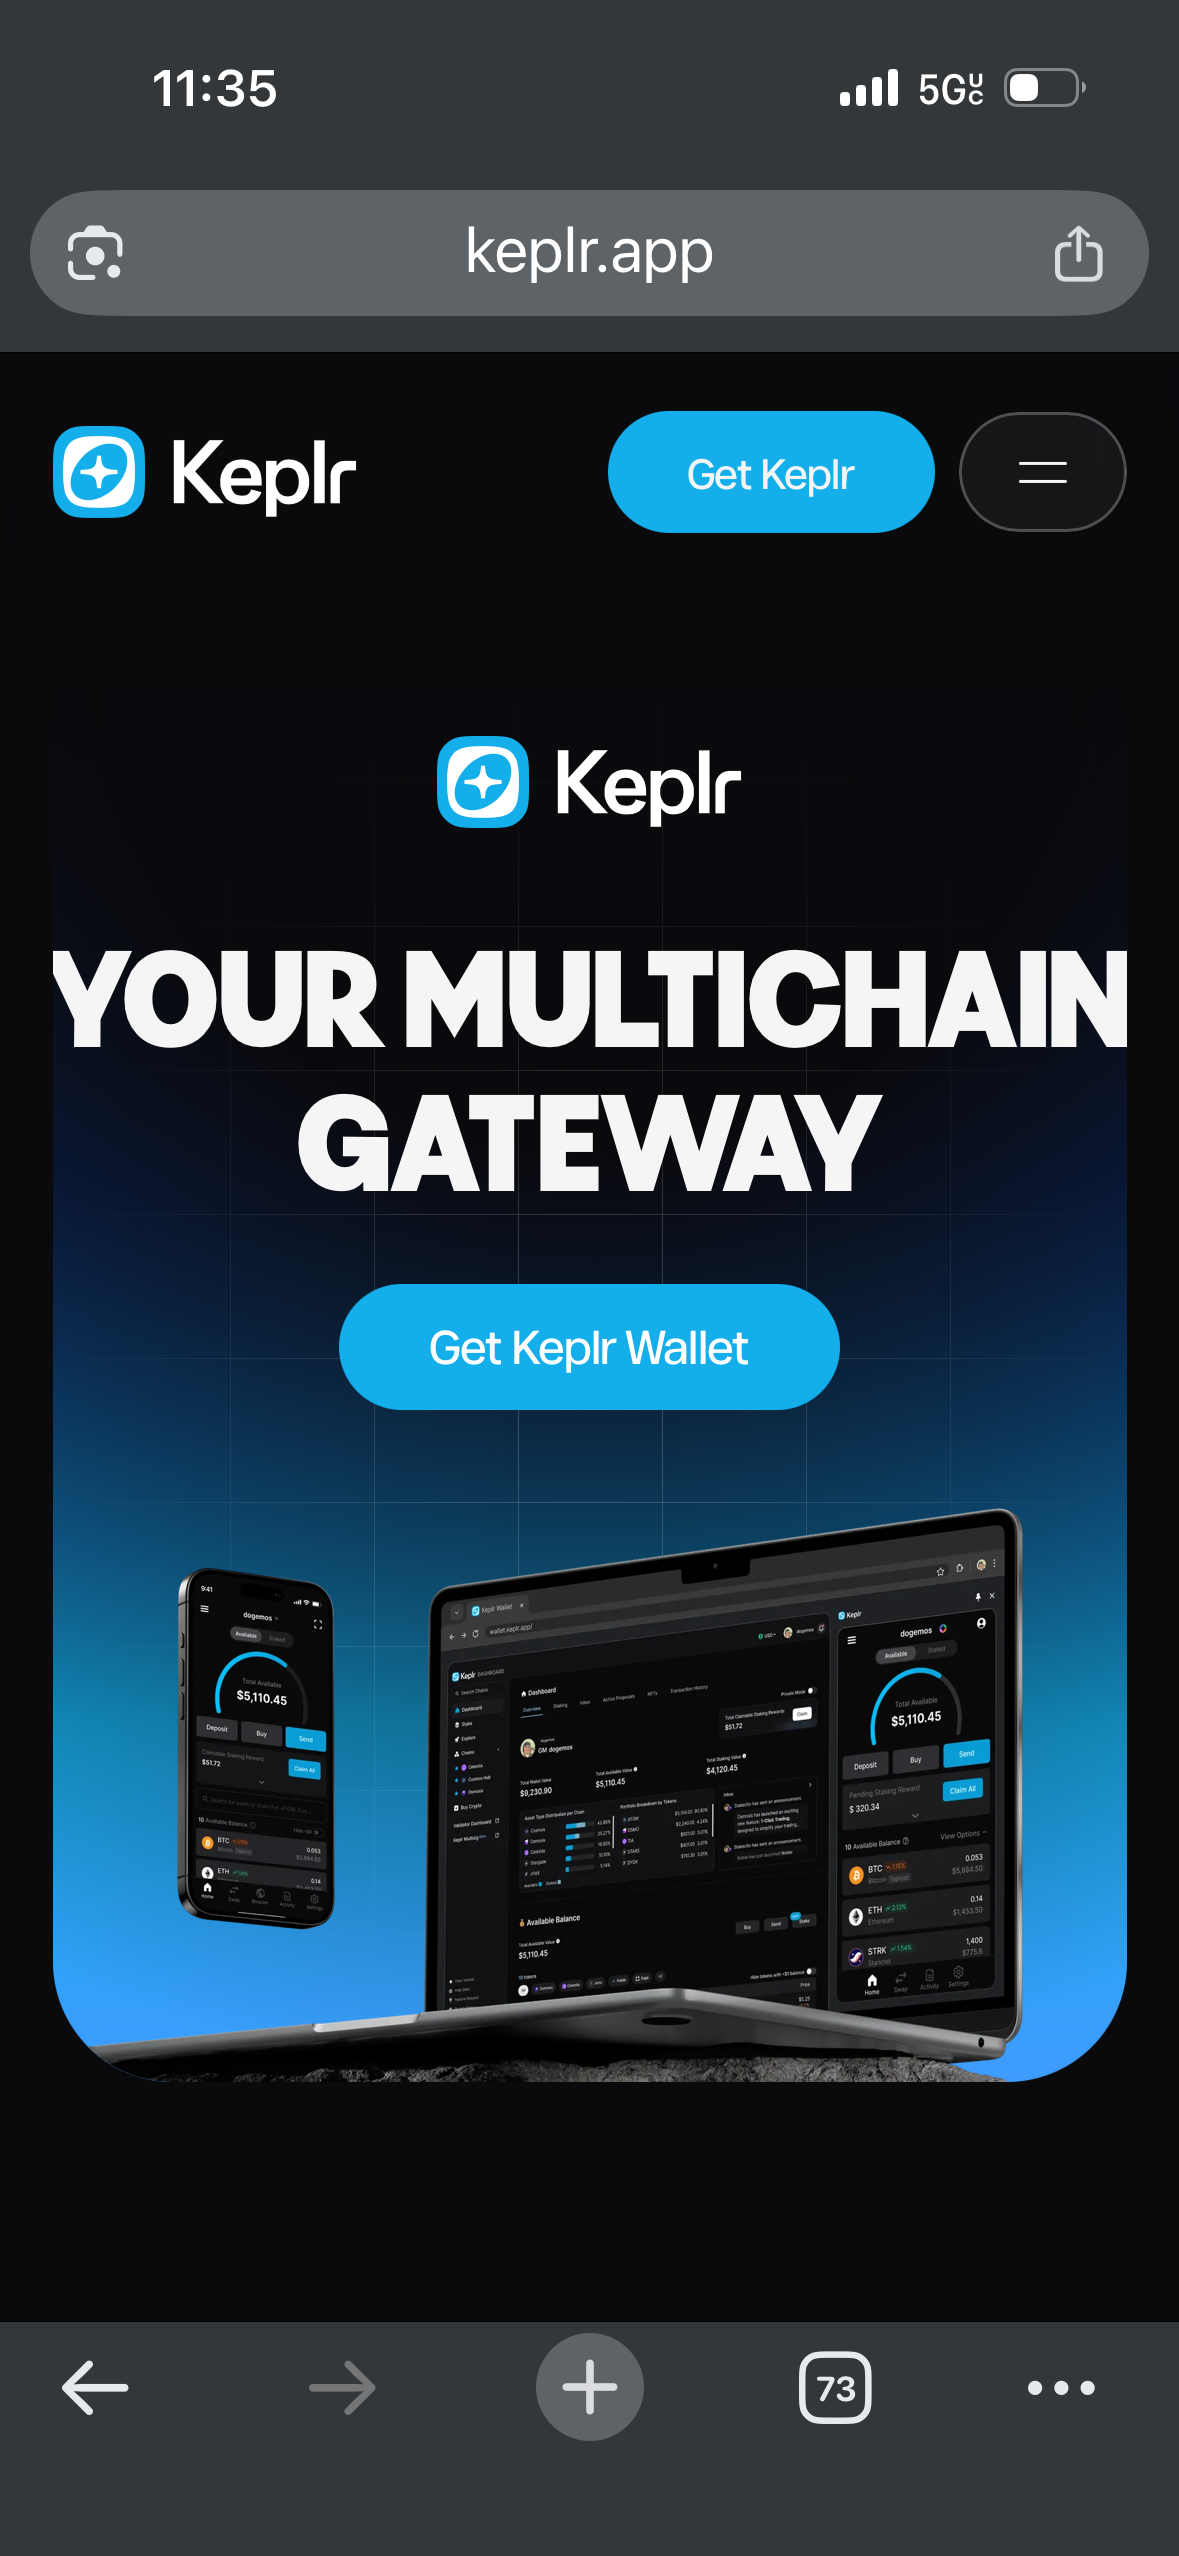
Go to the official Keplr website and click "Get Keplr wallet".
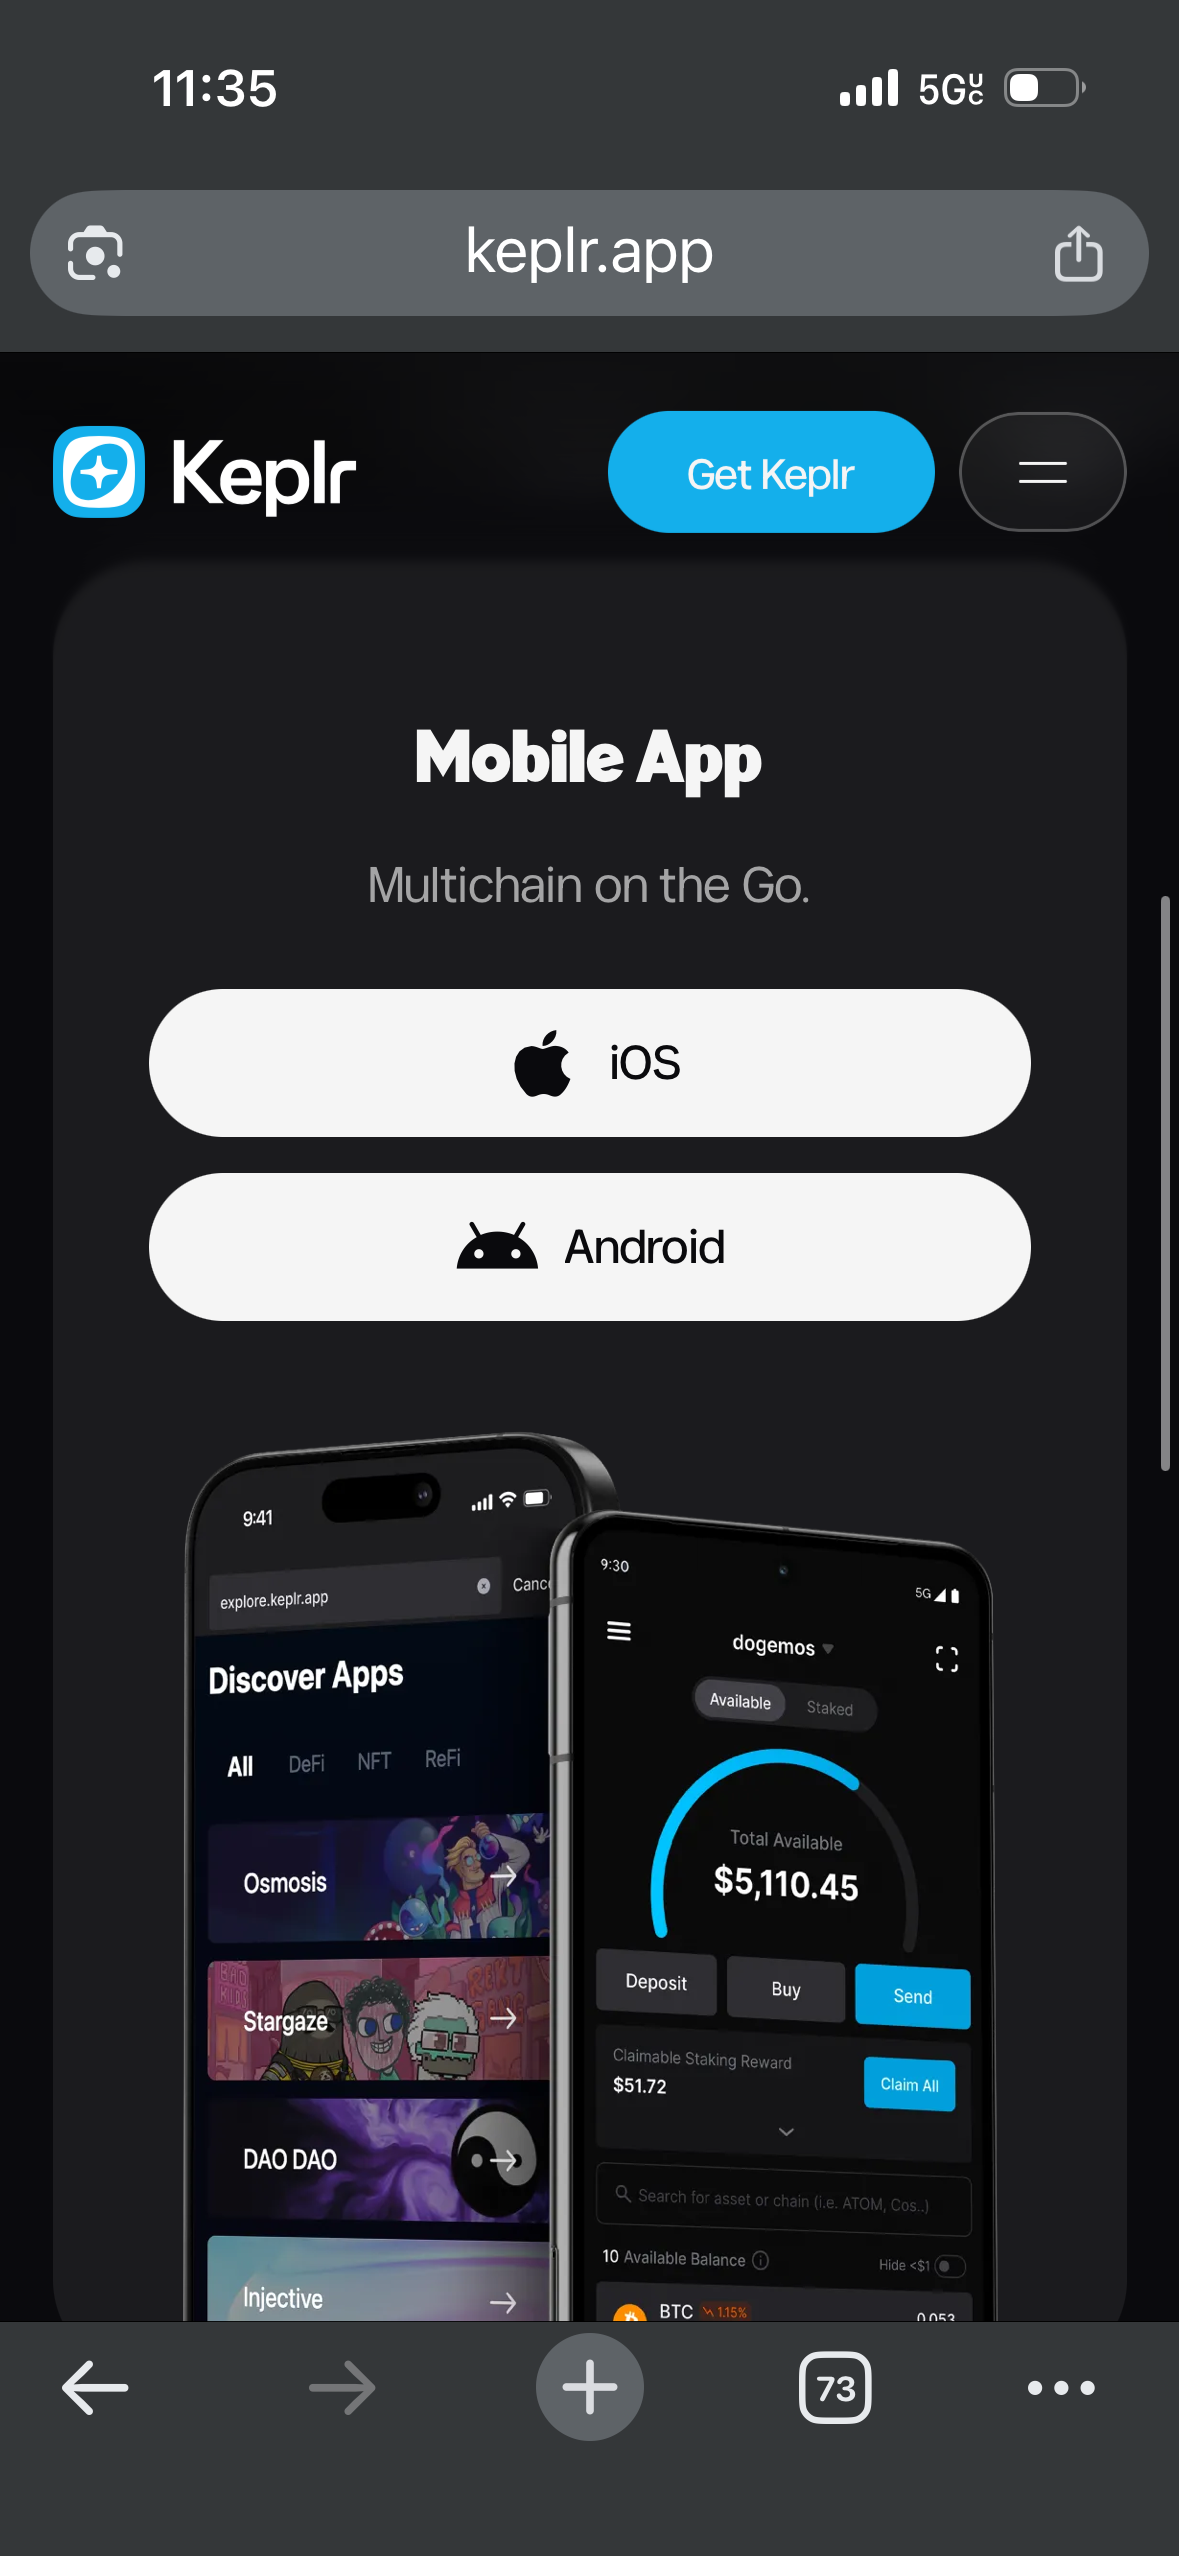
Scroll down to the Mobile App section and choose your operating system. Download the app.
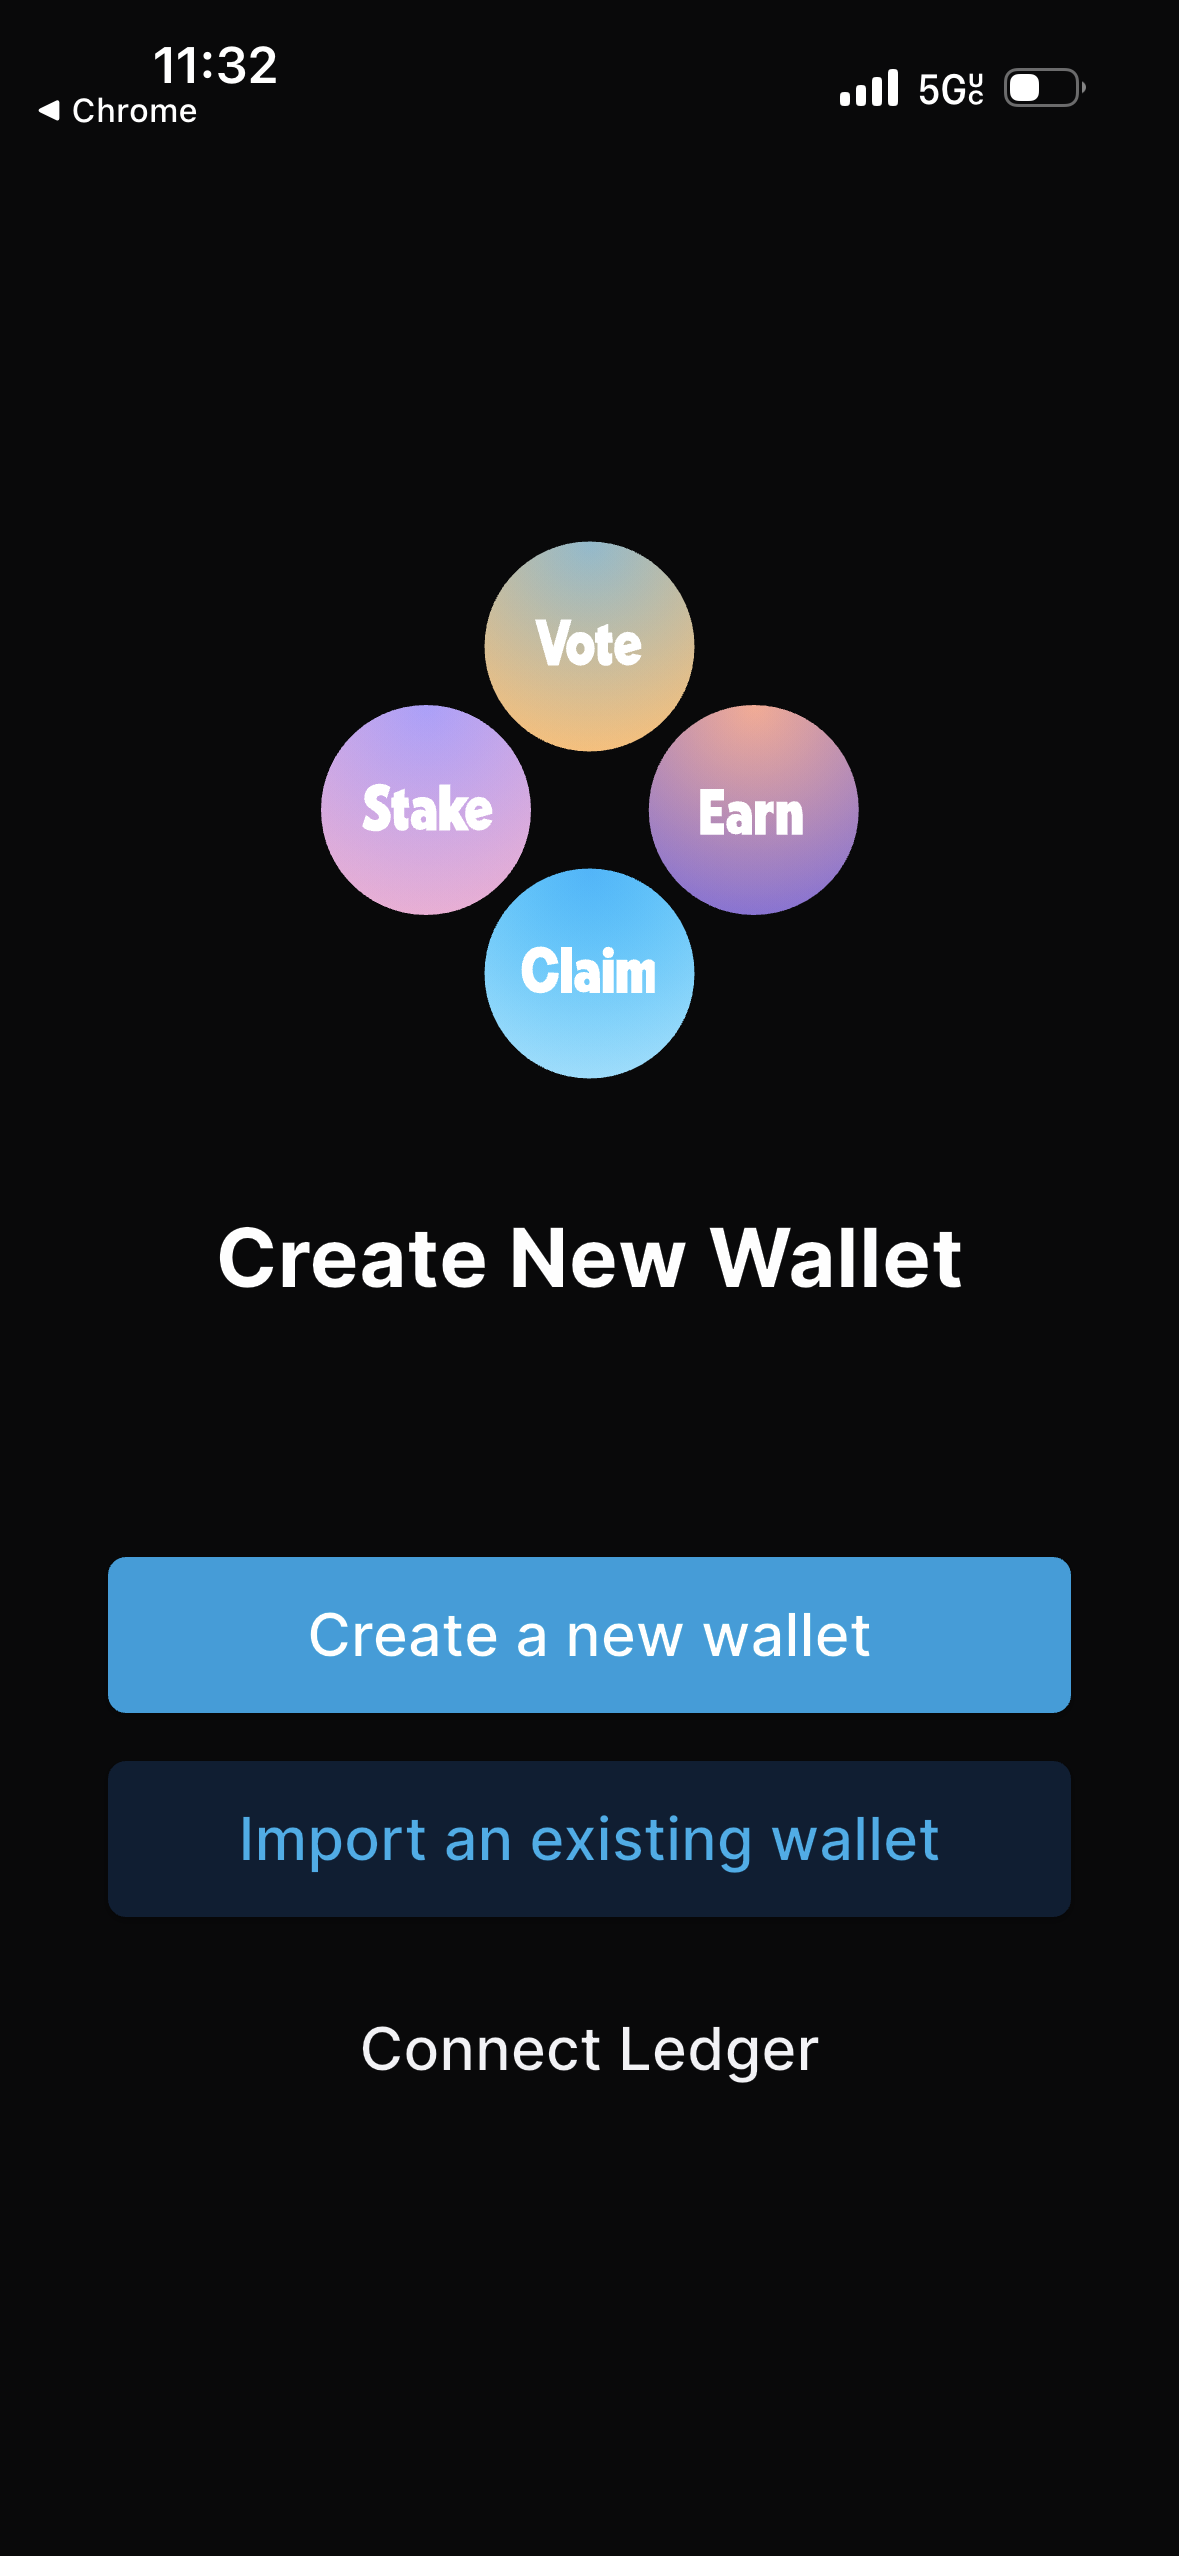
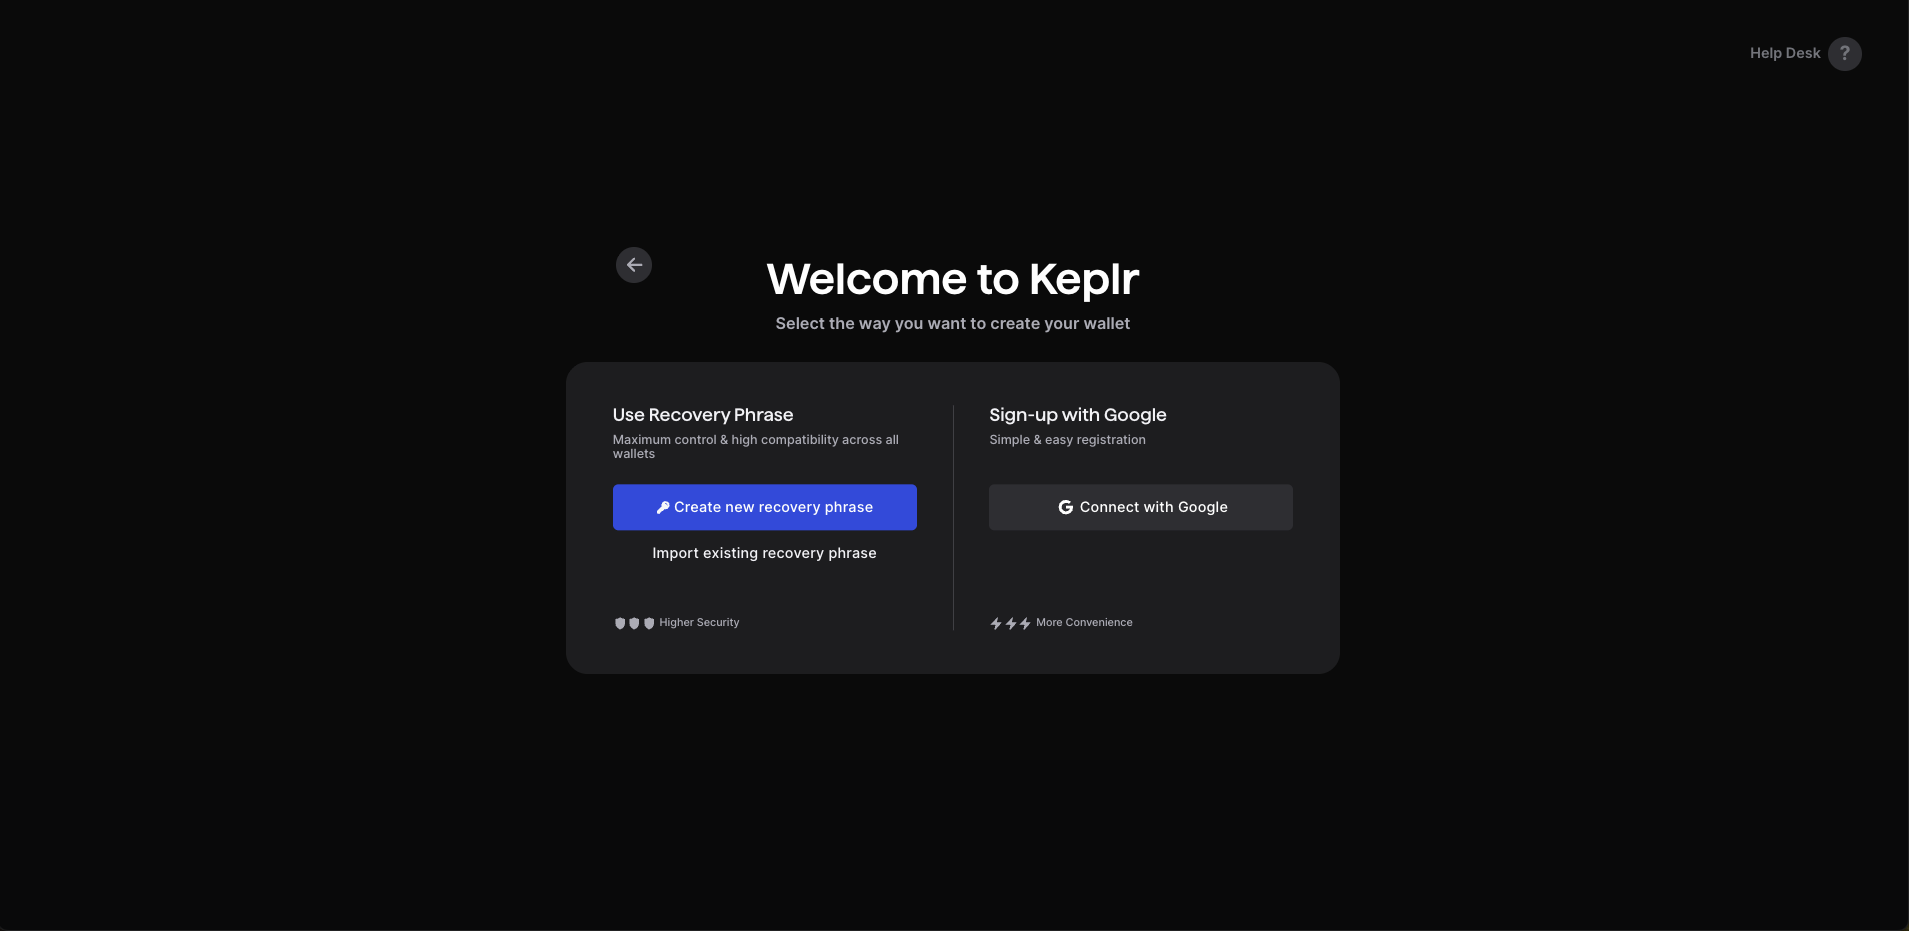
Open the app. Click “Create a new wallet”.
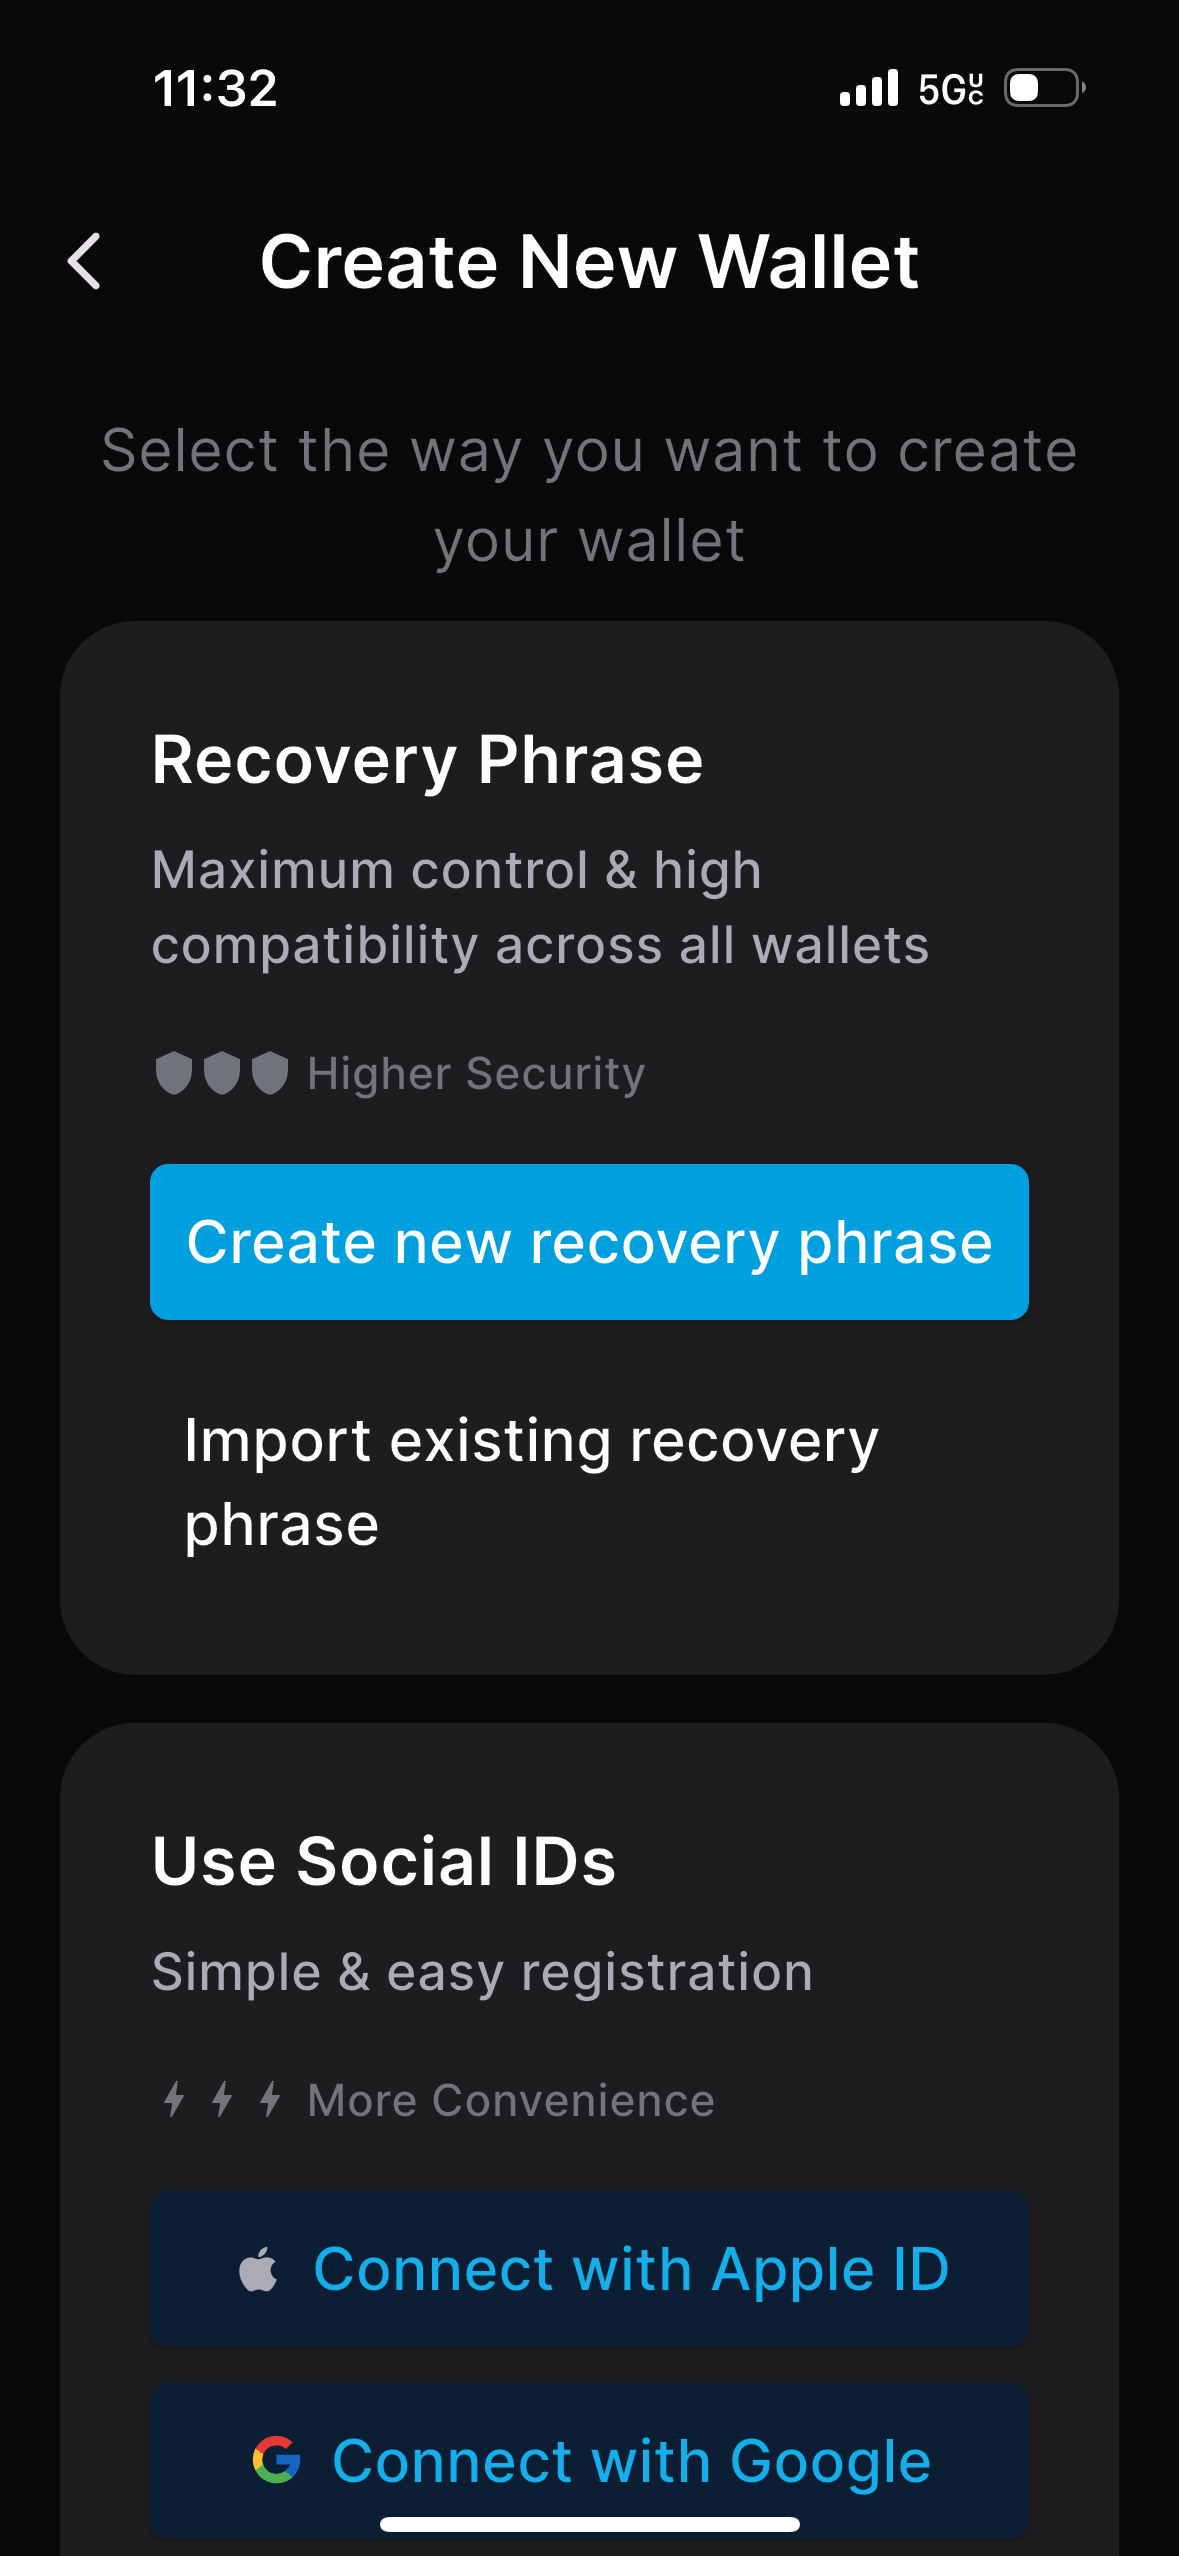
Click "Connect with Google". Follow the instructions to sign in via Gmail.
Important note on wallet-bridge compatibility. Please read carefully if you intend to sell Gonka coins via the Ethereum bridge in the future
An Ethereum bridge is a system that lets you securely move assets or data between Ethereum and another blockchain, locking coins on one chain and minting or releasing equivalent coins on the other. Essentially, it’s the mechanism you need if you want to sell, trade, or use coins from another chain within the Ethereum ecosystem. At the moment, there is no bridge to Ethereum on Gonka. Any future deployment of such a bridge would require on-chain governance approval. If an Ethereum bridge is approved by on-chain governance, only accounts with a raw private key are expected to be eligible.
Eligible (you can export/use a raw private key):
- Accounts created via
inferencedCLI tool - Accounts created via the “Connect with Google” flow in Keplr
Not eligible (no private key export):
- Keplr wallets created from a recovery phrase. Keplr does not export the private key, so avoid creating mnemonic-based wallets there if future bridge compatibility matters.
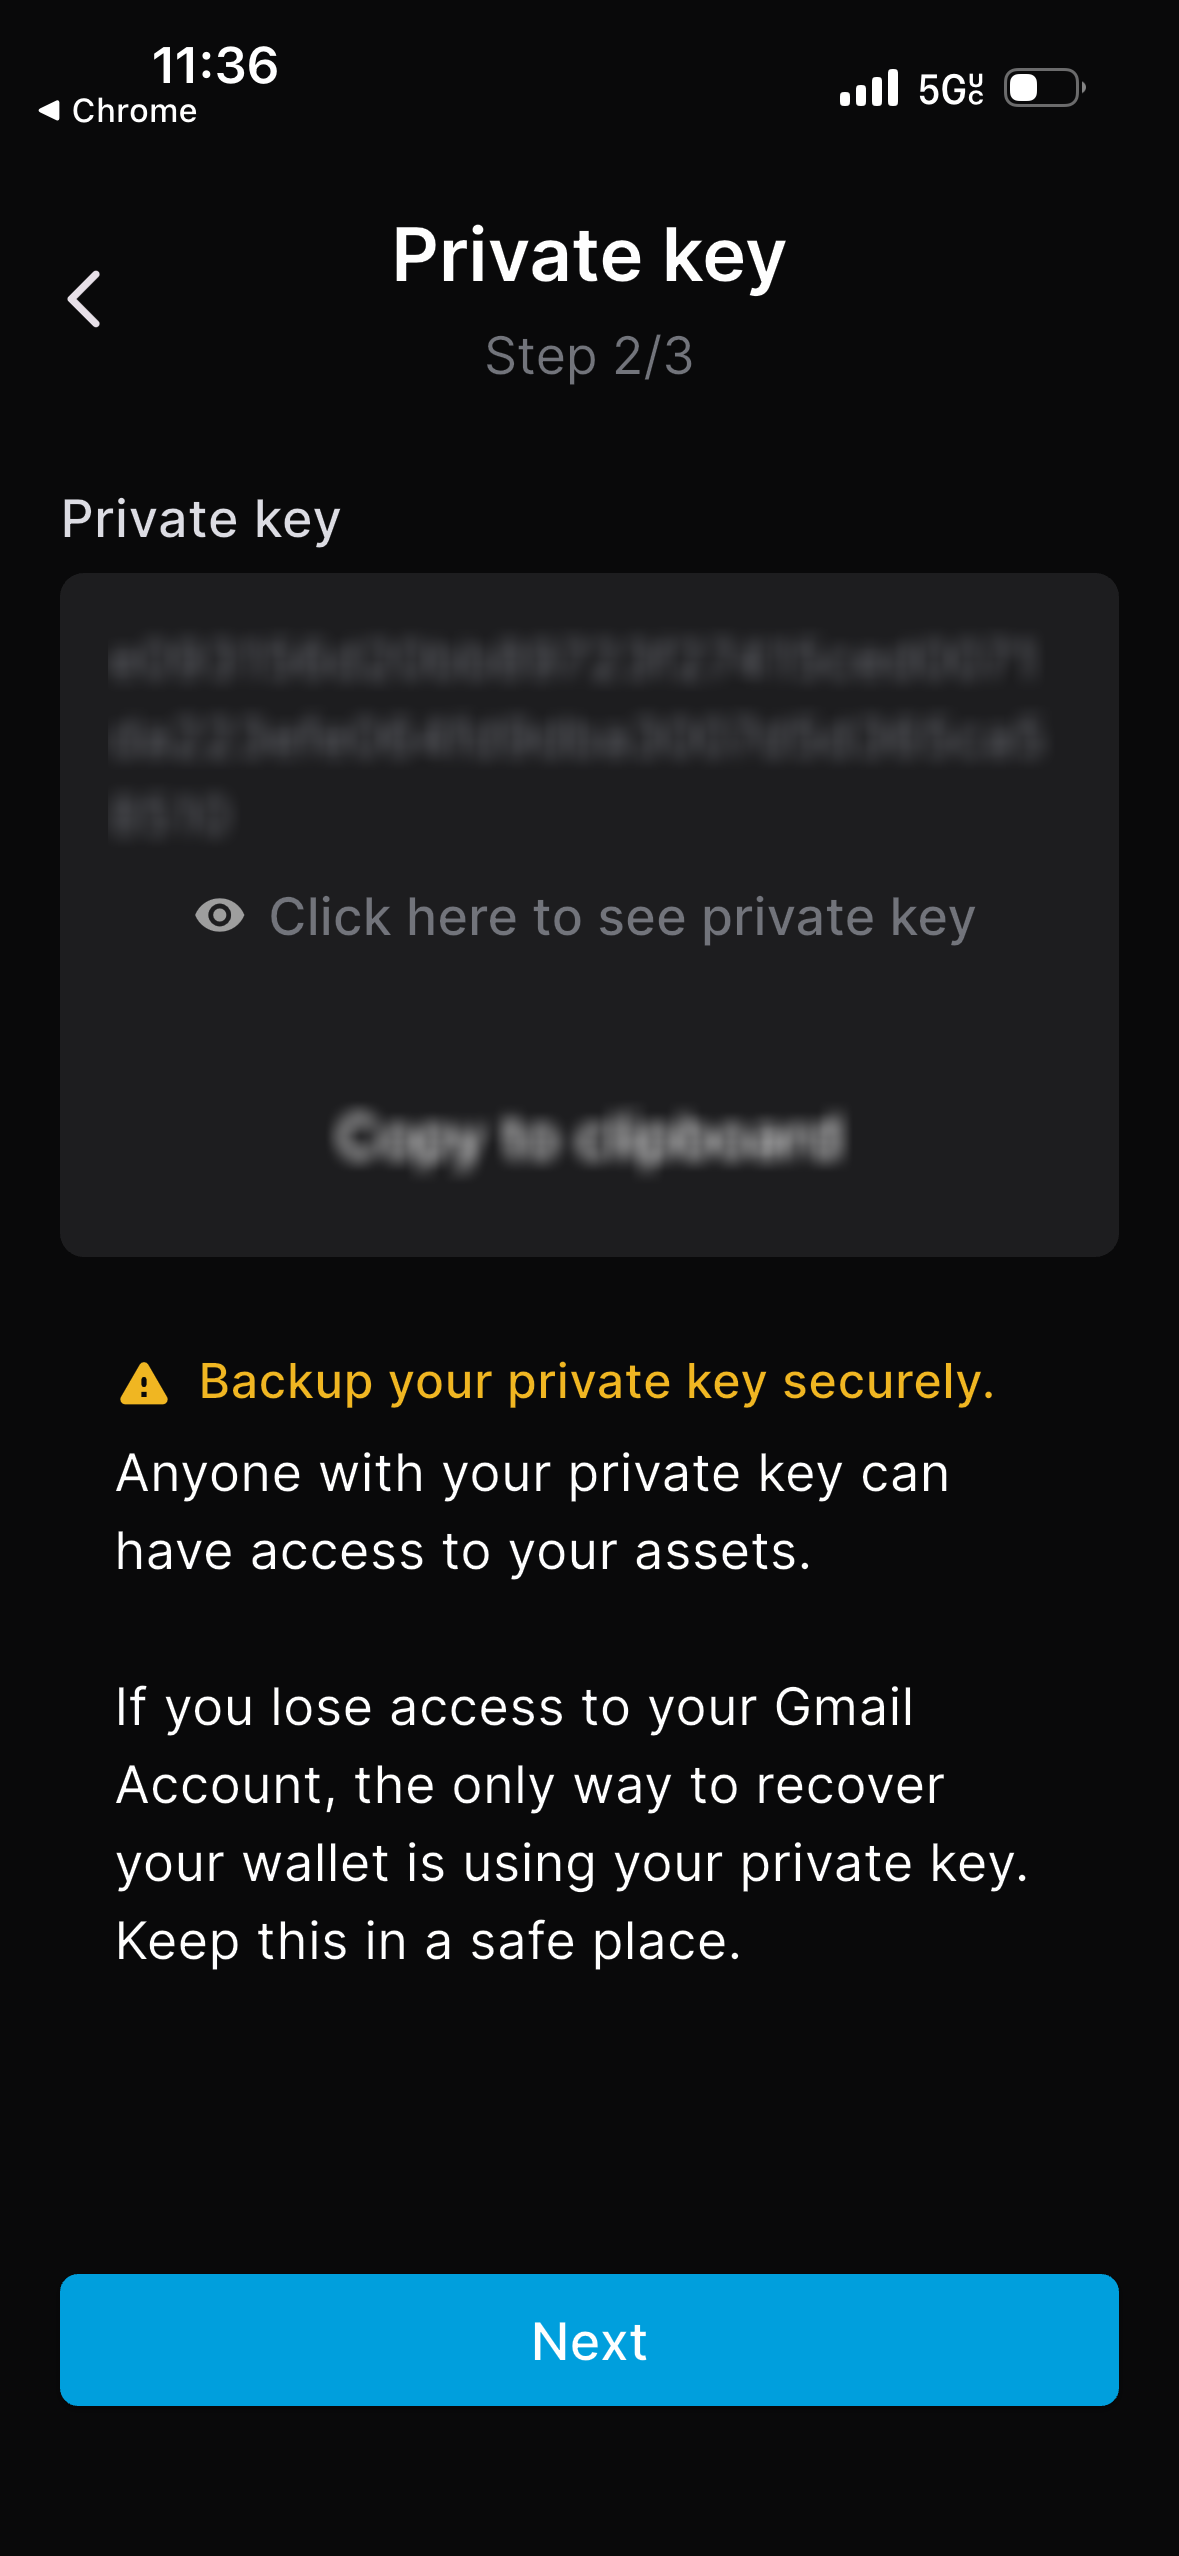
Backup your private key securely. Anyone with your private key can have access to your assets. If you lose access to your Gmail Account, the only way to recover your wallet is by using your private key. Store your private key in a safe and secure place. Never share your private key with anyone.
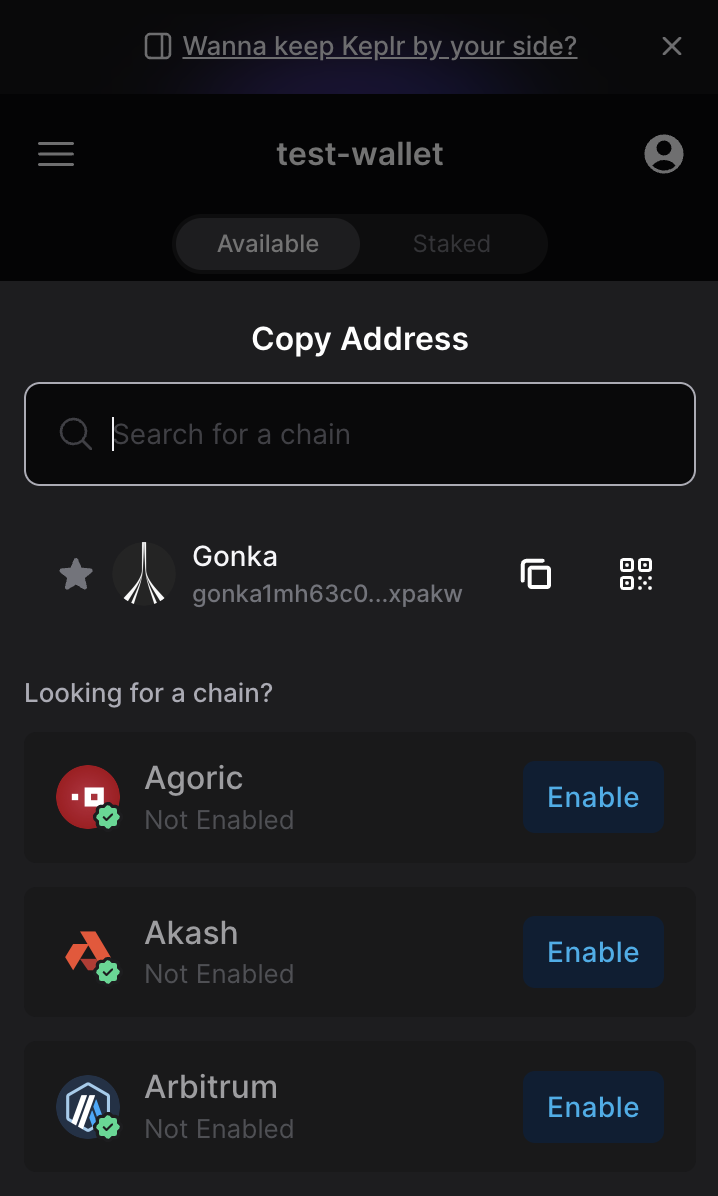
Type “Gonka” into the search bar and select Gonka chain to add it to your wallet.

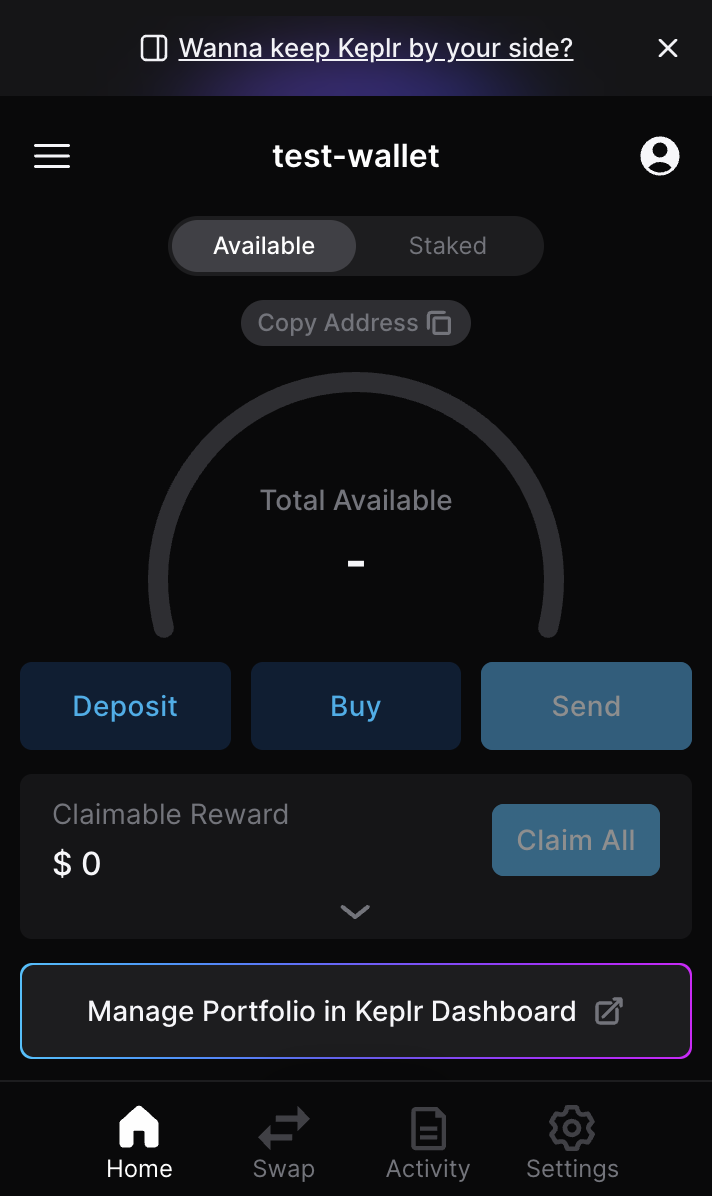
You have created your wallet in Keplr. Now, follow the instructions below to find your account address.
On the home screen, scroll down to the Gonka chain and tap it.
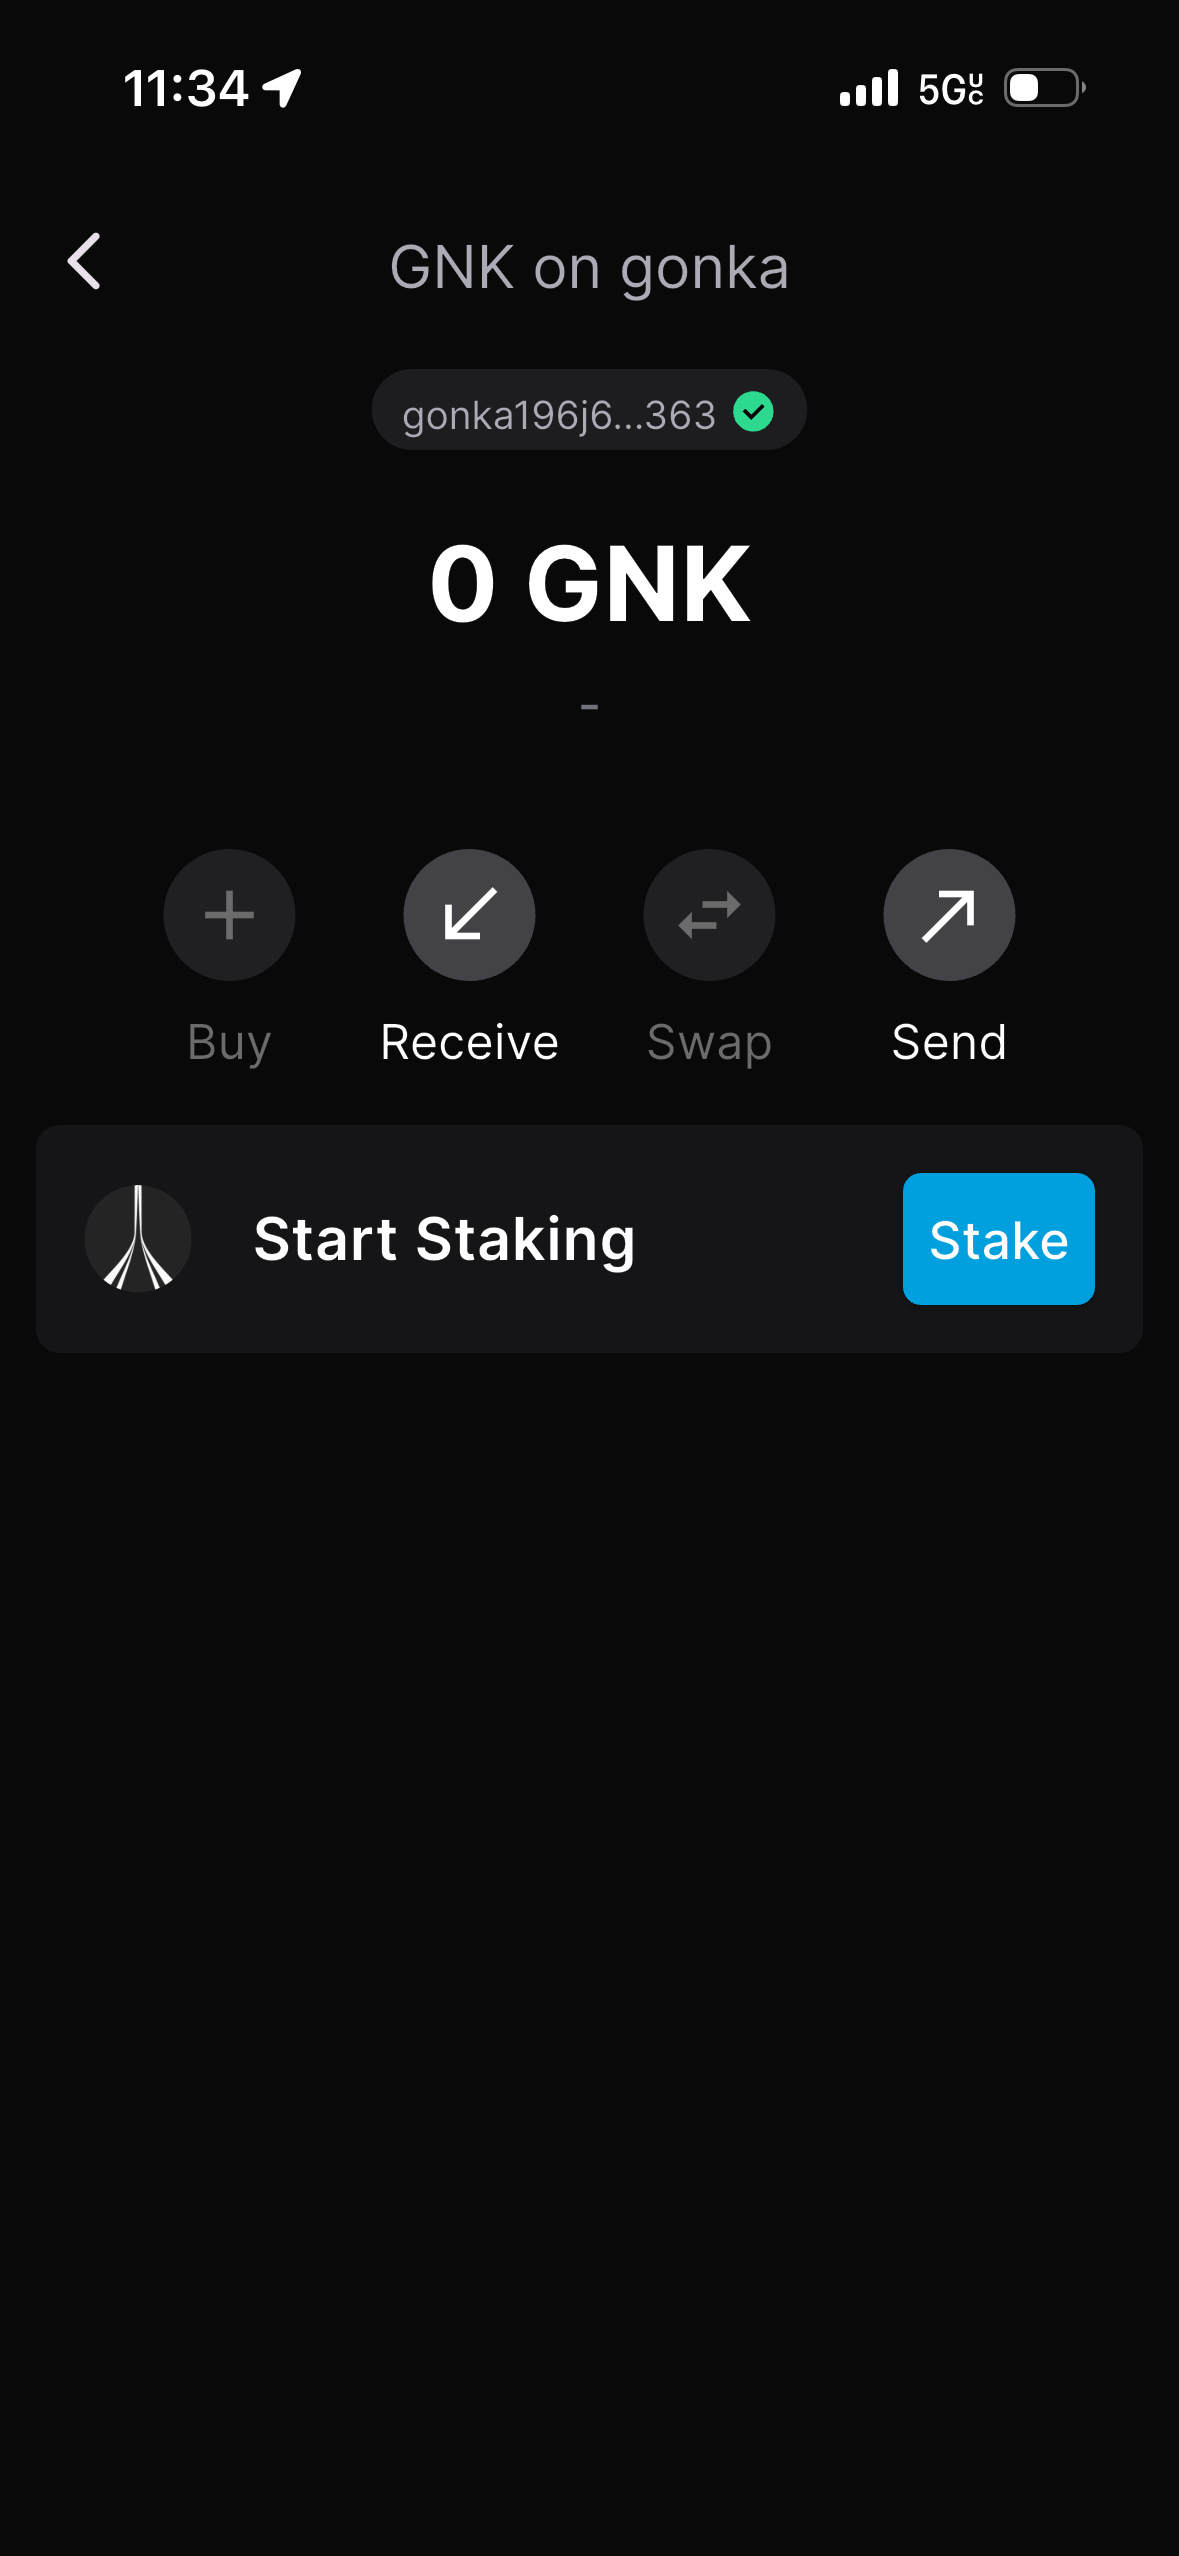
Above your balance, you will see your Gonka account address. Tap the copy icon to copy your full Gonka account address.
You copied your Gonka account address. You can share it with anyone who will send you payments. Sharing it is safe.
Go to the official Keplr website and click "Get Keplr wallet".
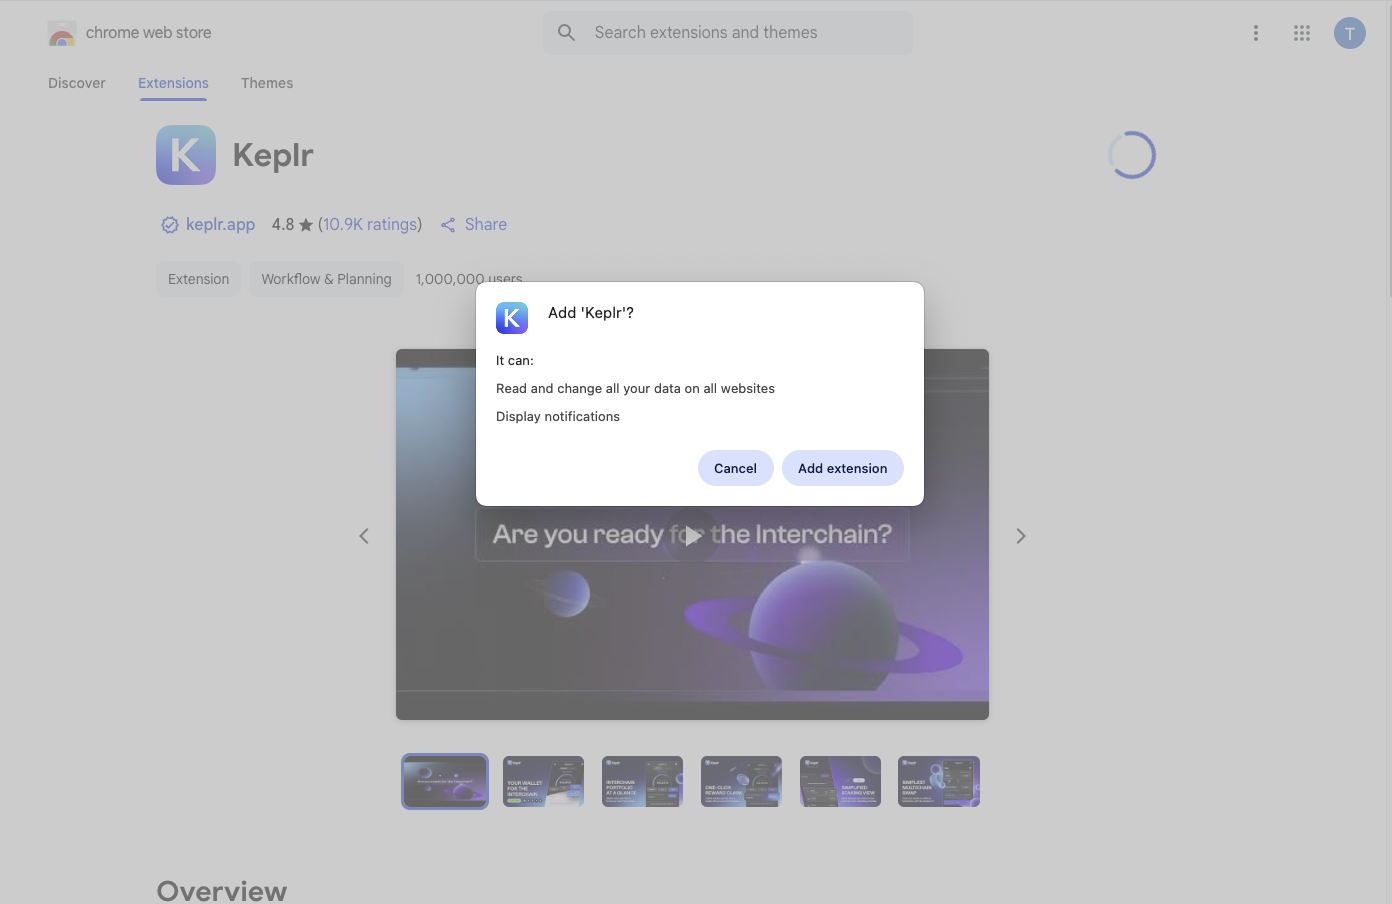
Choose an extension for your browser.
Add the selected extension to your browser.

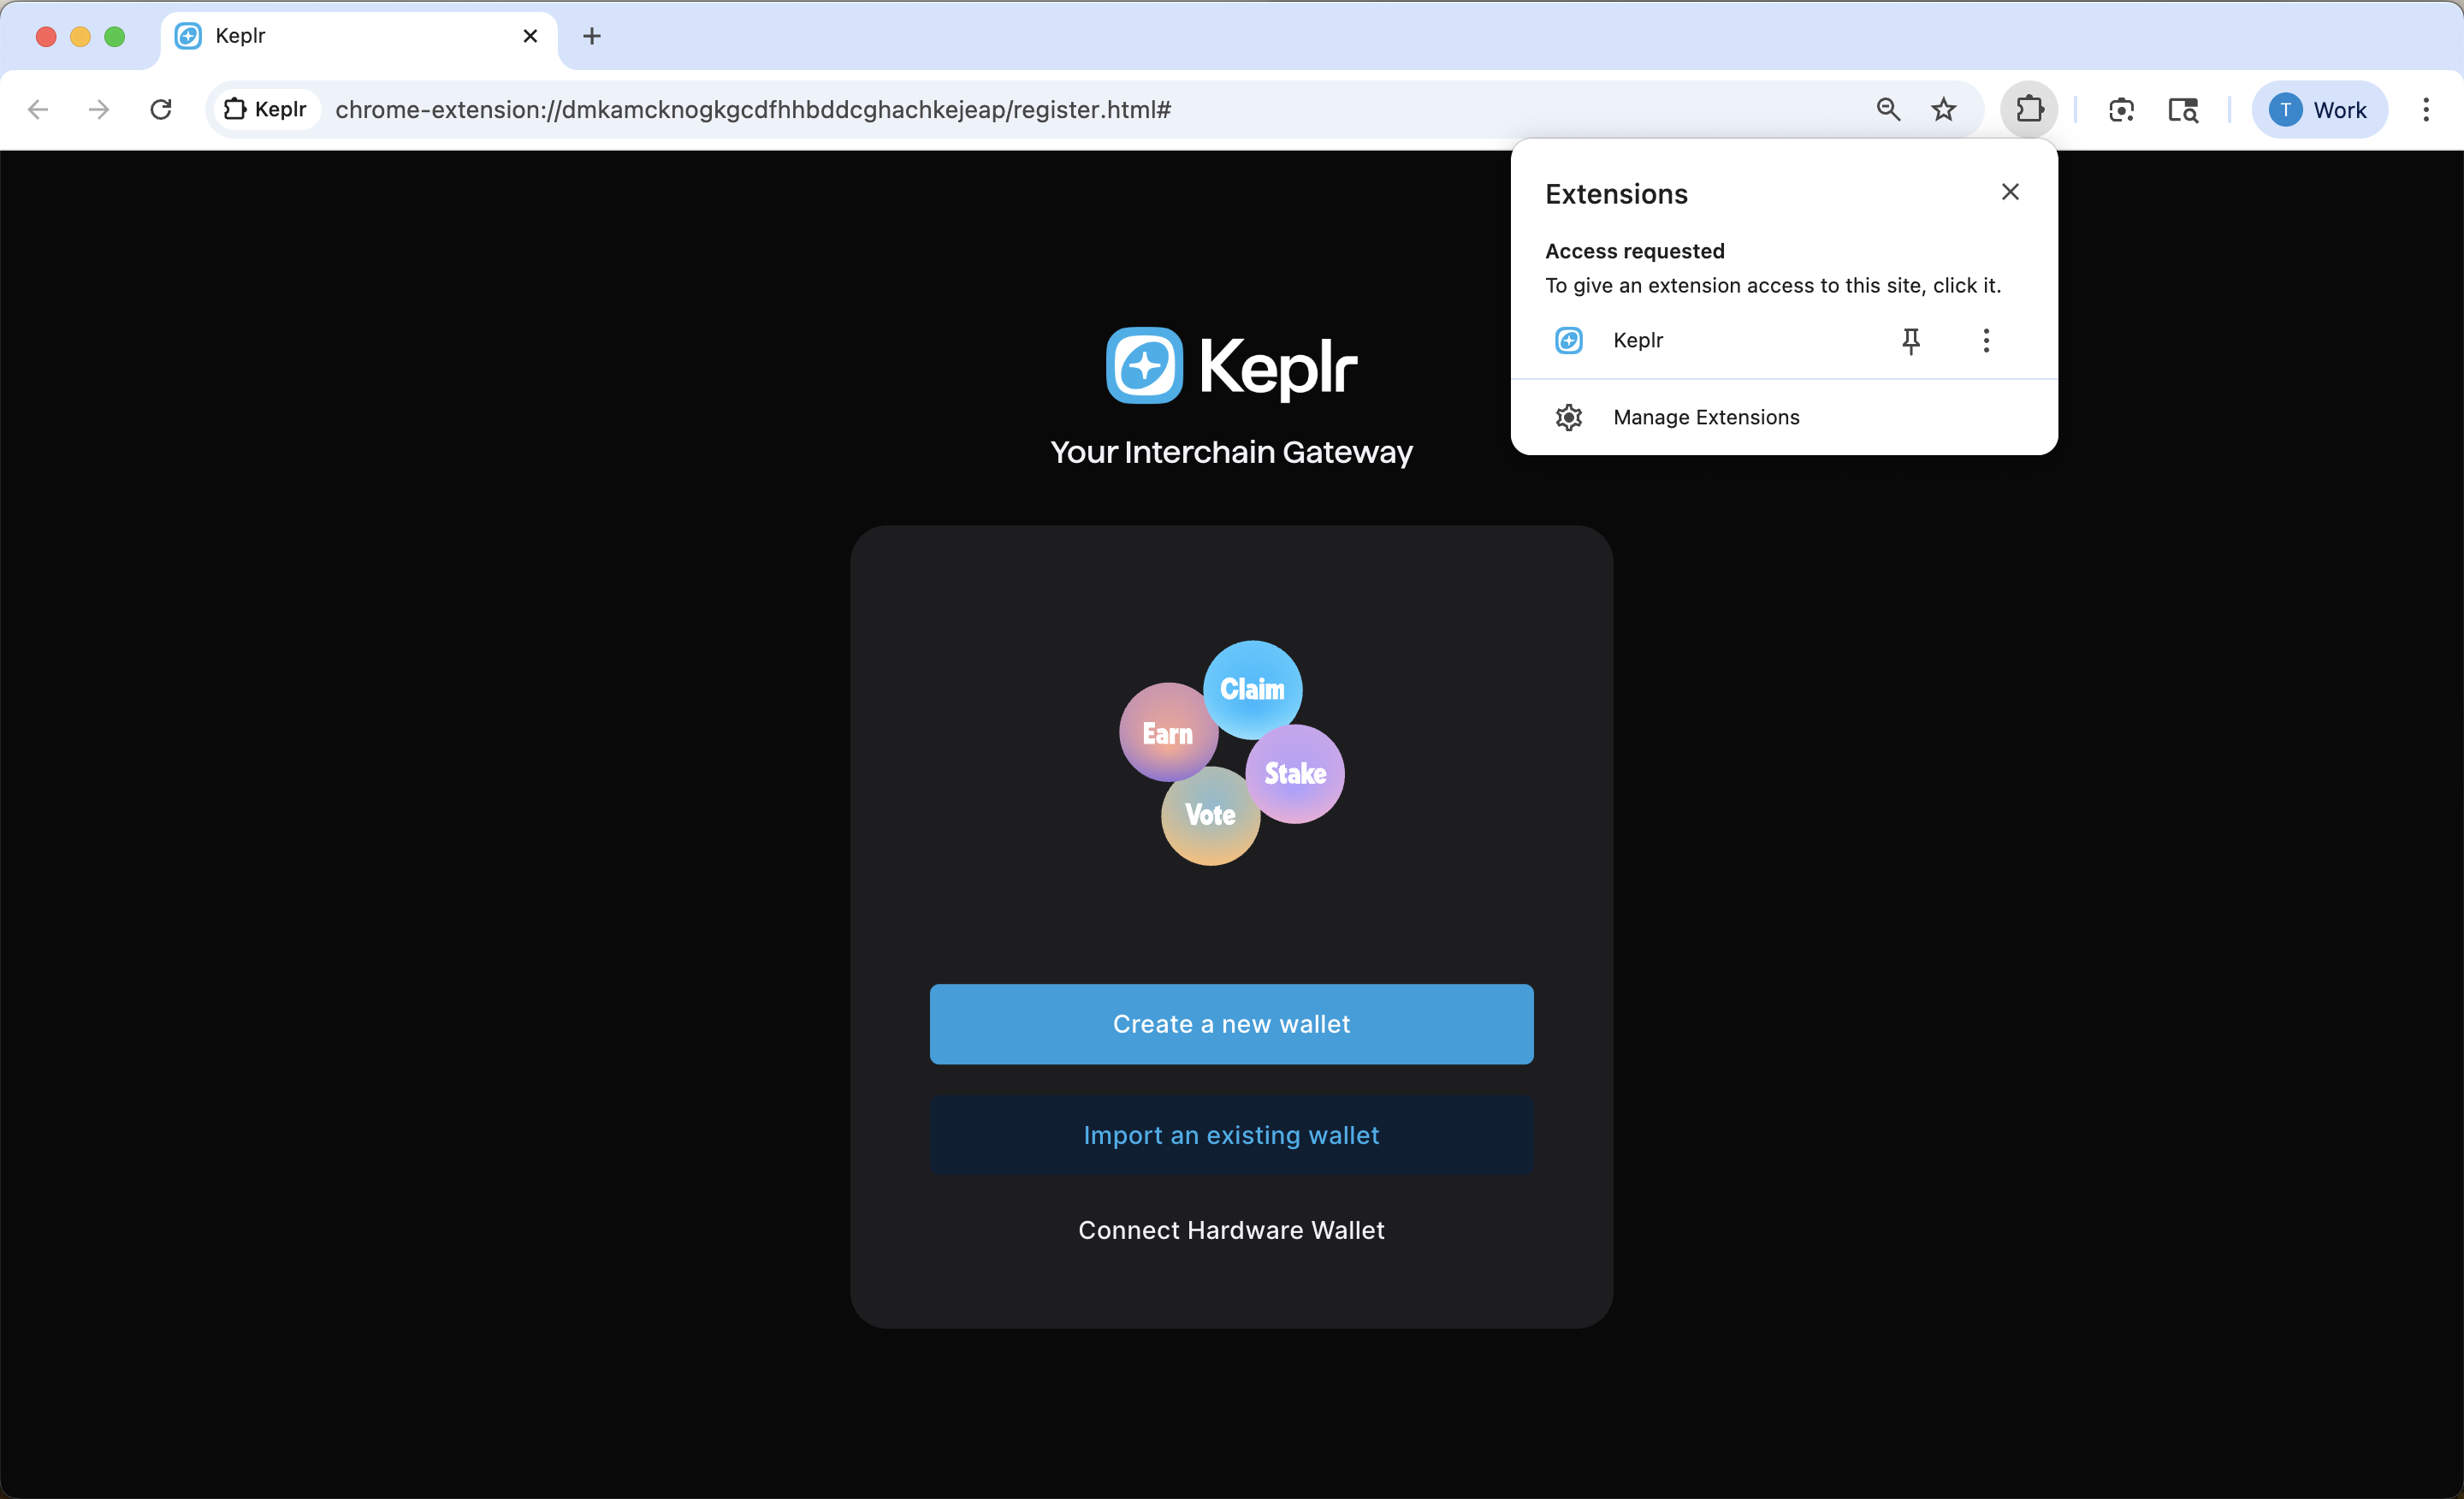
After installing the extension, you should see it in the top-right panel of your browser.
At this point, the extension is installed, but your wallet and Gonka account have not been created yet. Please continue to the next step to set them up.
Open the Keplr browser extension. Click "Create a new wallet".
Click "Connect with Google". Follow the instructions to sign in via Gmail.
Important note on wallet-bridge compatibility. Please read carefully if you intend to sell Gonka coins via the Ethereum bridge in the future
An Ethereum bridge is a system that lets you securely move assets or data between Ethereum and another blockchain, locking coins on one chain and minting or releasing equivalent coins on the other. Essentially, it’s the mechanism you need if you want to sell, trade, or use coins from another chain within the Ethereum ecosystem. At the moment, there is no bridge to Ethereum on Gonka. Any future deployment of such a bridge would require on-chain governance approval. If an Ethereum bridge is approved by on-chain governance, only accounts with a raw private key are expected to be eligible.
Eligible (you can export/use a raw private key):
- Accounts created via
inferencedCLI tool - Accounts created via the “Connect with Google” flow in Keplr
Not eligible (no private key export):
- Keplr wallets created from a recovery phrase. Keplr does not export the private key, so avoid creating mnemonic-based wallets there if future bridge compatibility matters.
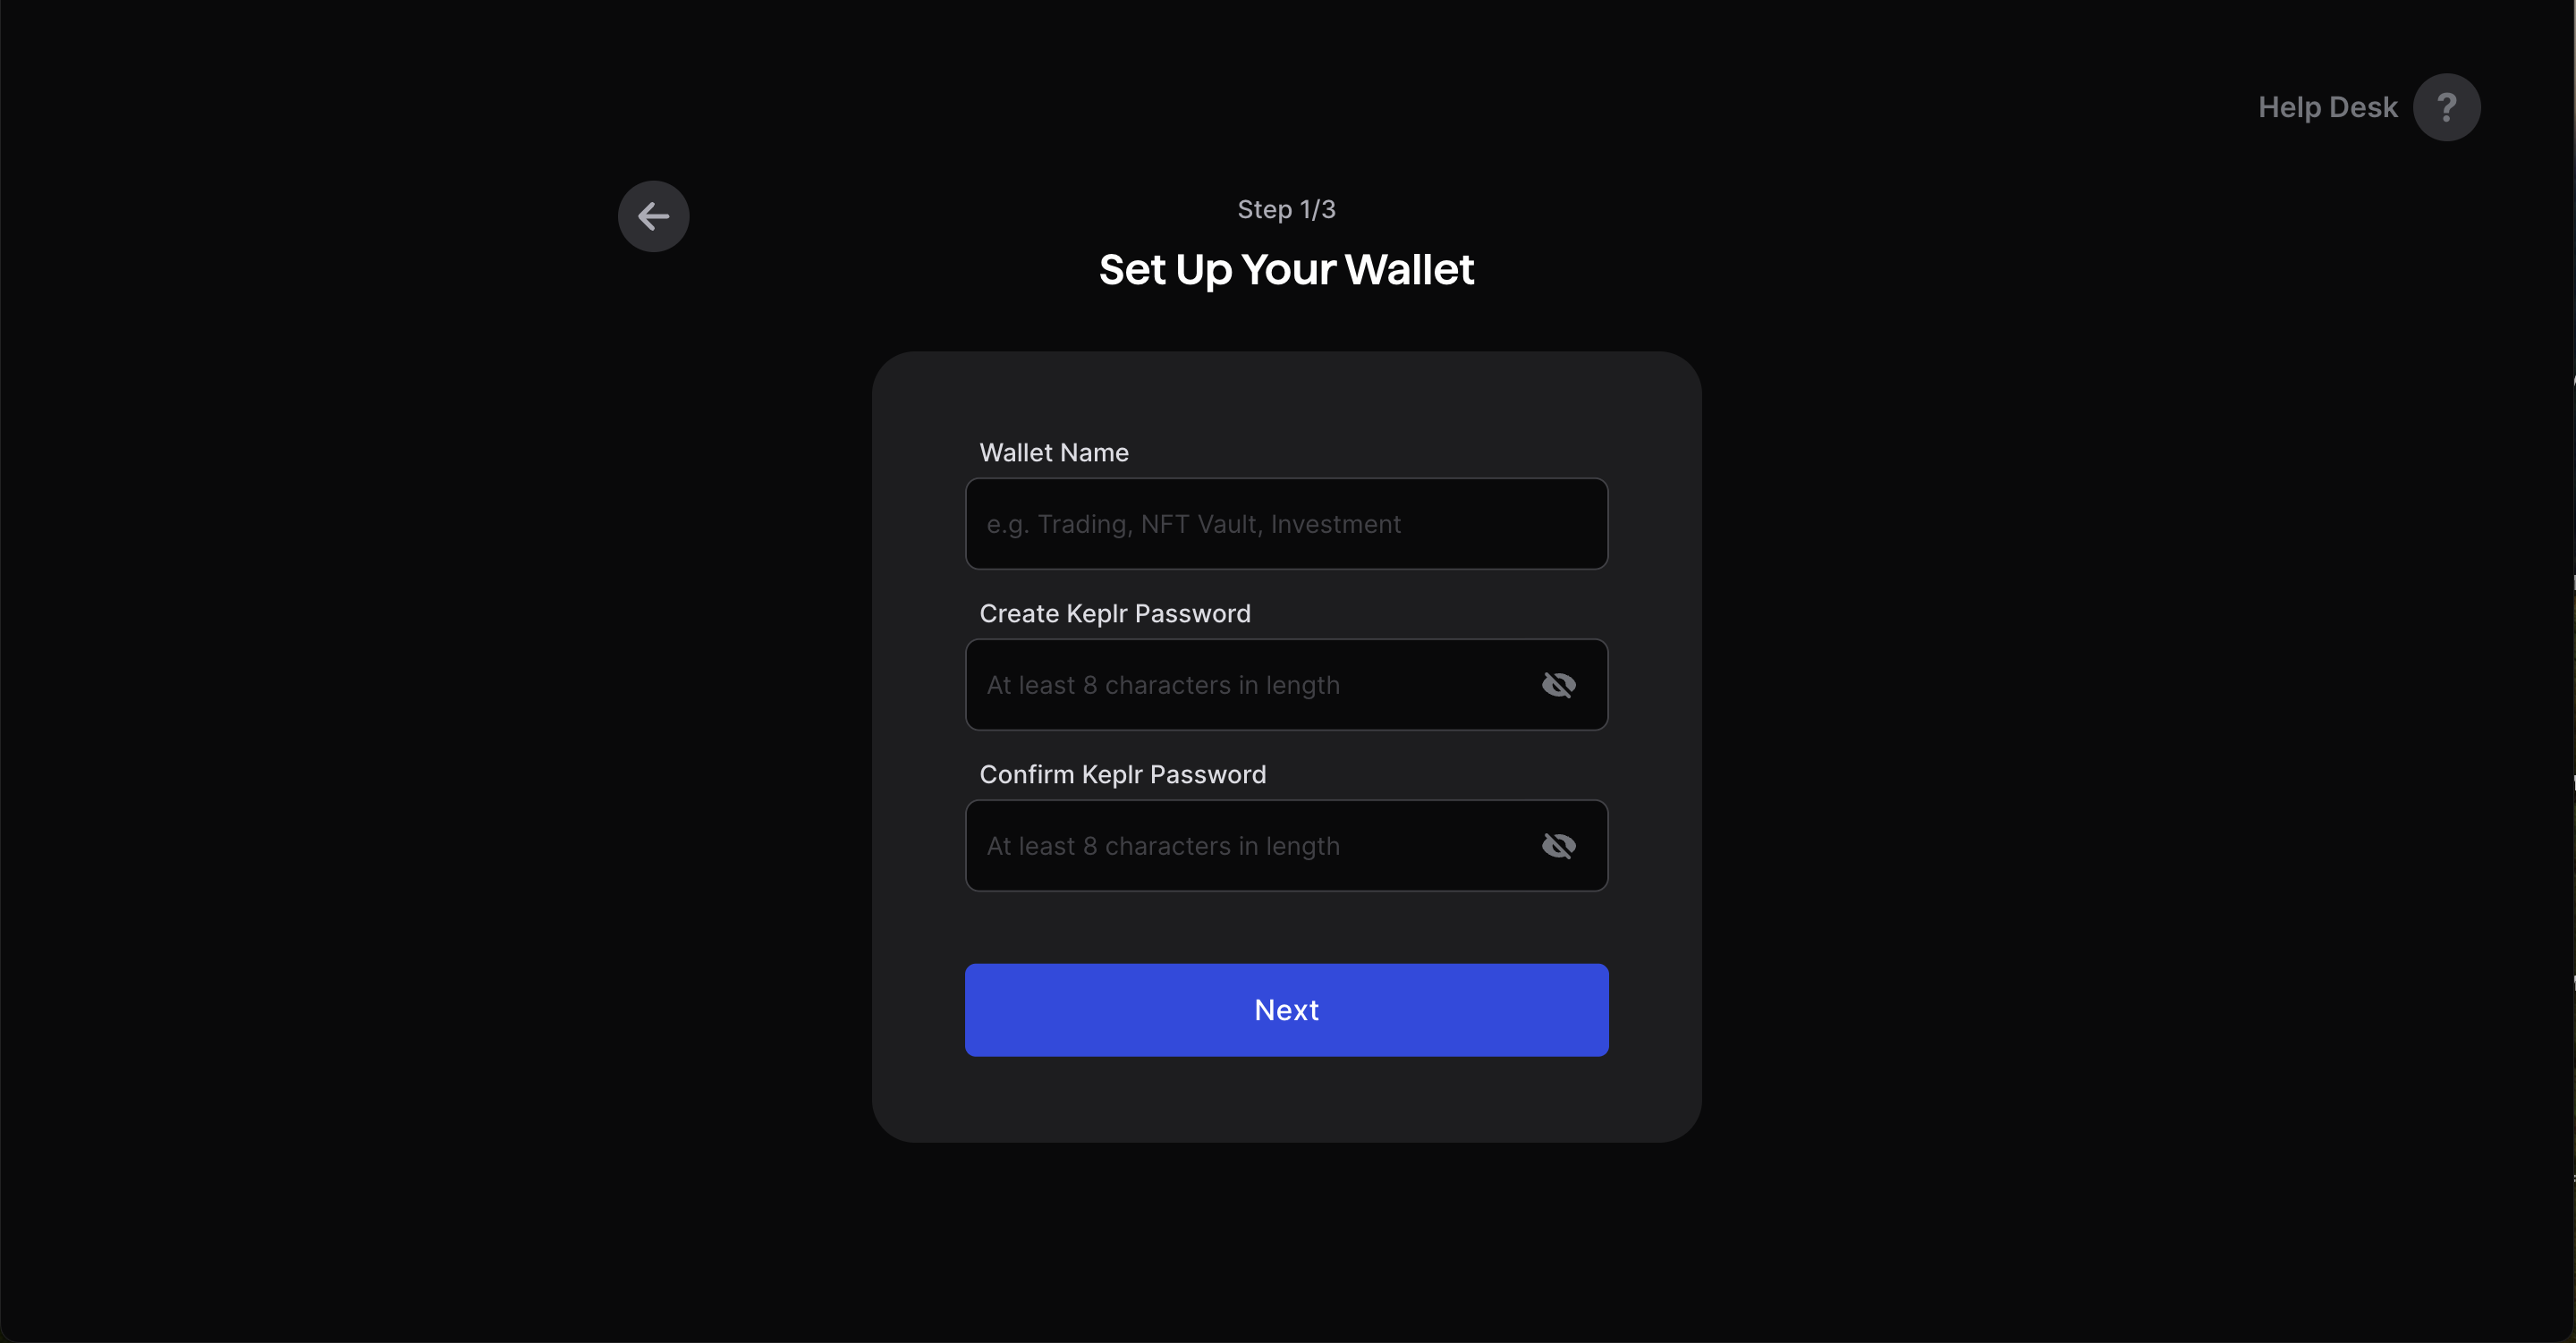
Set Up Your Wallet. Store your password in a safe and secure place.
Backup your private key securely. Anyone with your private key can have access to your assets. If you lose access to your Gmail Account, the only way to recover your wallet is by using your private key. Store your private key in a safe and secure place. Never share your private key with anyone.

Type “Gonka” into the search bar and select Gonka chain to add it to your wallet.
You have created your wallet in Keplr. Now, follow the instructions below to find your account address.

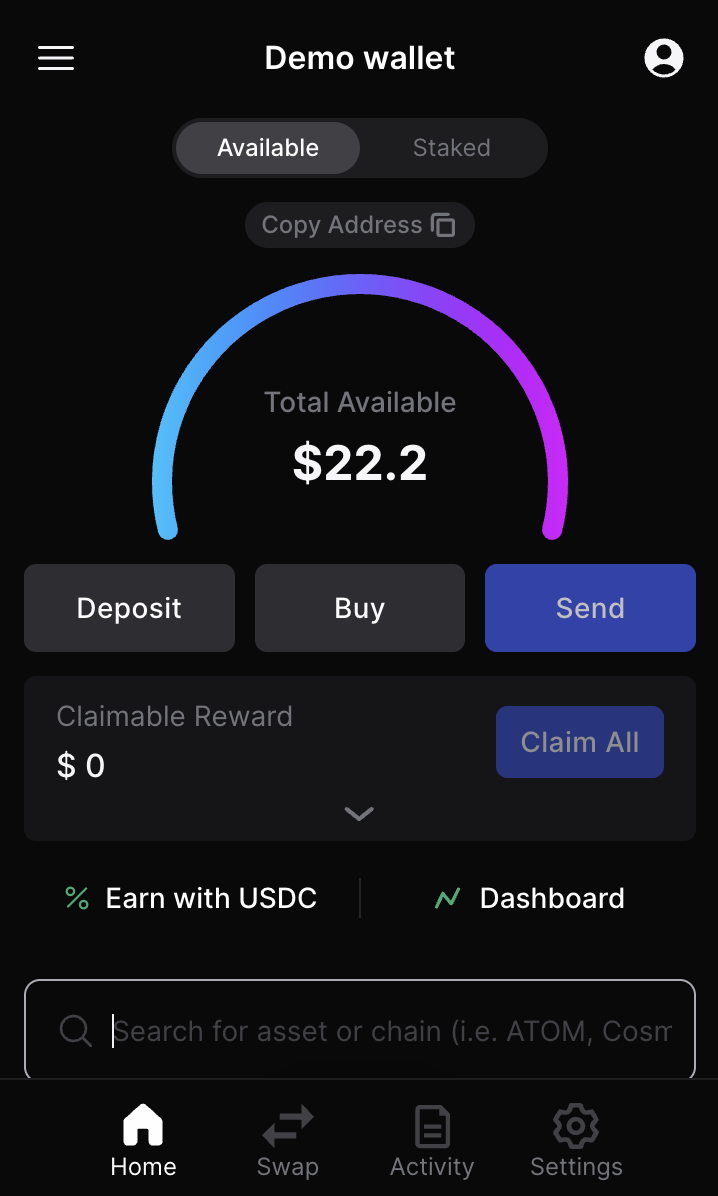
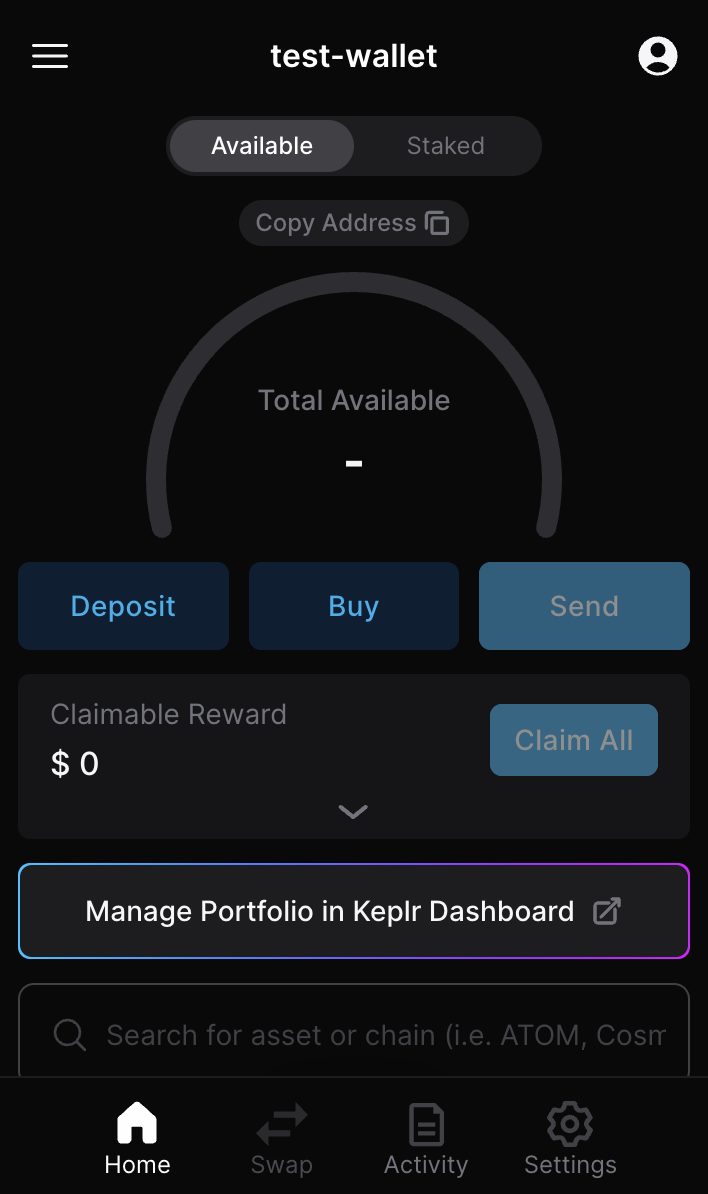
Open Keplr, navigate, and click on “Copy Address” in your wallet.
Click the Copy button next to the Gonka chain.
You copied your Gonka account address. You can share it with anyone who will send you payments. Sharing it is safe. To access your wallet on a mobile device, download the Keplr app and log in using the same method you used during registration. Your Gonka Network account will automatically appear in the mobile wallet app.
Optional: How to add an additional Gonka account in Keplr wallet — click to view steps
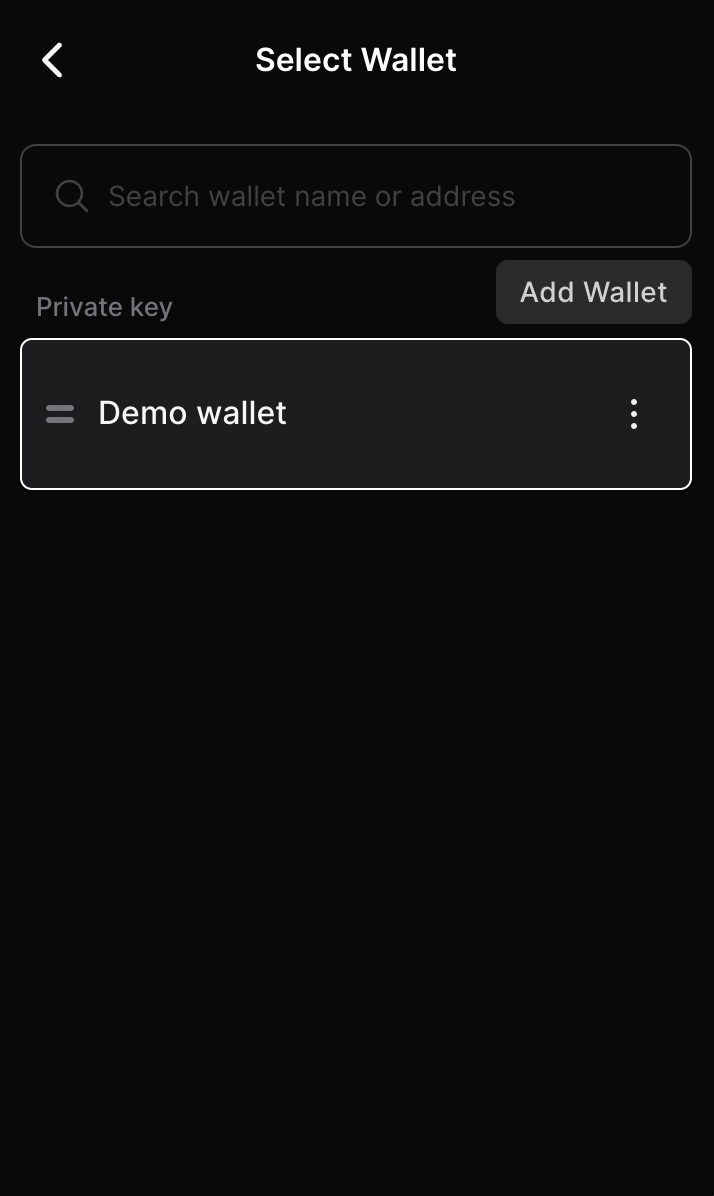
Open the extension and click on the account icon in the top-right corner of the extension window.
Click the "Add wallet" button.
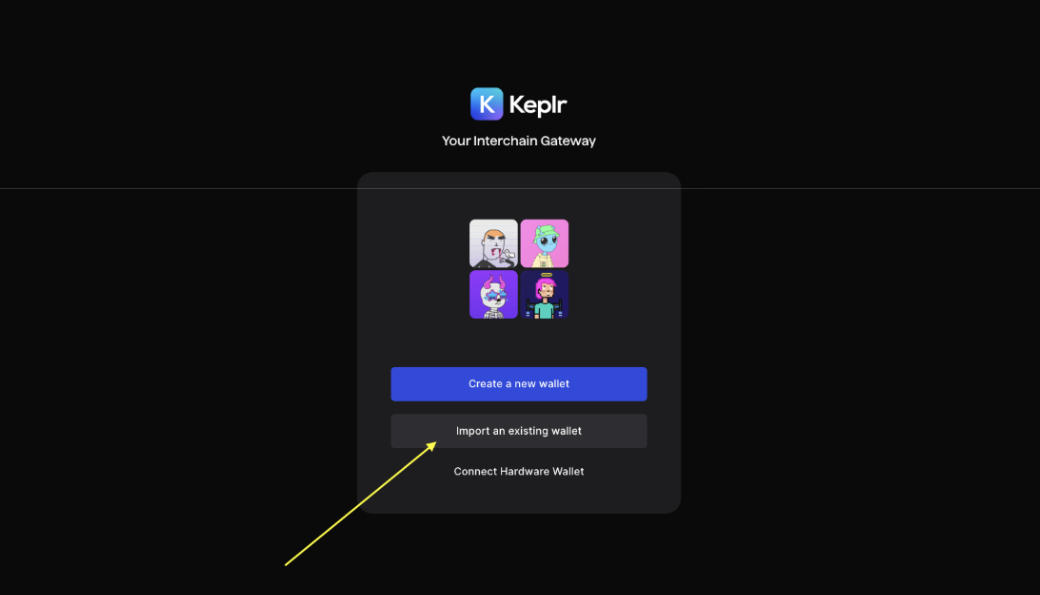
Click "Import an Existing Wallet".
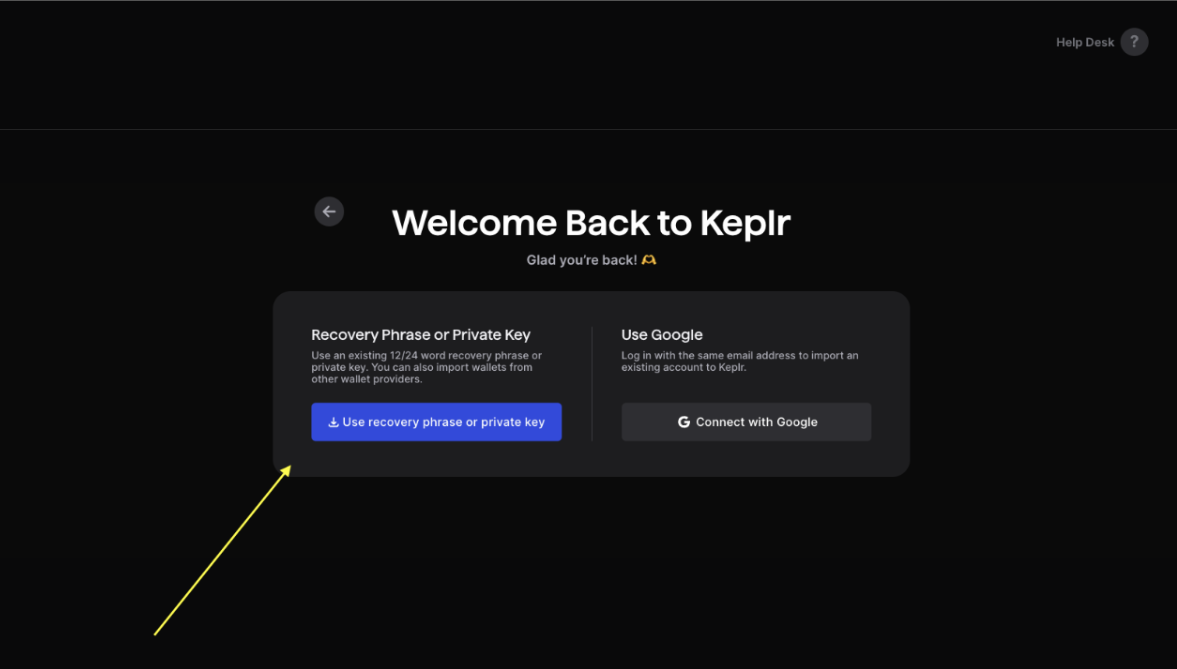
Click "Use recovery phrase or private key"
Paste your private key.
Important note on wallet-bridge compatibility. Please read carefully if you intend to sell Gonka coins via the Ethereum bridge in the future
An Ethereum bridge is a system that lets you securely move assets or data between Ethereum and another blockchain, locking coins on one chain and minting or releasing equivalent coins on the other. Essentially, it’s the mechanism you need if you want to sell, trade, or use coins from another chain within the Ethereum ecosystem. At the moment, there is no bridge to Ethereum on Gonka. Any future deployment of such a bridge would require on-chain governance approval. If an Ethereum bridge is approved by on-chain governance, only accounts with a raw private key are expected to be eligible.
Eligible (you can export/use a raw private key):
- Accounts created via
inferencedCLI tool - Accounts created via the “Connect with Google” flow in Keplr
Not eligible (no private key export):
- Keplr wallets created from a recovery phrase. Keplr does not export the private key, so avoid creating mnemonic-based wallets there if future bridge compatibility matters.
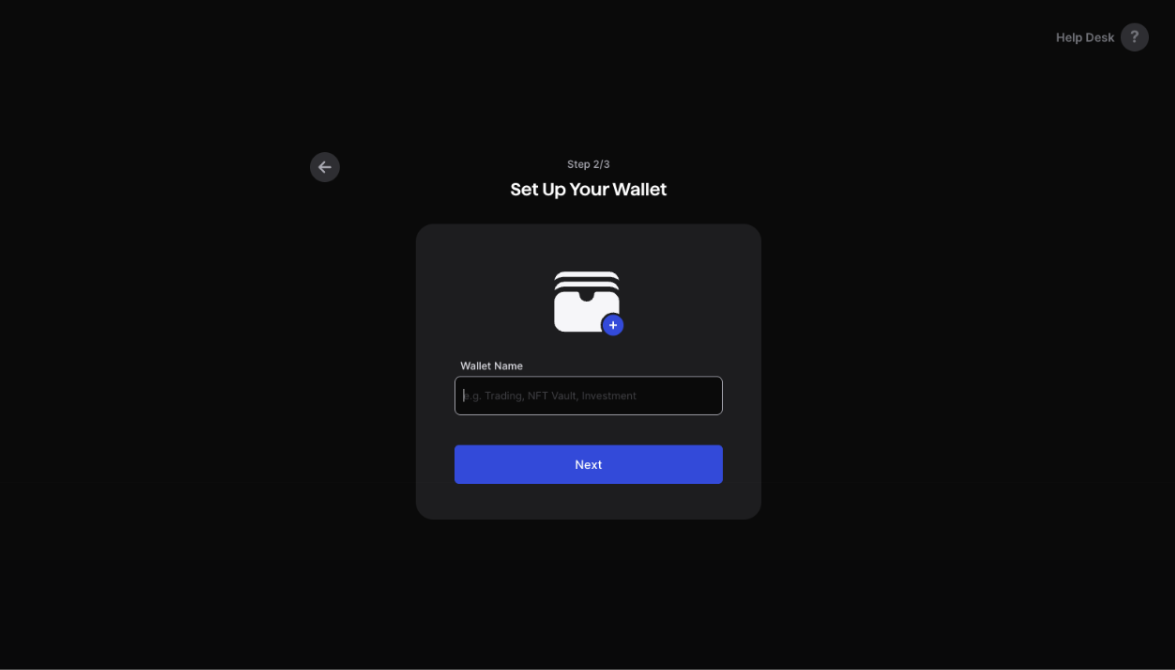
Give your wallet a name for easy reference.
Make sure Gonka chain is selected.
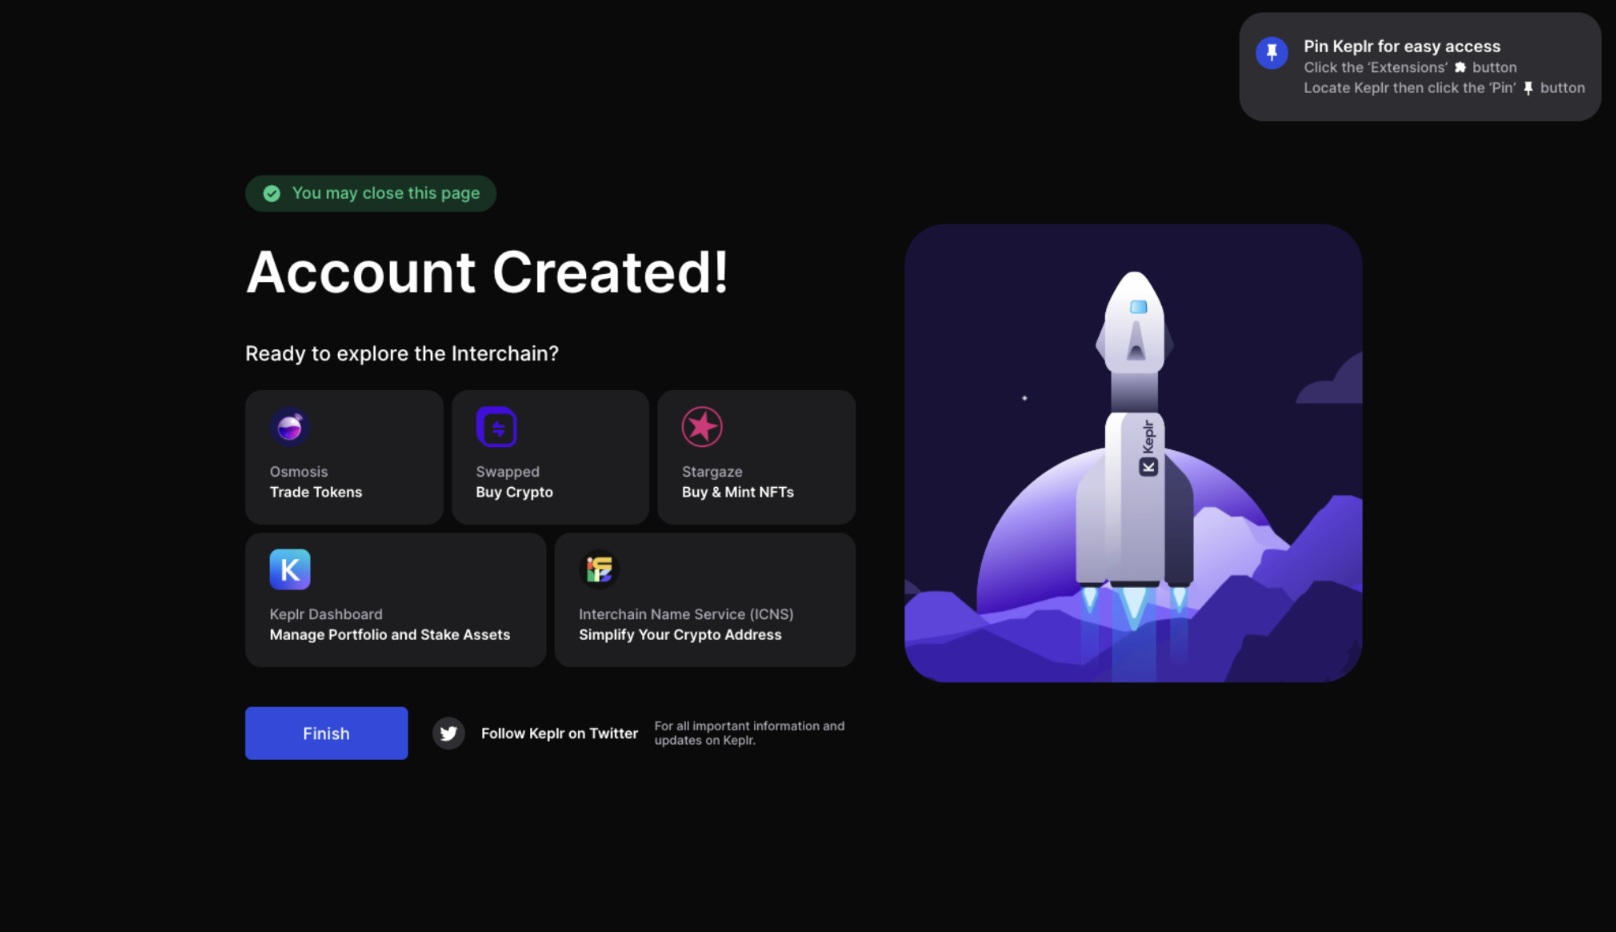
Done — your Gonka account has been successfully imported into Keplr!
Important note on wallet-bridge compatibility. Please read carefully if you intend to sell Gonka coins via the Ethereum bridge in the future
An Ethereum bridge is a system that lets you securely move assets or data between Ethereum and another blockchain, locking coins on one chain and minting or releasing equivalent coins on the other. Essentially, it’s the mechanism you need if you want to sell, trade, or use coins from another chain within the Ethereum ecosystem. At the moment, there is no bridge to Ethereum on Gonka. Any future deployment of such a bridge would require on-chain governance approval. If an Ethereum bridge is approved by on-chain governance, only accounts with a raw private key are expected to be eligible.
Eligible (you can export/use a raw private key):
- Accounts created via
inferencedCLI tool - Accounts created via the “Connect with Google” flow in Keplr
Not eligible (no private key export):
- Keplr wallets created from a recovery phrase. Keplr does not export the private key, so avoid creating mnemonic-based wallets there if future bridge compatibility matters.
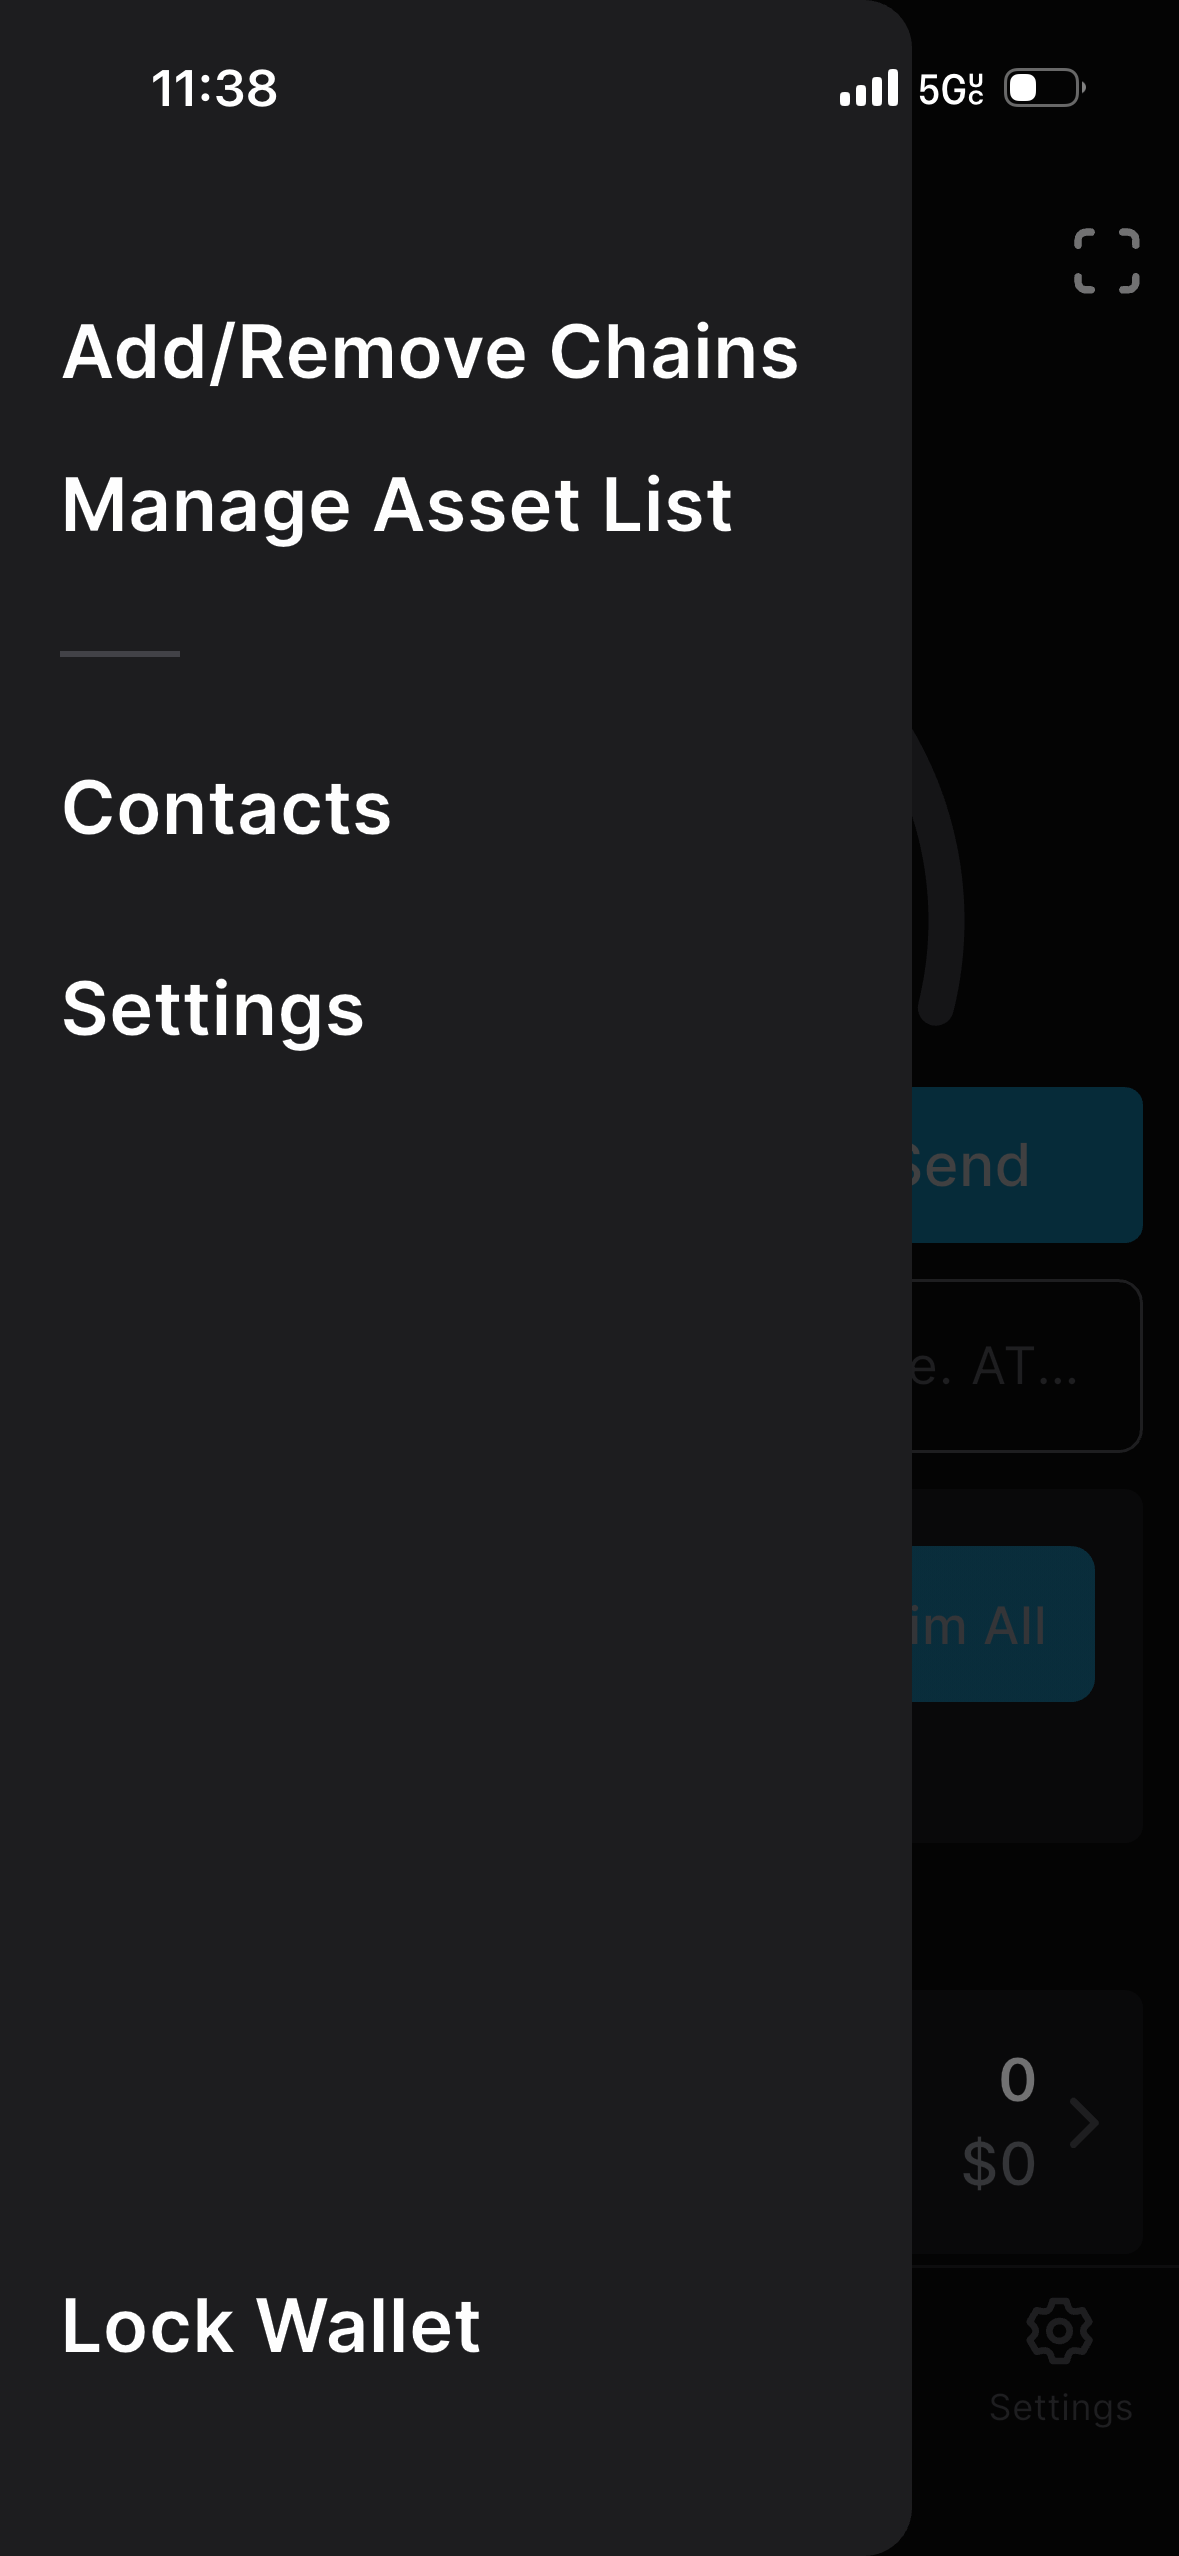
Open Keplr mobile app and log in to your wallet. Select the menu in the top left corner.
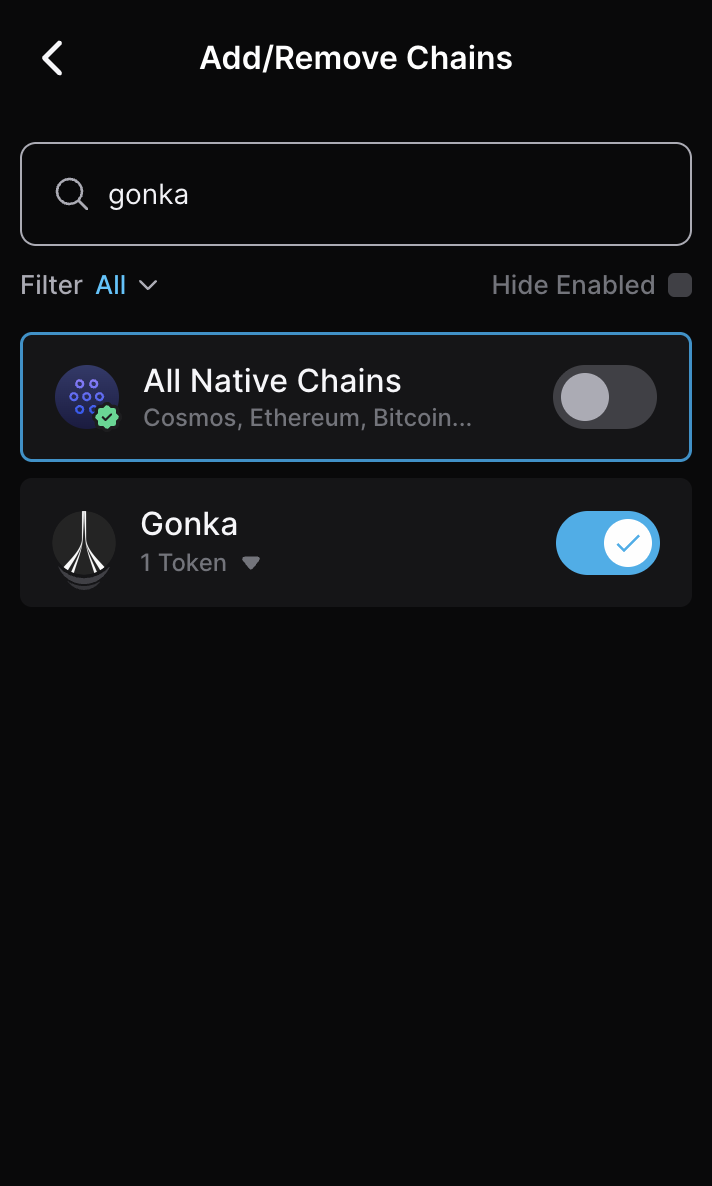
Click “Add/Remove” Chains.
Type “Gonka” in the search bar and select the Gonka chain.

On the home screen, scroll down to the Gonka chain and tap it.
Above your balance, you will see your Gonka account address. Tap the copy icon to copy your full Gonka account address.
You copied your Gonka account address. You can share it with anyone who will send you payments. Sharing it is safe.
Important note on wallet-bridge compatibility. Please read carefully if you intend to sell Gonka coins via the Ethereum bridge in the future
An Ethereum bridge is a system that lets you securely move assets or data between Ethereum and another blockchain, locking coins on one chain and minting or releasing equivalent coins on the other. Essentially, it’s the mechanism you need if you want to sell, trade, or use coins from another chain within the Ethereum ecosystem. At the moment, there is no bridge to Ethereum on Gonka. Any future deployment of such a bridge would require on-chain governance approval. If an Ethereum bridge is approved by on-chain governance, only accounts with a raw private key are expected to be eligible.
Eligible (you can export/use a raw private key):
- Accounts created via
inferencedCLI tool - Accounts created via the “Connect with Google” flow in Keplr
Not eligible (no private key export):
- Keplr wallets created from a recovery phrase. Keplr does not export the private key, so avoid creating mnemonic-based wallets there if future bridge compatibility matters.
Install an extension for your browser (if you have extension installed, go to the step “Add Gonka network to your wallet”.
Go to the official Keplr website and click "Get Keplr wallet".
Choose an extension for your browser.
Add the selected extension to your browser.
After installing the extension, you should see it in the top-right panel of your browser.
At this point, the extension is installed, but not yet connected to your wallet. Next, open the extension and log in to your wallet. Once you are logged in, follow the steps below to and continue with the setup process.
Add Gonka network to your wallet
Here is the guide on how to add the Gonka network to your wallet and how your Gonka account will be created. Open Keplr browser extension. Navigate to the menu on the top left corner”.
Click “Add/Remove chains”.

Type “Gonka” in search bar and select “Gonka” chain.
Open Keplr and click the “Copy Address” button located above your balance.
Click the Copy button next to the Gonka chain.
You copied your Gonka account address. You can share it with anyone who will send you payments. Sharing it is safe. To access your wallet on a mobile device, download the Keplr app and log in using the same method you used during registration. Your Gonka Network account will automatically appear in the mobile wallet app.
This guide explains how to create a Gonka Network account using the inferenced CLI tool. Download the inferenced CLI tool (the latest inferenced binary for your system is here).
What is the inferenced CLI tool?
The inferenced CLI tool is a command-line interface utility used to interact with the Gonka network. It is a standalone, executable binary that allows users to create and manage Gonka accounts, perform inference tasks, upload models, and automate various operations through scripted commands.
Before creating an account, set up the required environment variables:
export ACCOUNT_NAME=<your-desired-account-name>
export NODE_URL=<http://random-node-url>
- Replace
<your-desired-account-name>with your chosen account name.
Things to know about account names
This name is not recorded on-chain — it exists only in your local key store. Uniqueness is local: creating two keys with the same name will overwrite the existing one (with a CLI warning). If you proceed, the original key will be permanently lost. It is highly recommended to back up your public and private keys before performing this operation.
- Replace
<http://random-node-url>with a random Node URL. You can either:- Use one of the genesis nodes from the list below.
- Fetch the current list of active participants and select a random node.
Do not forget to write it down, you will need it in the next step.
Why a random node?
To avoid over-reliance on the genesis node and encourage decentralization, Gonka recommends selecting a random active node from the current epoch. This improves network load distribution and resilience to node outages.
How to choose a Node URL?
You can choose any node randomly — you do not need to consider which model it runs. At this point, the node is used purely as a gateway to fetch network state and broadcast transactions. All nodes expose the same public API.
Set the NODE_URL to one of the genesis nodes:
http://36.189.234.237:17241
http://node1.gonka.ai:8000
http://node2.gonka.ai:8000
http://47.236.26.199:8000
http://47.236.19.22:18000
http://gonka.spv.re:8000
Alternatively, you can select a random active participant from the current epoch. Open the link or run the following command to fetch the list of active participants along with a cryptographic proof for verification:
curl http://node2.gonka.ai:8000/v1/epochs/current/participants
Download the inferenced CLI tool (the latest inferenced binary for your system is here).
Enabling Execution on Mac OS
On Mac OS, after downloading the inferenced binary, you may need to enable execution permissions manually. Follow these steps:
-
Open a terminal and navigate to the directory where the binary is located.
-
Run the following command to grant execution permission:
chmod +x inferenced -
Try running
./inferenced --helpto ensure it's working. -
If you see a security warning when trying to run
inferenced, go to System Settings → Privacy & Security. -
Scroll down to the warning about
inferencedand click "Allow Anyway".
You can create an account with the following command:
./inferenced create-client $ACCOUNT_NAME \
     --node-address $NODE_URL
Make sure to securely save your passphrase — you'll need it for future access.
This command will:
- Generate a keypair
- Save it to
~/.inference - Return your account address, public key, and mnemonic phrase (store it securely in a hard copy as well!)
- address: <your-account-address>
  name: ACCOUNT_NAME
  pubkey: '{"@type":"...","key":"..."}'
  type: local
You will use this account address to receive payments. This is your public address, and it is safe to share.
To access your Gonka private key, export your private key and store it securely. The command below outputs a plain-text private key. A private key is a secret code that gives full access to your wallet and the funds inside it. It is used to confirm (sign) transactions and prove that you are the owner of the wallet.
- Whoever has the private key controls the wallet.
- If you lose it, you lose access.
- If someone else gets it, they can take your funds.
So the private key must always be stored securely and never shared with anyone.
./inferenced keys export $ACCOUNT_NAME --unarmored-hex --unsafe
To retrieve a list of all locally stored accounts, execute the following command:
inferenced keys list [--keyring-backend test]
Now you can add your Gonka account to wallets like Keplr by importing it using your public and private keys.