Developer Quickstart
This guide explains how to create a developer account in Gonka and submit an inference request using Gonka API.
How Gonka differs from traditional AI APIs
Gonka isn’t just another AI API — it’s a cryptographic protocol for provable inference. By eliminating centralized identity, Gonka removes the traditional single point of failure that plagues SaaS-based AI services. Here is a quick comparison table to help you understand the differences between a Traditional AI API and the Gonka API.
| Aspect | Traditional AI API (OpenAI, Anthropic, etc.) |
Gonka API |
|---|---|---|
| Model provenance & verifiable output | Models are hosted and versioned by the provider, but there’s no way to cryptographically verify which model actually produced a given output. There’s no proof that the model wasn’t switched, fine-tuned behind the scenes, or A/B tested on you. | Every inference request and response can be cryptographically linked to a specific model hash and execution environment. This enables verifiable provenance — anyone can prove that a particular model version generated a specific output. |
| Censorship resistance | All access is controlled centrally — providers can restrict or terminate accounts at any time. This includes enforcement of geographic, political, or commercial policies. | Inference requests are signed and broadcast through a decentralized network. As long as you hold your private key and connect to a node, you can run inference. The system is designed to be uncensorable, unless restrictions are applied by a transparent, protocol-level consensus. |
| Auditability & transparency | Logging, billing, and usage tracking are fully controlled by the API provider. Users cannot independently verify their own usage or inspect how pricing, latency, or errors were handled. | Every interaction is signed and timestamped, enabling independent audit trails. You can prove when and how an inference occurred, which model was used, whether the results were altered, and ensure that disputes can be publicly resolved. |
| Transparent tokenomics | Billing rates have limited insight into compute pricing, model costs, or system load. | Tokenomics are on-chain or protocol-defined, meaning pricing mechanisms are transparent and inspectable. Users convert GNK into AI Tokens with predictable, traceable exchange logic, enabling clear forecasting of inference costs and supply-demand–driven economics. |
1. Define variables
Before creating an account, set up the required environment variables:
export ACCOUNT_NAME=<your-desired-account-name>
export NODE_URL=<http://random-node-url>
- Replace
<your-desired-account-name>with your chosen account name.- This name is not recorded on-chain — it exists only in your local key store.
- Uniqueness is local: creating two keys with the same name will overwrite the existing one (with a CLI warning). If you proceed, the original key will be permanently lost. It is highly recommended to back up your public and private keys before performing this operation.
- Replace
<http://random-node-url>with a random Node URL. You can choose any node randomly — you do not need to consider which model it runs. At this point, the node is used purely as a gateway to fetch network state and broadcast transactions. All nodes expose the same public API. You can either:- Use one of the genesis nodes from the list below.
- Fetch the current list of active participants and select a random node. To avoid over-reliance on the genesis node and encourage decentralization, Gonka recommends selecting a random active node from the current epoch. This improves network load distribution and resilience to node outages.
Set the NODE_URL to one of the genesis nodes:
http://36.189.234.237:17241
http://node1.gonka.ai:8000
http://node2.gonka.ai:8000
http://47.236.26.199:8000
http://47.236.19.22:18000
http://gonka.spv.re:8000
Alternatively, you can select a random active participant from the current epoch. Open the link or run the following command to fetch the list of active participants along with a cryptographic proof for verification:
curl http://node1.gonka.ai:8000/v1/epochs/current/participants
Do not forget to write it down, you will need it in the next step.
2. Create an account
Download the inferenced CLI tool (the latest inferenced binary for your system is here).
What is the inferenced CLI tool?
The inferenced CLI tool is a command-line interface utility used to interact with the Gonka network. It is a standalone, executable binary that allows users to create and manage Gonka accounts, perform inference tasks, upload models, and automate various operations through scripted commands.
Enabling Execution on Mac OS
On Mac OS, after downloading the inferenced binary, you may need to enable execution permissions manually. Follow these steps:
-
Open a terminal and navigate to the directory where the binary is located.
-
Run the following command to grant execution permission:
chmod +x inferenced -
Try running
./inferenced --helpto ensure it's working. -
If you see a security warning when trying to run
inferenced, go to System Settings → Privacy & Security. -
Scroll down to the warning about
inferencedand click "Allow Anyway".
You can create an account with the following command:
./inferenced create-client $ACCOUNT_NAME \
  --node-address $NODE_URL
Make sure to securely save your passphrase — you'll need it for future access.
This command will:
- Generate a keypair
- Save it to
~/.inference - Return your account address, public key, and mnemonic phrase (store it securely in a hard copy as well!)
- address: <your-account-address>
  name: ACCOUNT_NAME
  pubkey: '{"@type":"...","key":"..."}'
  type: local
The account stores your balance, add it to environment variable GONKA_ADDRESS, or .env file.
export GONKA_ADDRESS=<your-account-address>
You will use this account to purchase Gonka (GNK) coins and pay for inference requests.
Add Private Key to environment variables.
If you'd like to perform the request, export your private key.
./inferenced keys export $ACCOUNT_NAME --unarmored-hex --unsafe
This command outputs a plain-text private key.
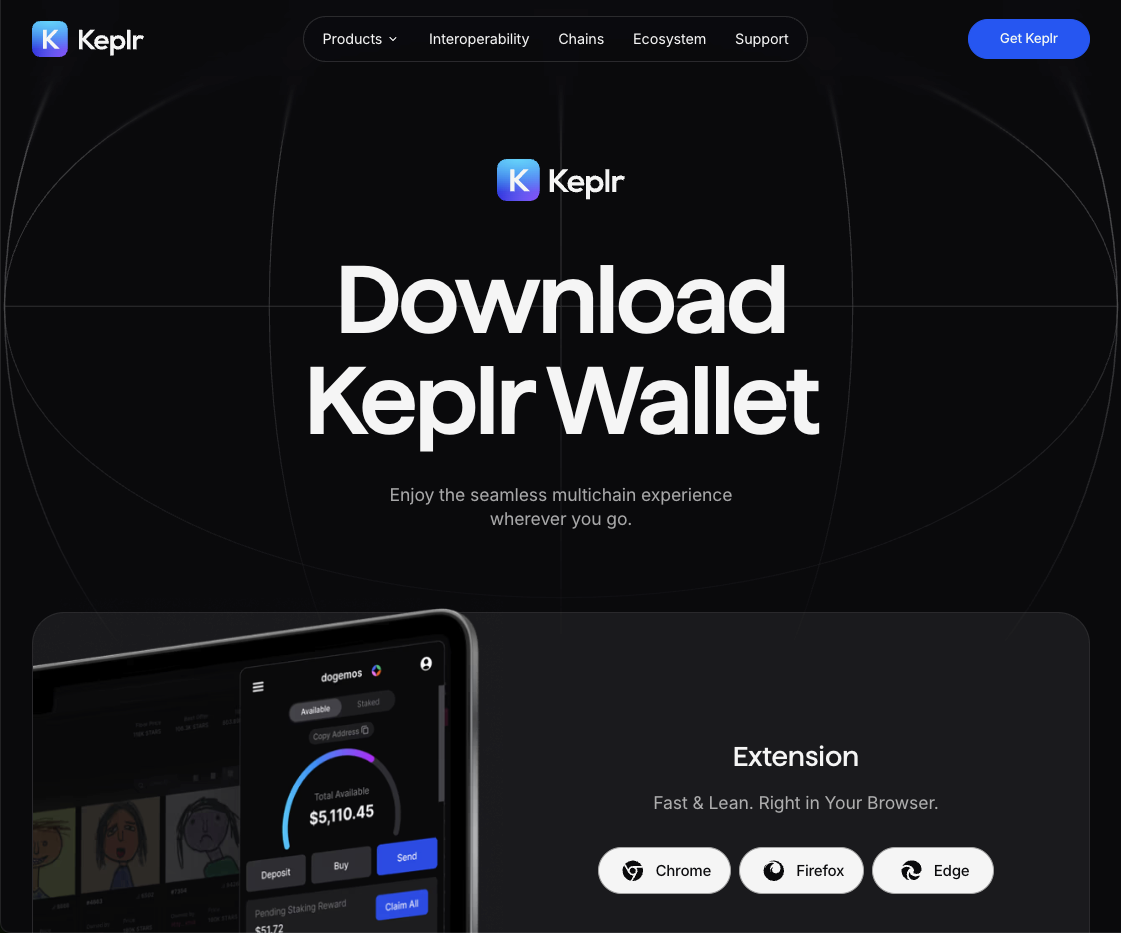
Go to the official Keplr website and click "Get Keplr wallet".
Choose an extension for your browser.
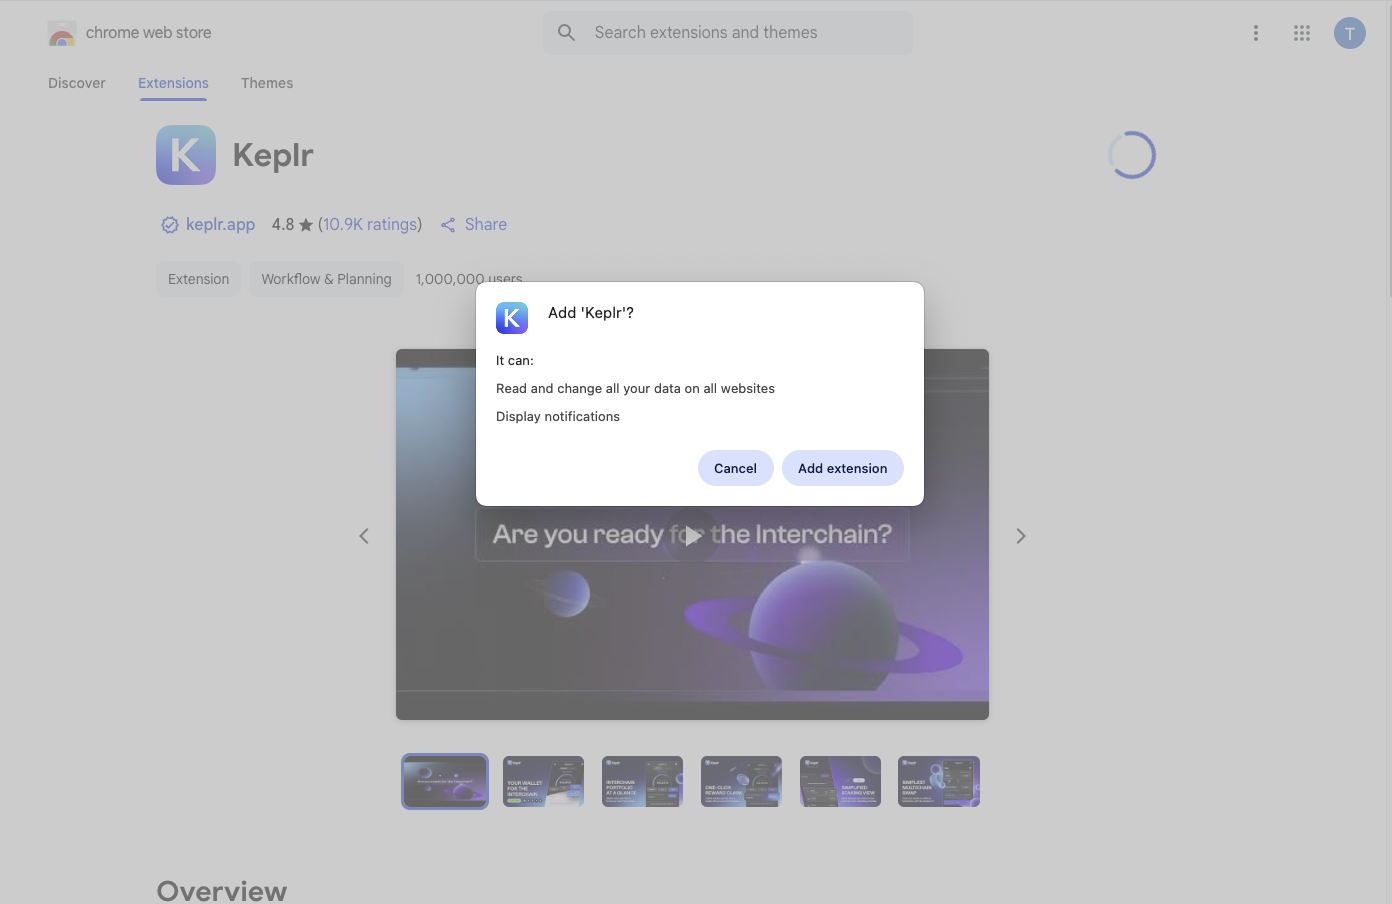
Add the selected extension to your browser.

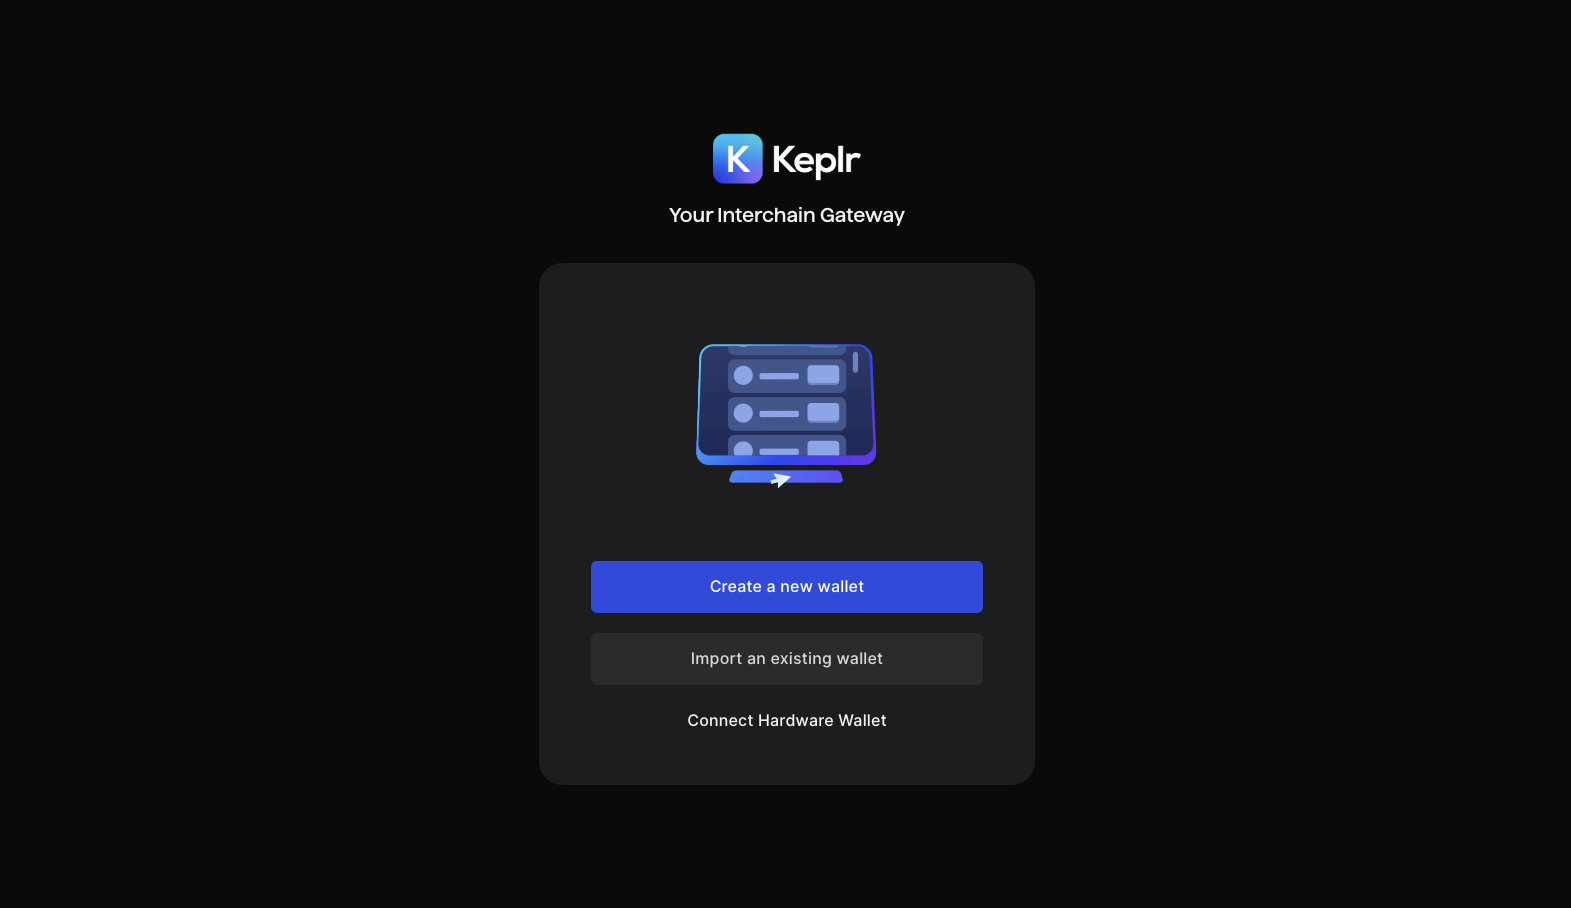
Click "Create a new wallet".
Click "Connect with Google".
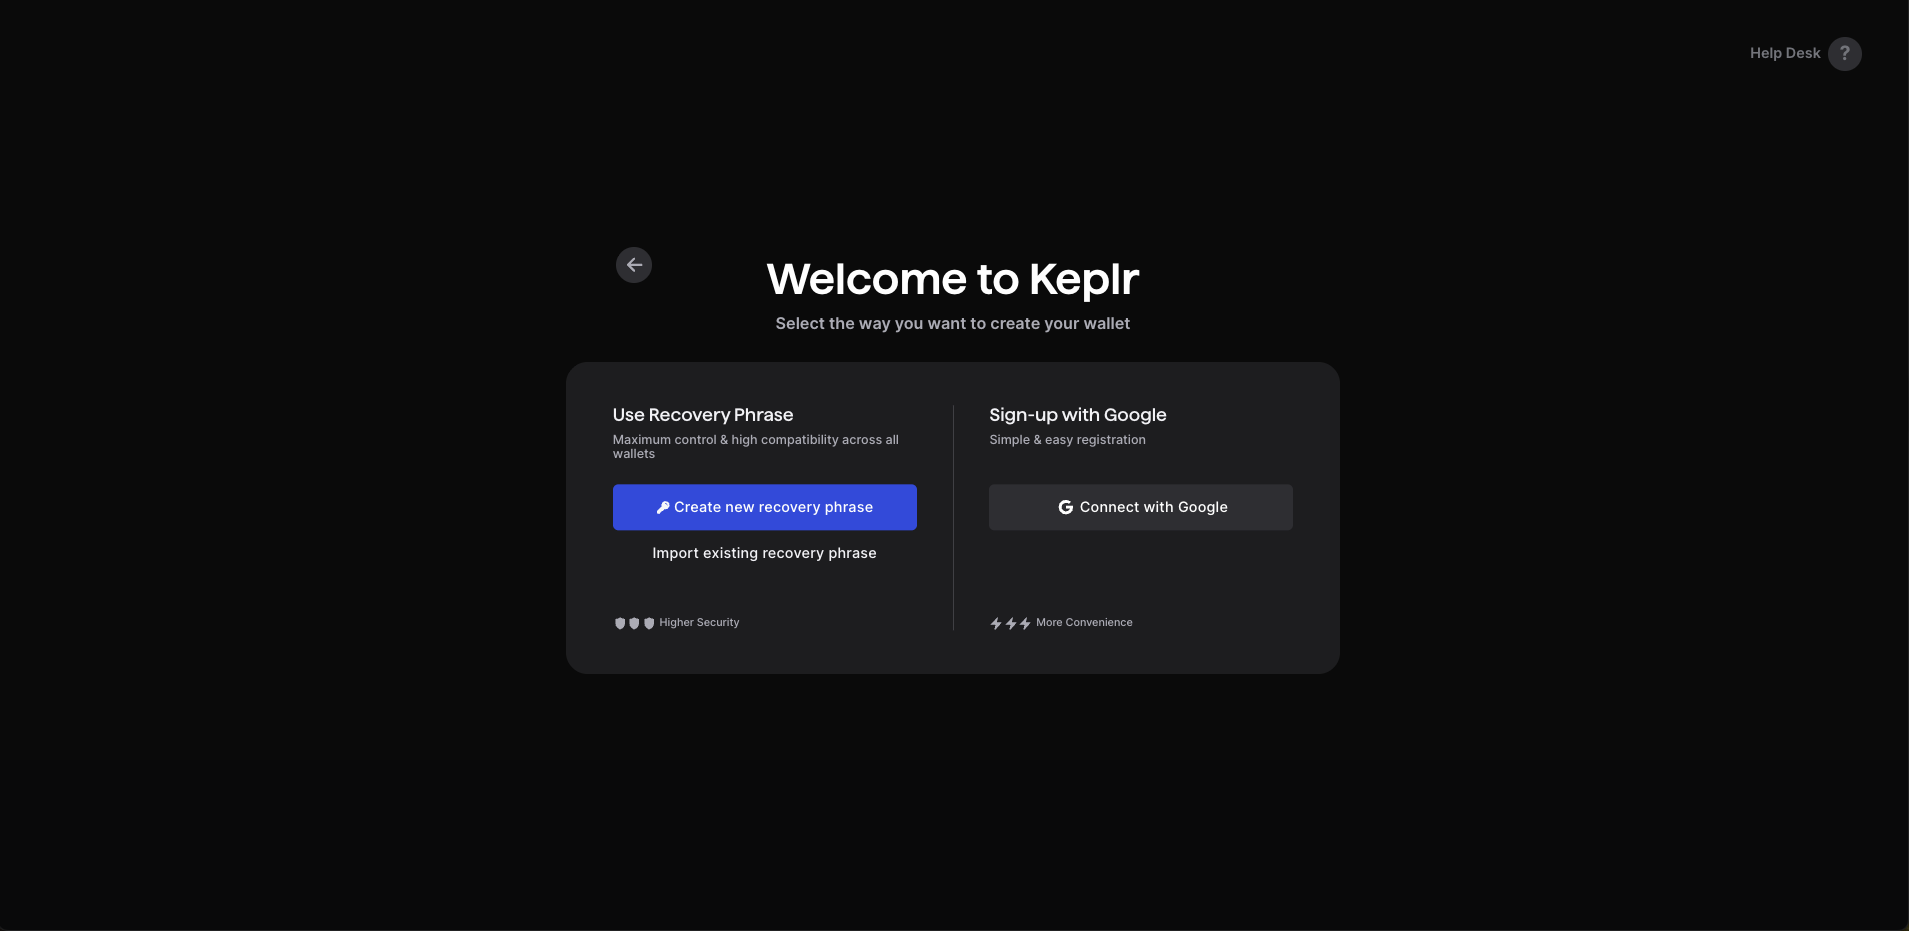
Set Up Your Wallet.
Backup your private key securely. Anyone with your private key can have access to your assets. If you lose access to your Gmail Account, the only way to recover your wallet is using your private key. Keep this in a safe place.

Important Notice: Limited Functionality
This option creates an account using a mnemonic phrase and does not support transactions through the bridge. If you want to perform transactions via the bridge, please use Option 1: Via inferenced CLI tool or Option 2: Via Keplr (external wallet, "Connect with Google") instead.
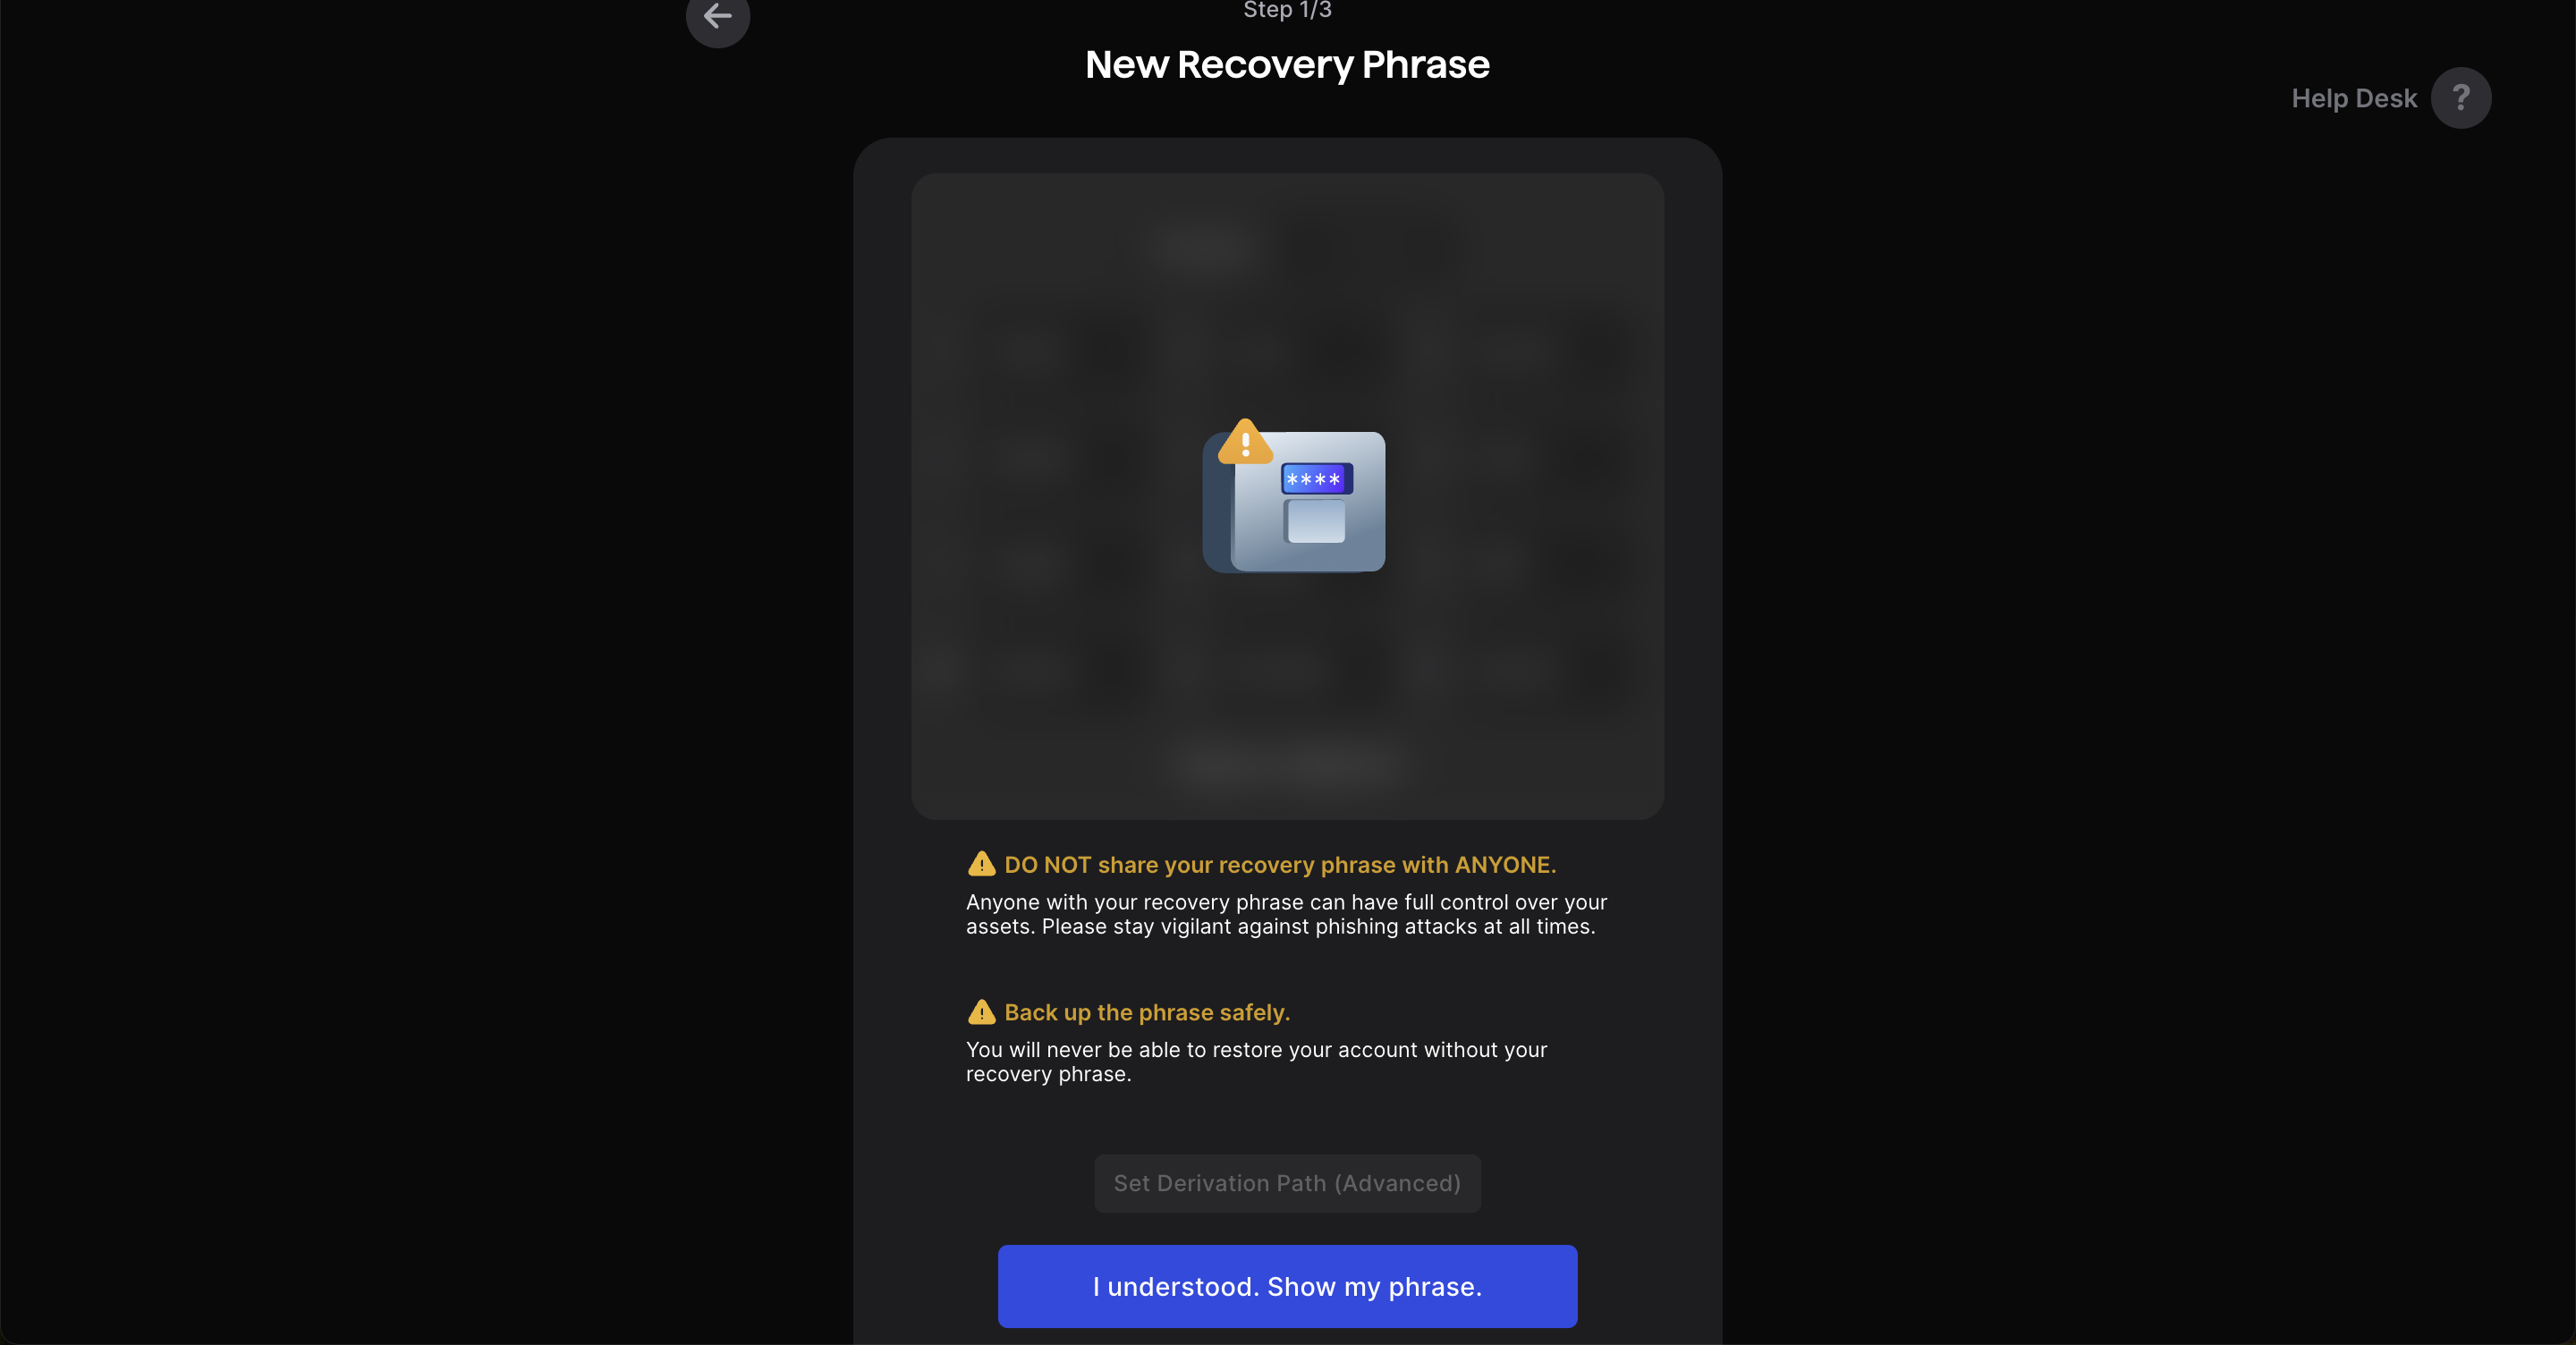
Click "Create new recovery phrase"
DO NOT share your recovery phrase with ANYONE. Anyone with your recovery phrase can have full control over your assets. Please stay vigilant against phishing attacks at all times. Back up the phrase safely. You will never be able to restore your account without your recovery phrase.
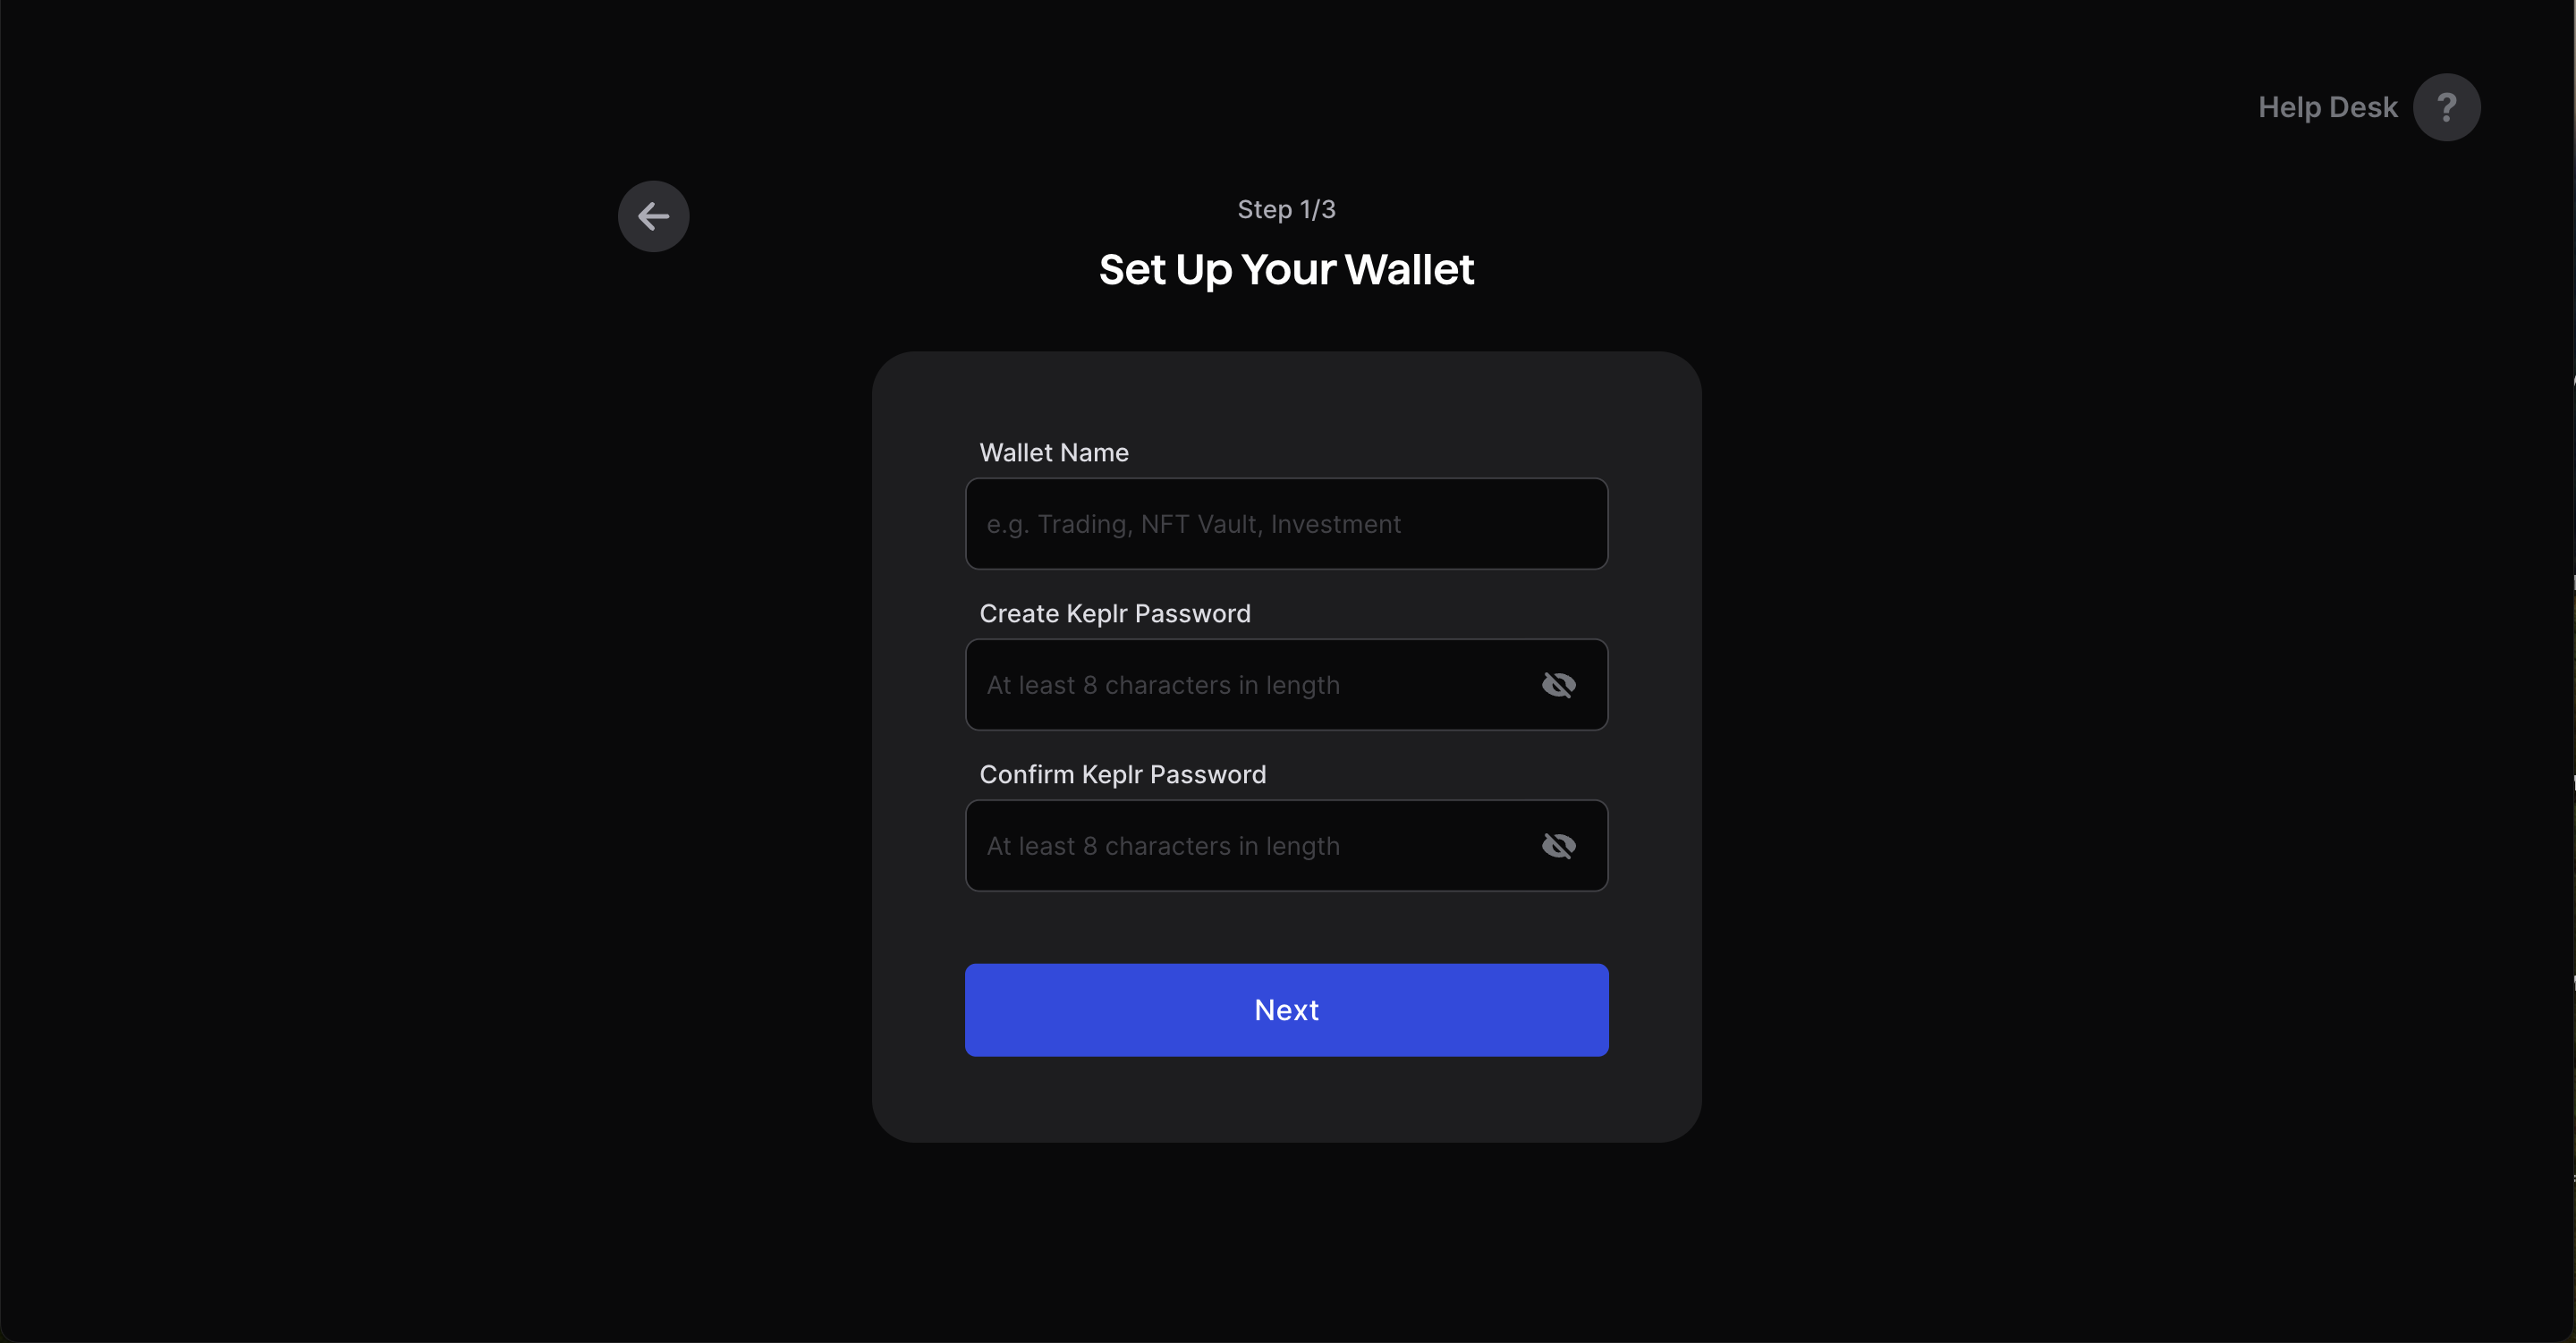
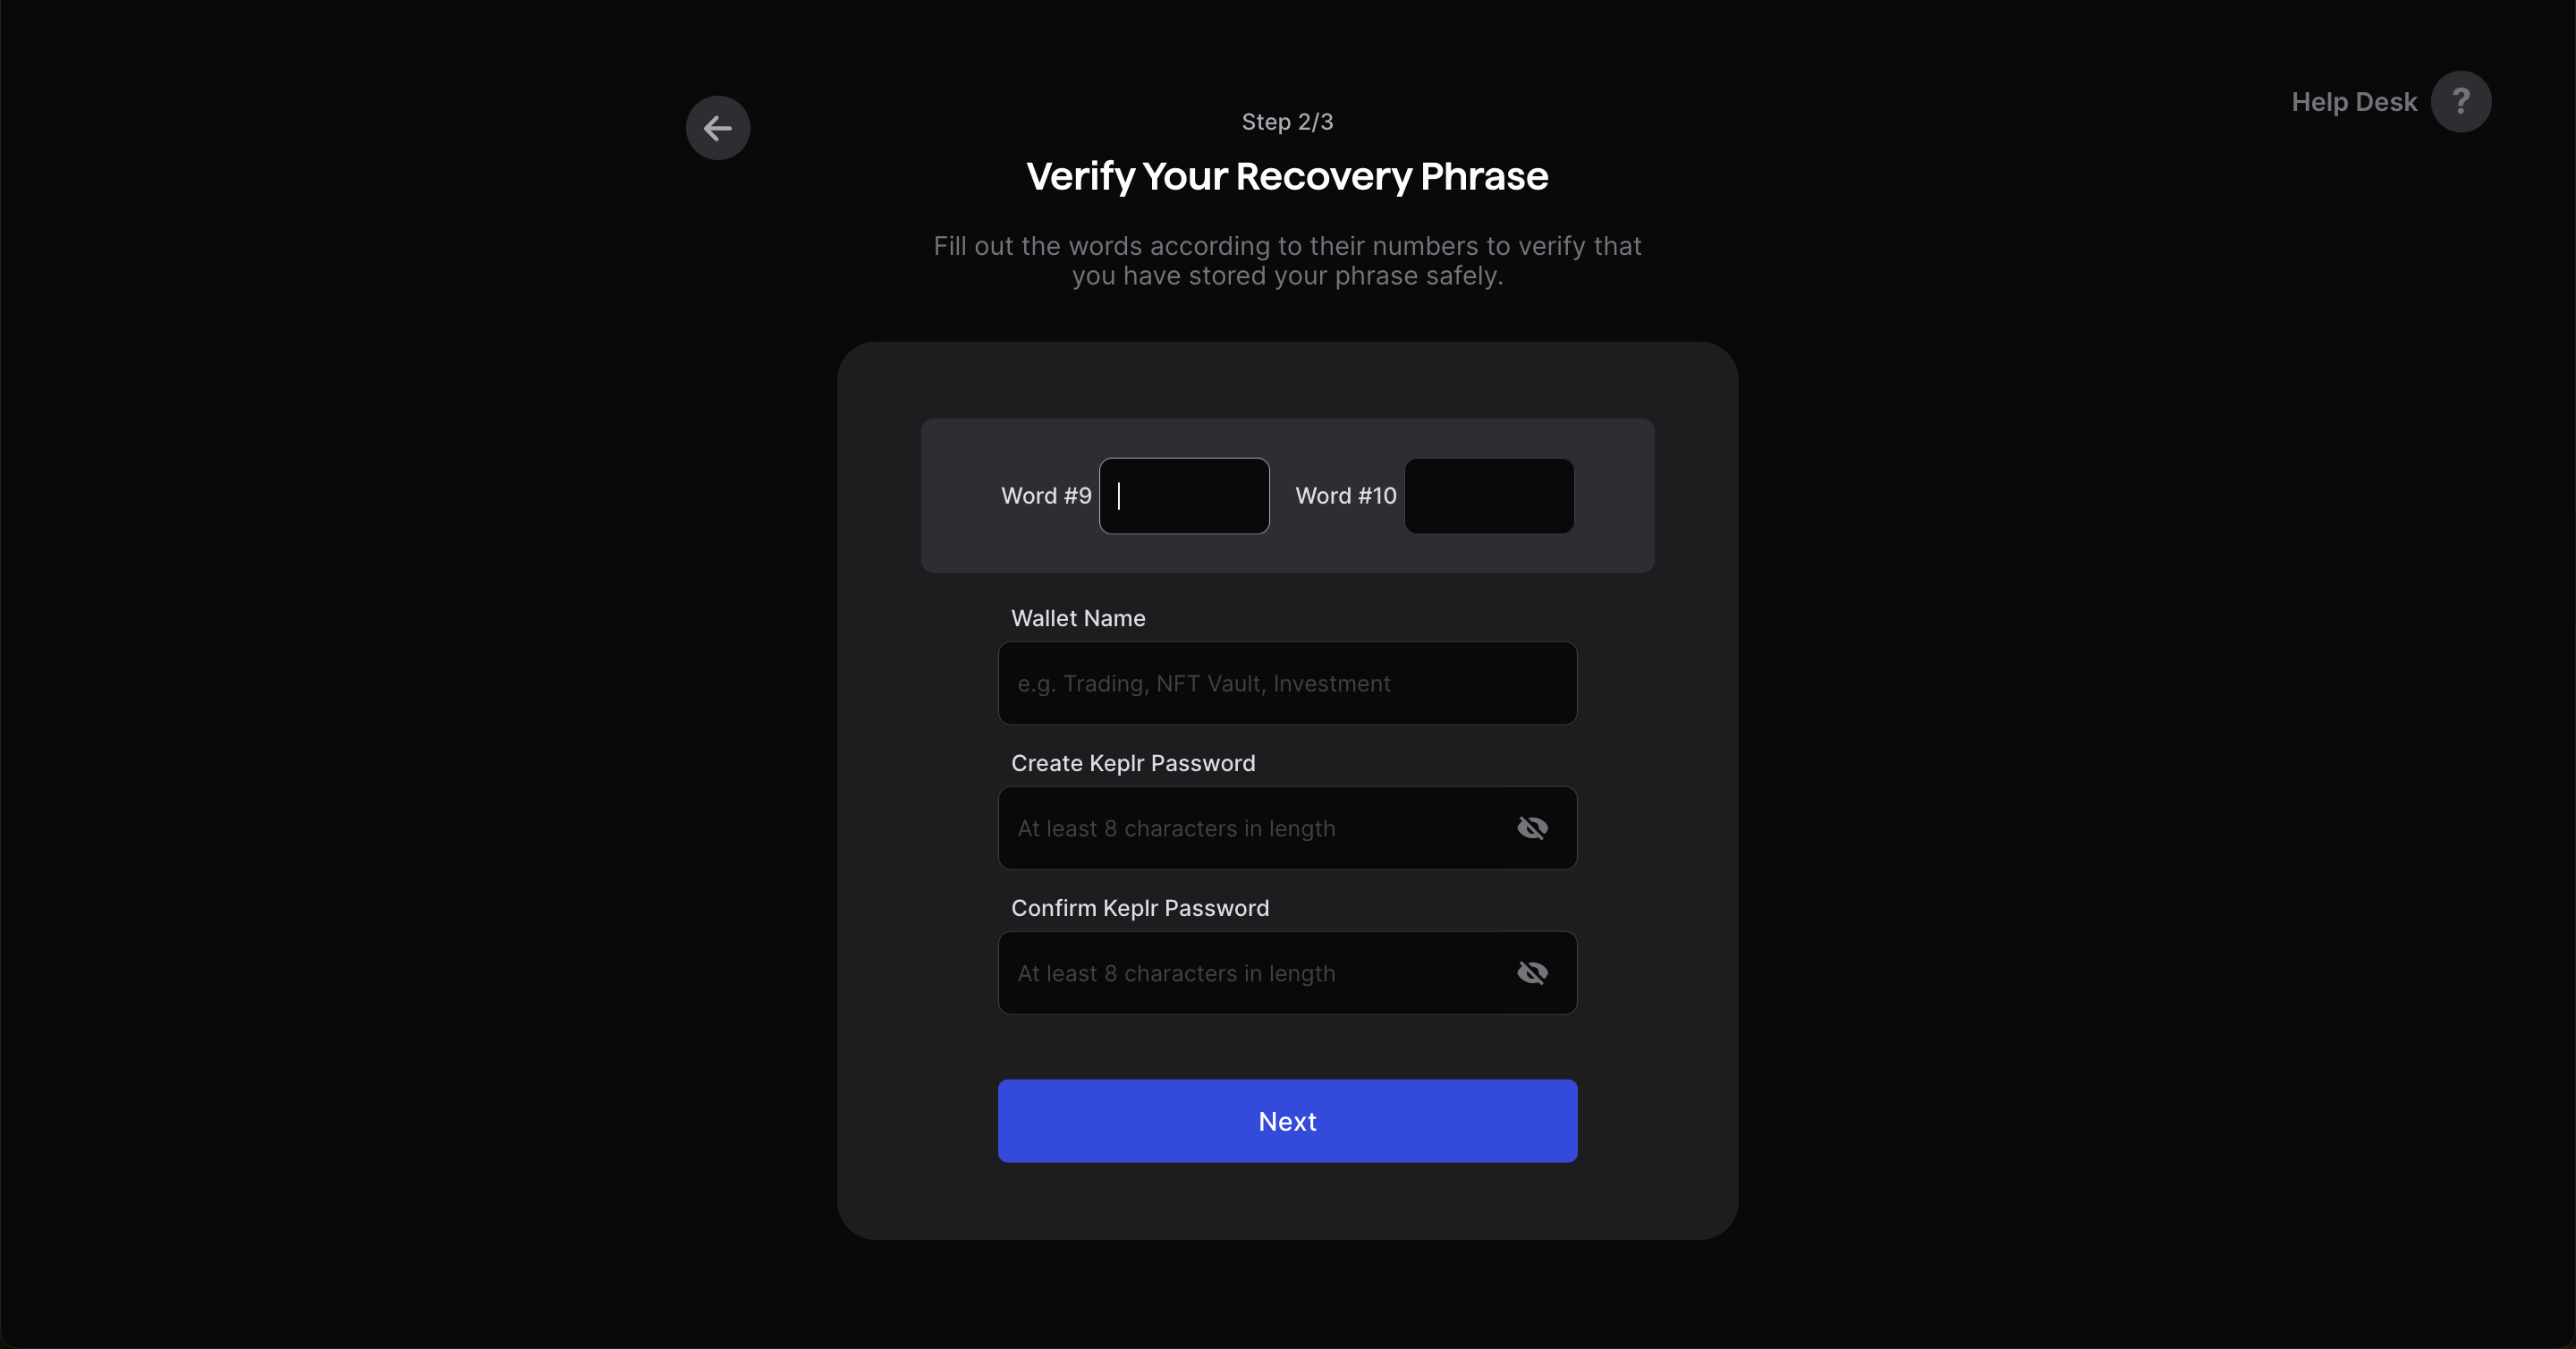
Verify your recovery phrase, create wallet name and password.
Type “Gonka” into the search bar and select Gonka chain to add it to your wallet.

Your Keplr wallet has been created.

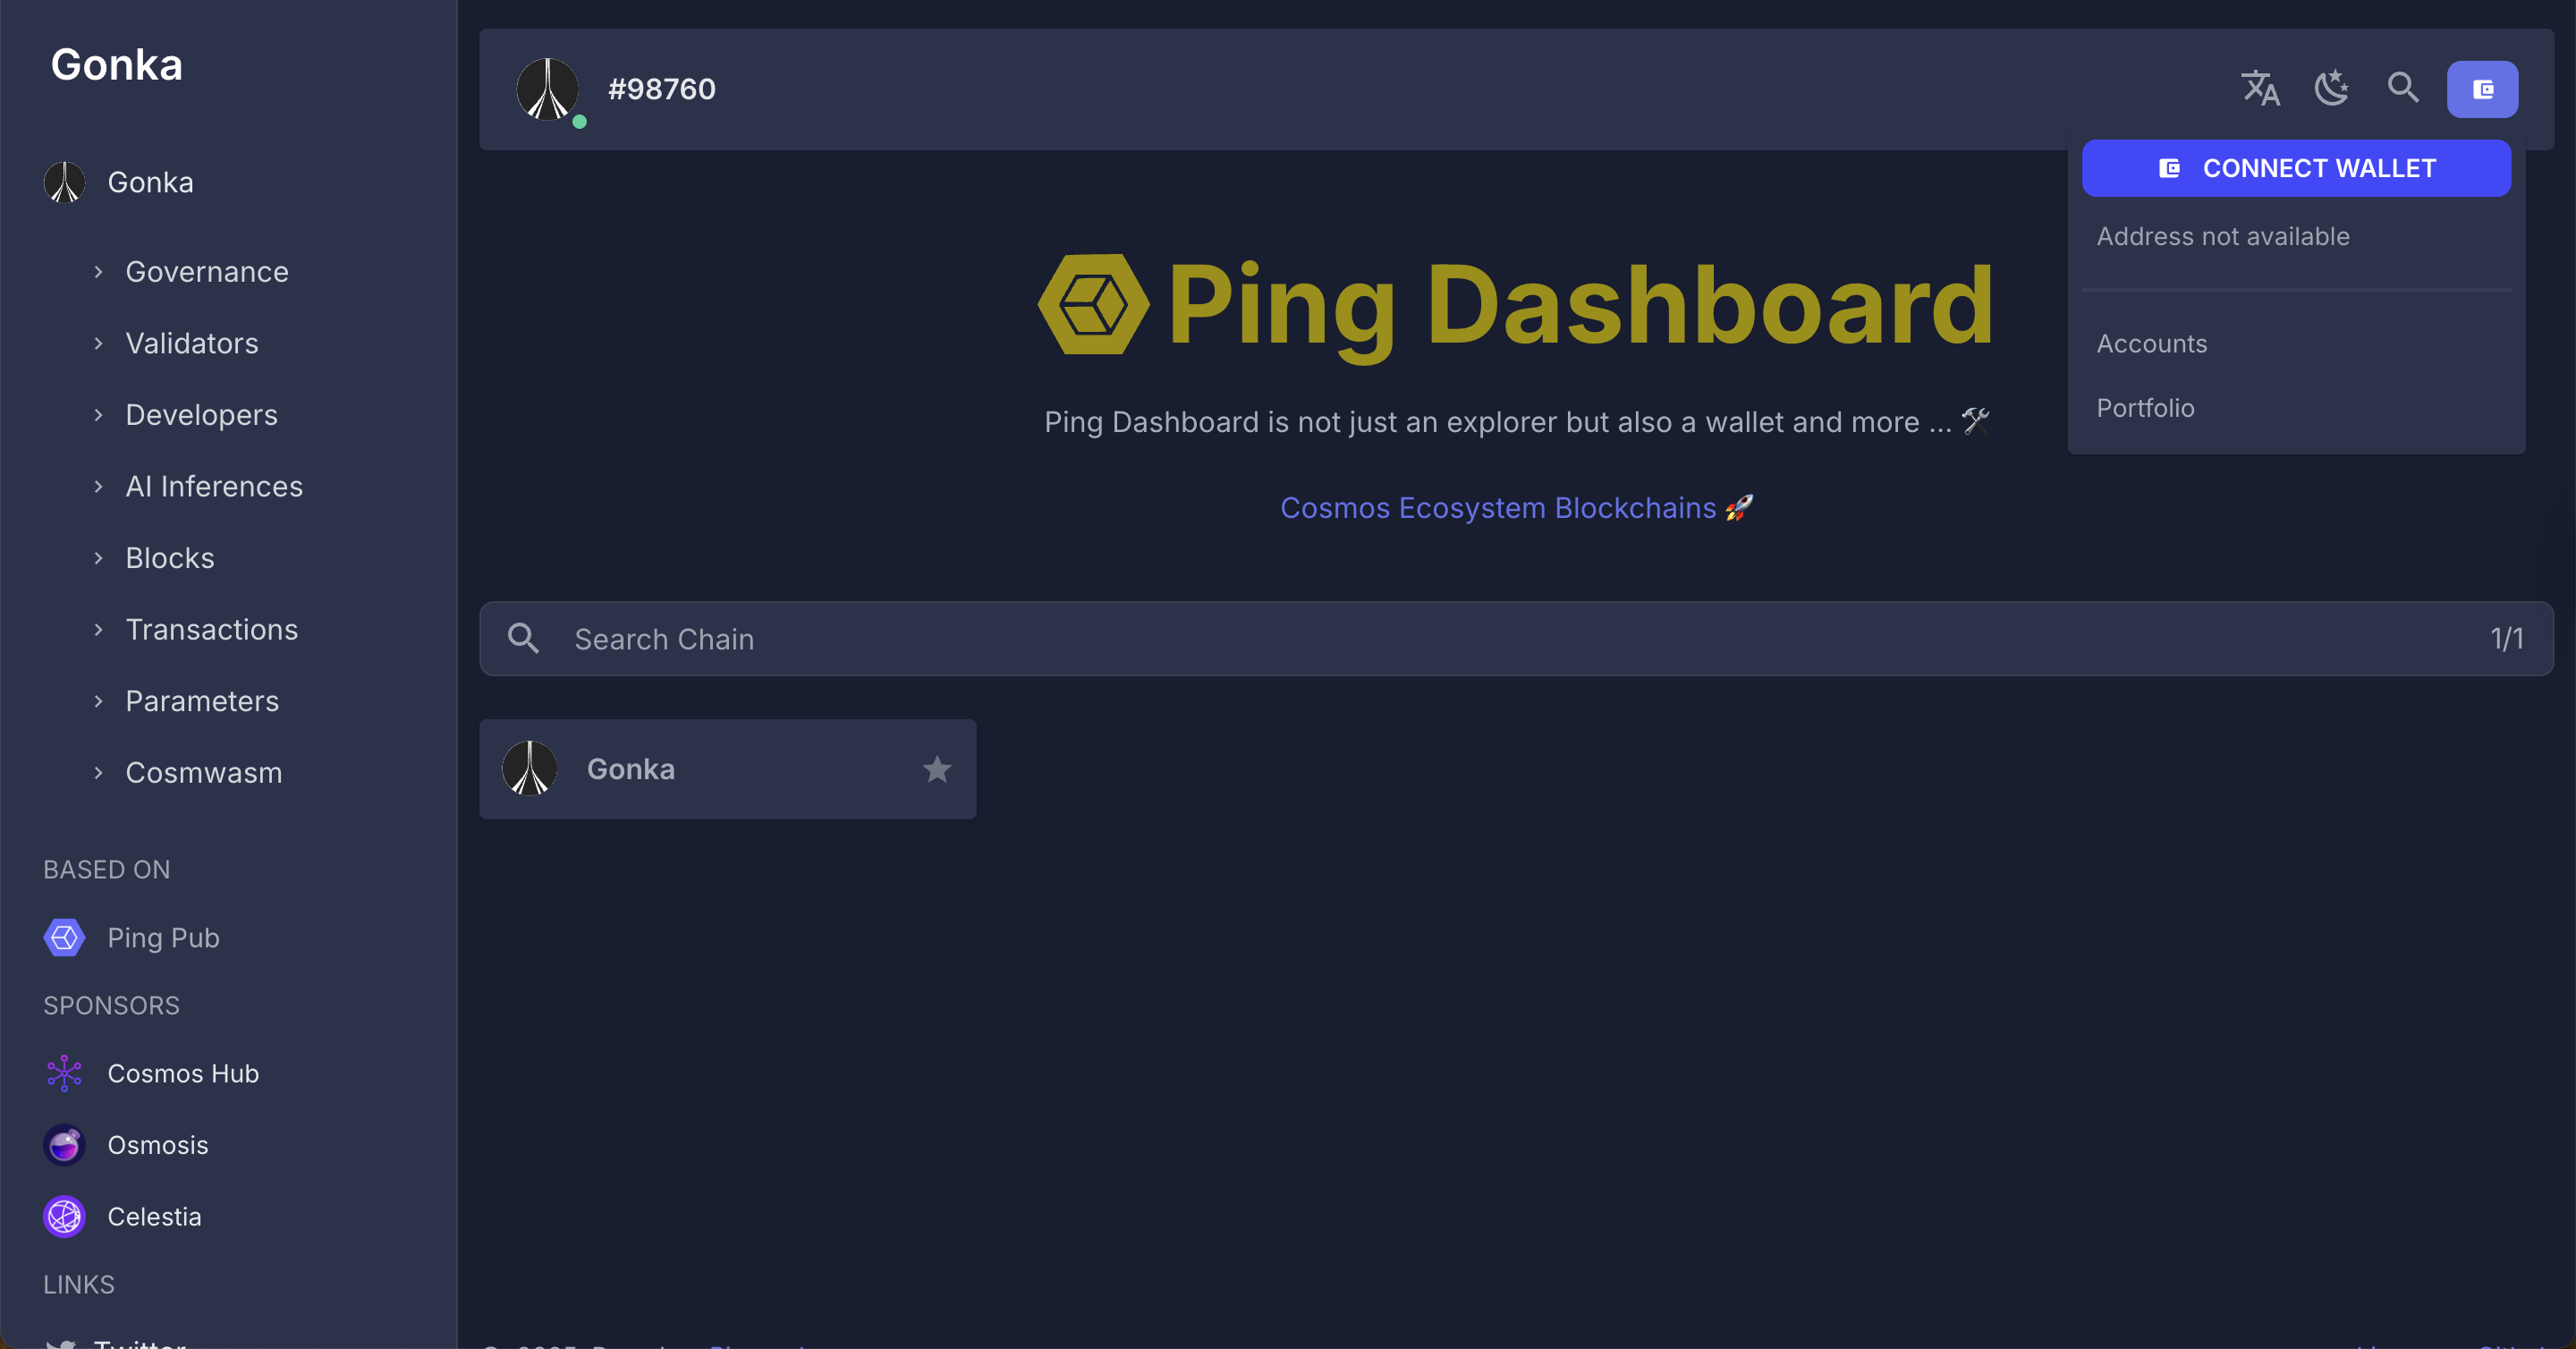
Open Gonka’s decentralized Dashboard
Choose a random node from the inference_url list of genesis-nodes.
- http://185.216.21.98:8000
- http://69.19.136.233:8000
- http://36.189.234.197:18026
- http://36.189.234.237:17241
- http://node1.gonka.ai:8000
- http://node2.gonka.ai:8000
- http://node3.gonka.ai:8000
- http://47.236.26.199:8000
- http://47.236.19.22:18000
- http://gonka.spv.re:8000
An alternative, fully decentralized approach to choosing a random node from the list of active Hosts
Open the Hosts list: http://node2.gonka.ai:8000/v1/epochs/current/participants
Choose any active Host from the list.
Copy their inference_url value.
Paste the inference_url into your browser to load the dashboard.
Once opened, you’ll see real-time data streamed directly from the Host’s node — including network statistics, active workloads, and inference metrics.
In the top-right corner, click "Connect Wallet" to get started.
Select Keplr and hit Connect.
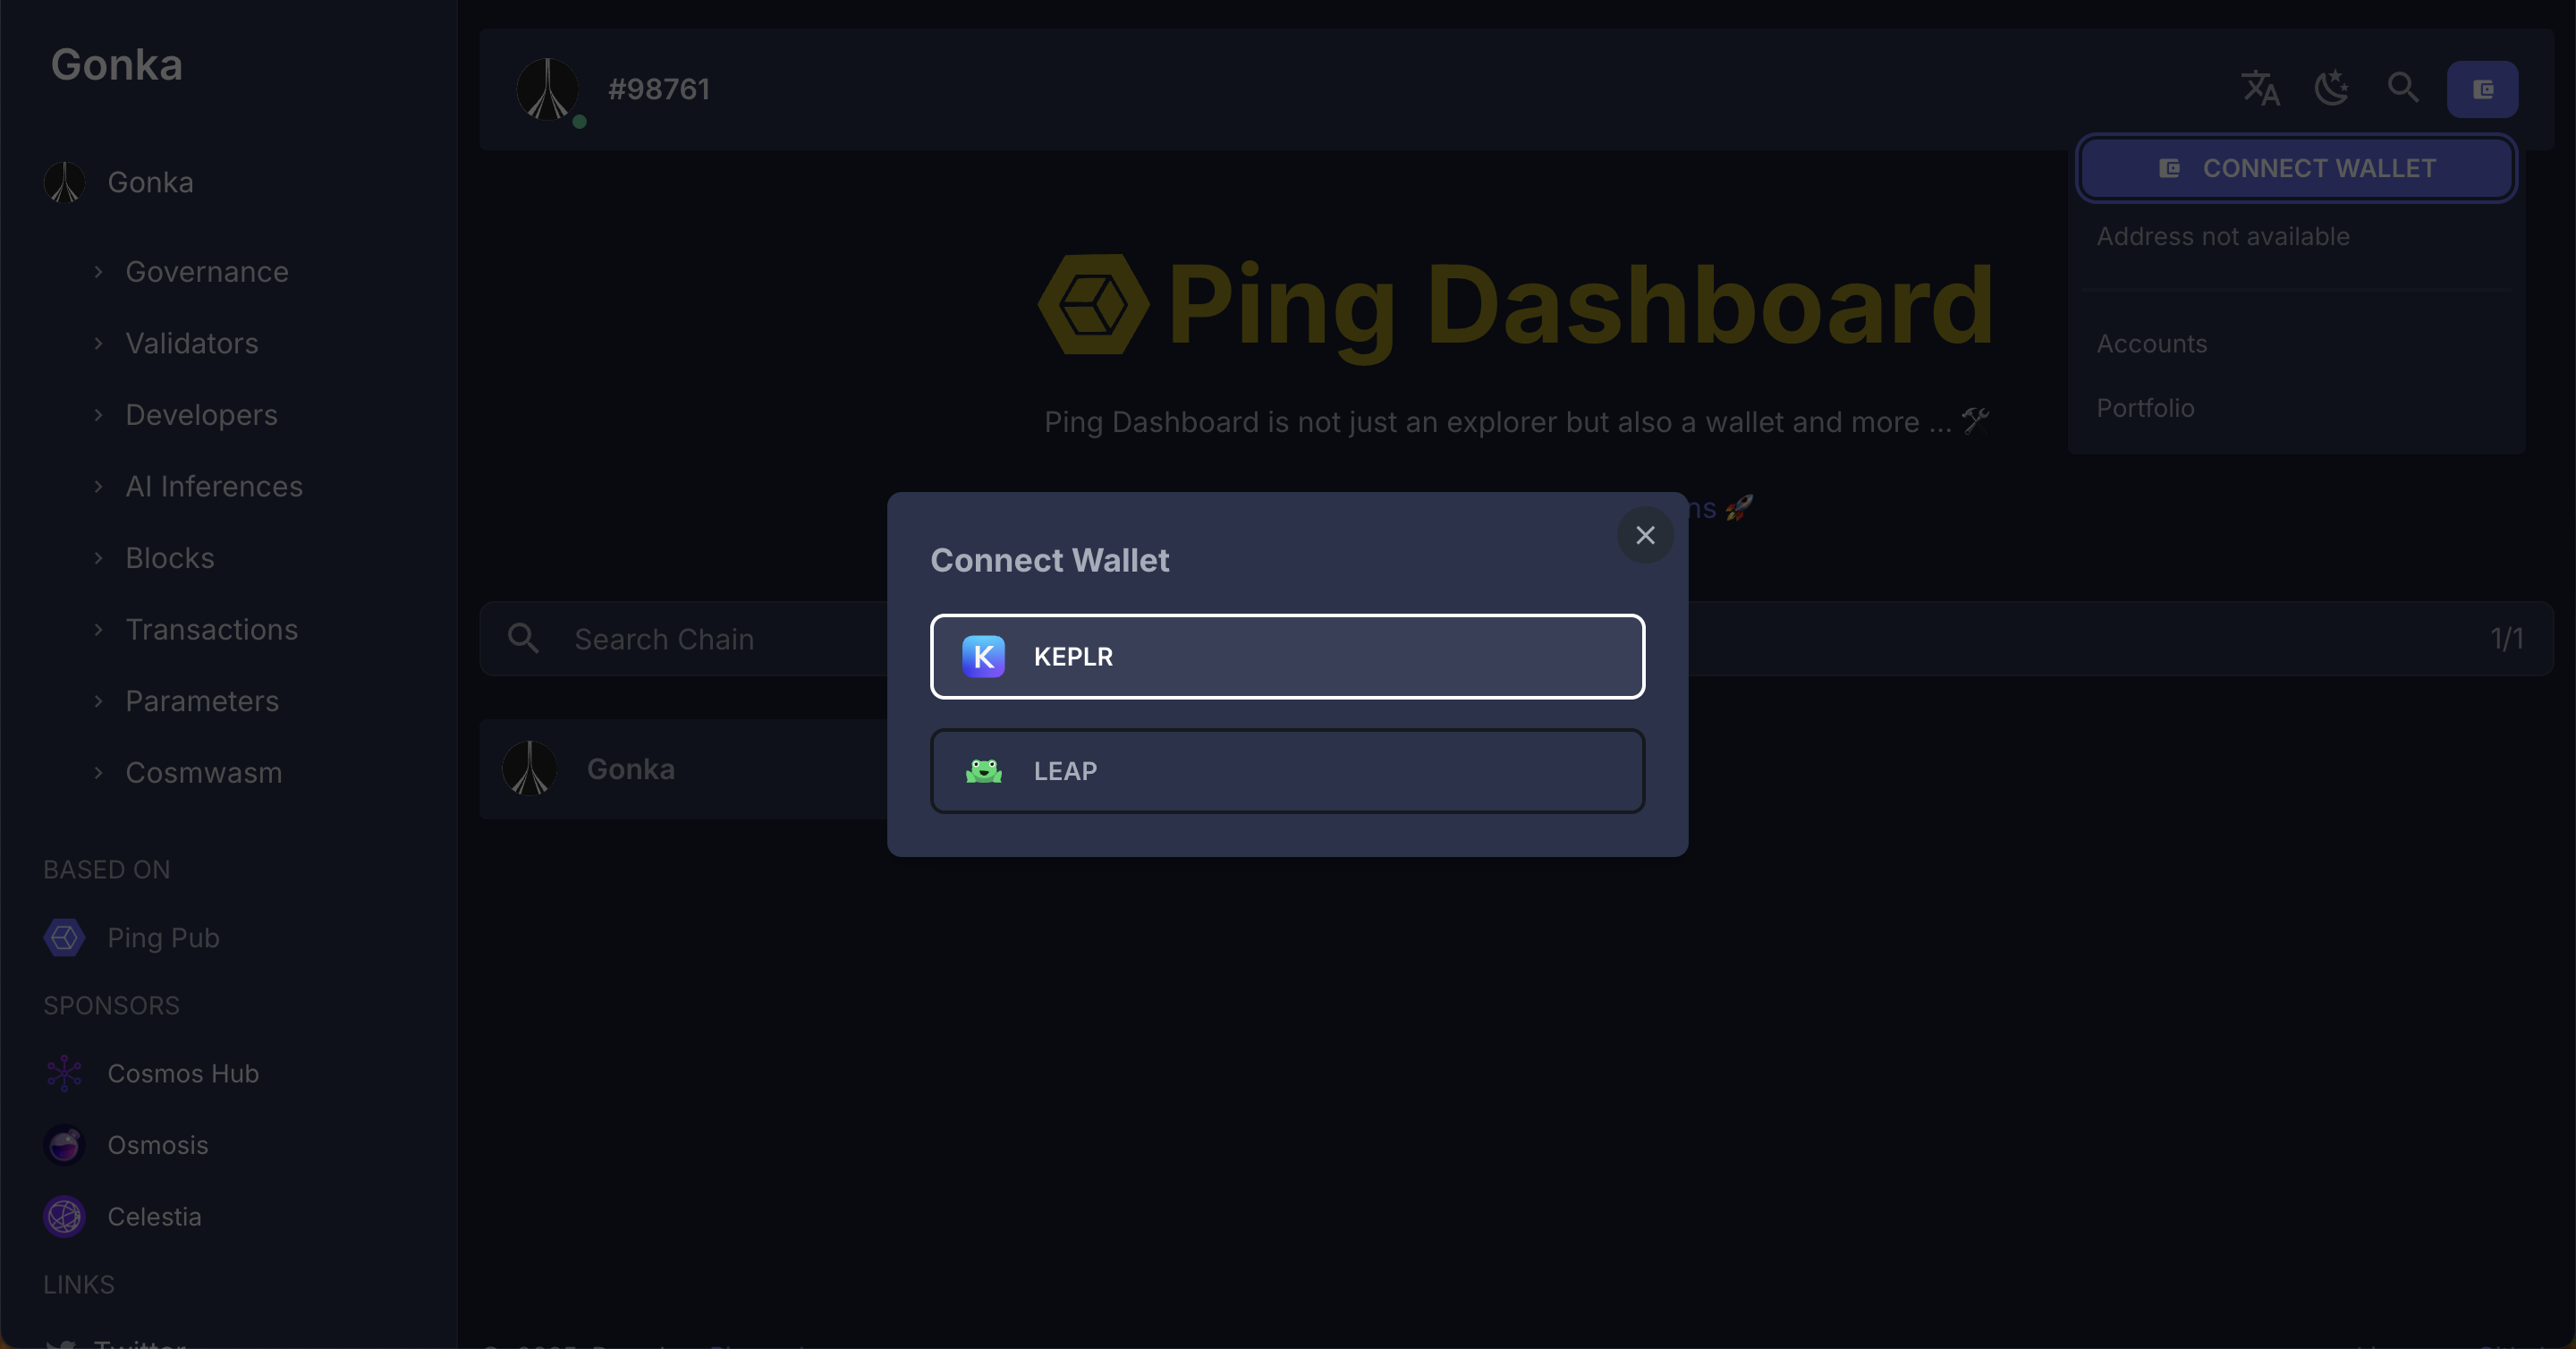
Approve requested connection to Gonka network.

Done! Your Gonka Developer account has been successfully created.

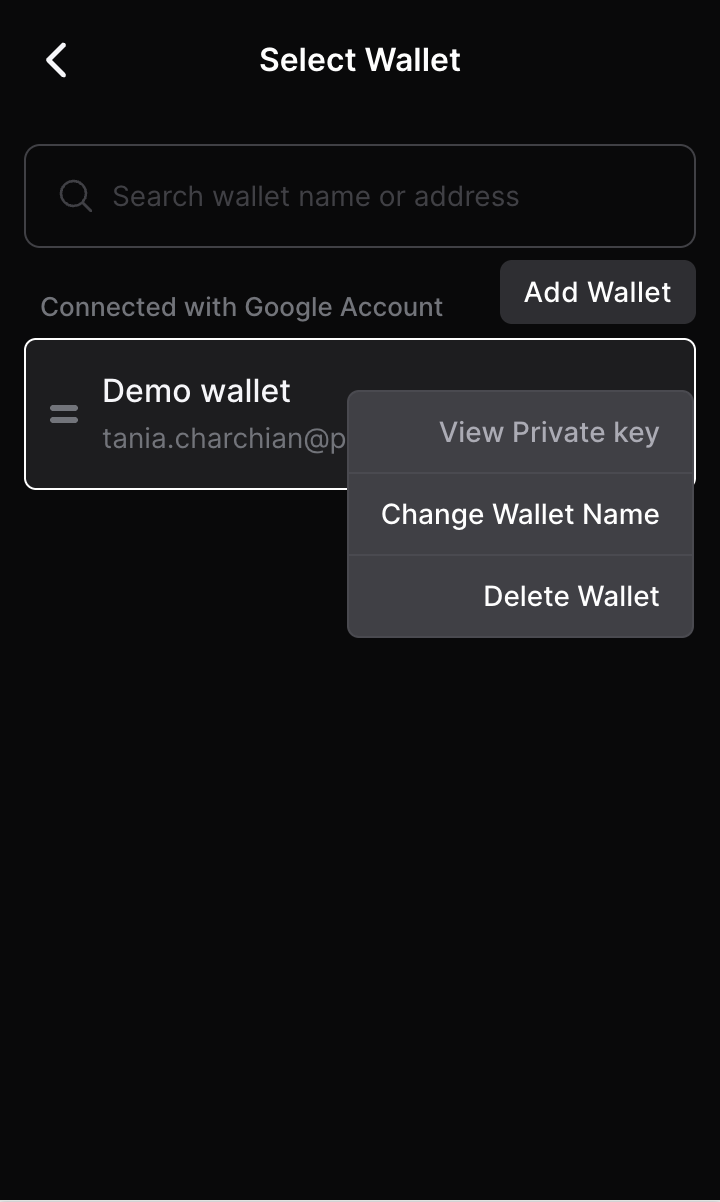
Open the extension and click on the account icon in the top-right corner of the extension window.
Navigate three dots and click "View private key" if you "connected with Google" or "View recovery phrase" if you created an account using a "recovery phrase".
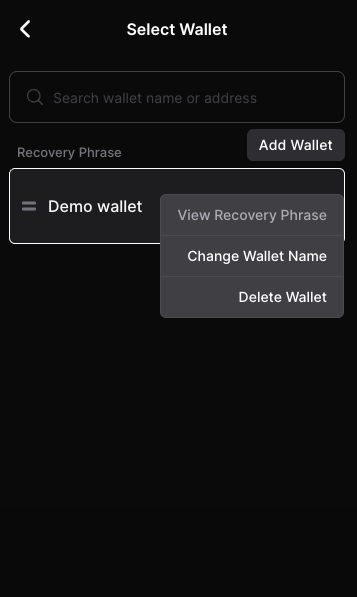
Enter your password.
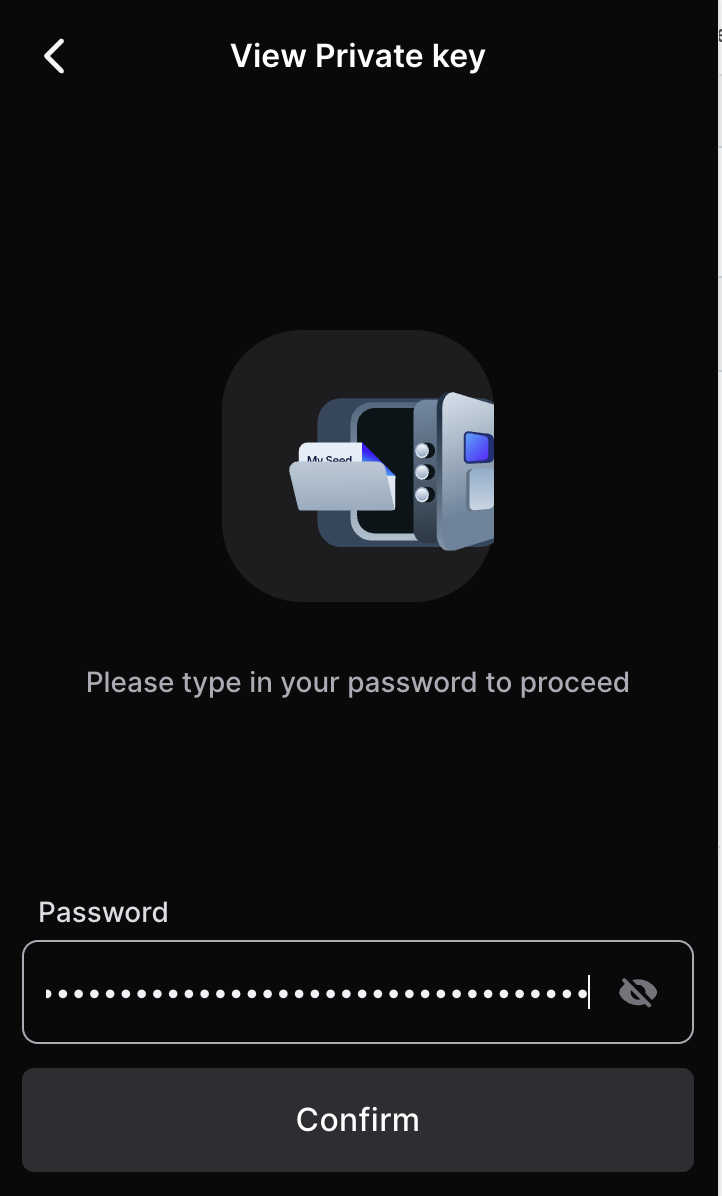
Copy your private key or recovery phrase and store it securely (a hard copy is preferred).
Optional: How to add an additional Gonka account in Keplr wallet — click to view steps
Open the extension and click on the account icon in the top-right corner of the extension window.
Click the "Add wallet" button.
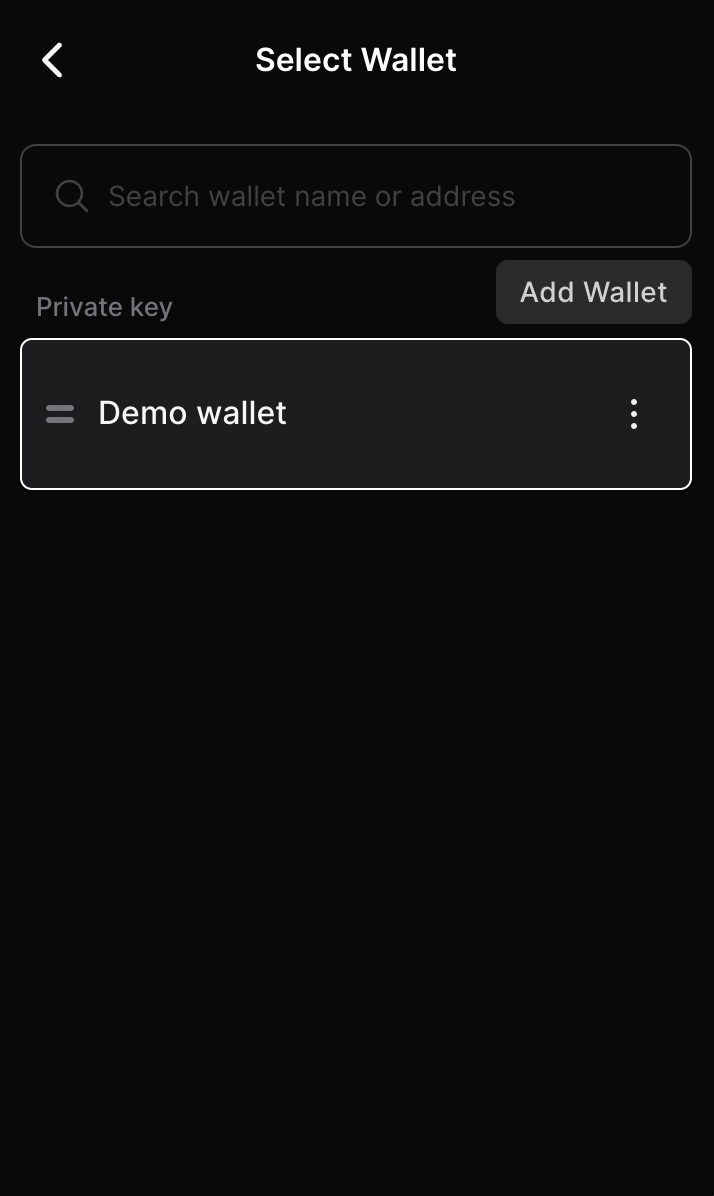
Click "Import an Existing Wallet".
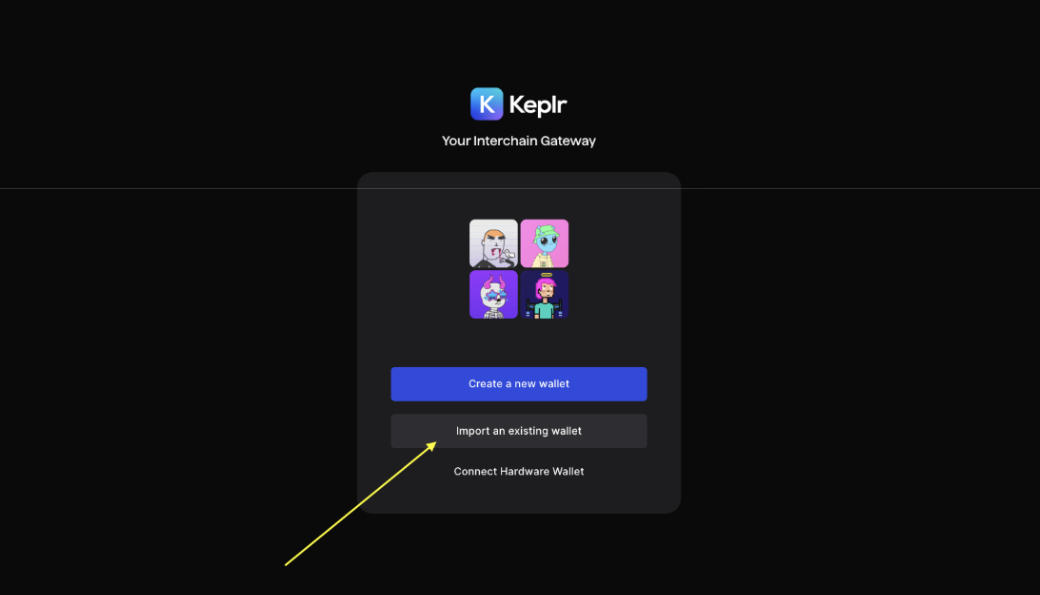
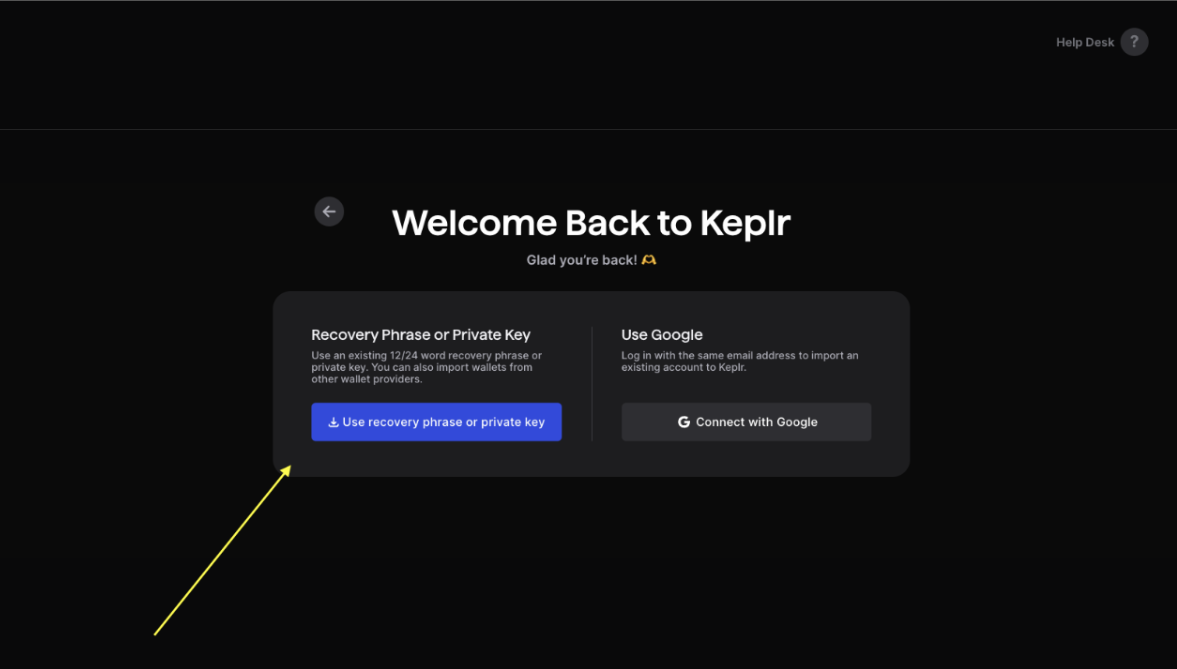
Click "Use recovery phrase or private key"
Paste your private key. You can import an account created using a recovery (mnemonic/seed) phrase. However, bridge functionality will be limited, as the bridge requires direct access to the raw private key to sign transactions and ensure full interoperability with Ethereum.
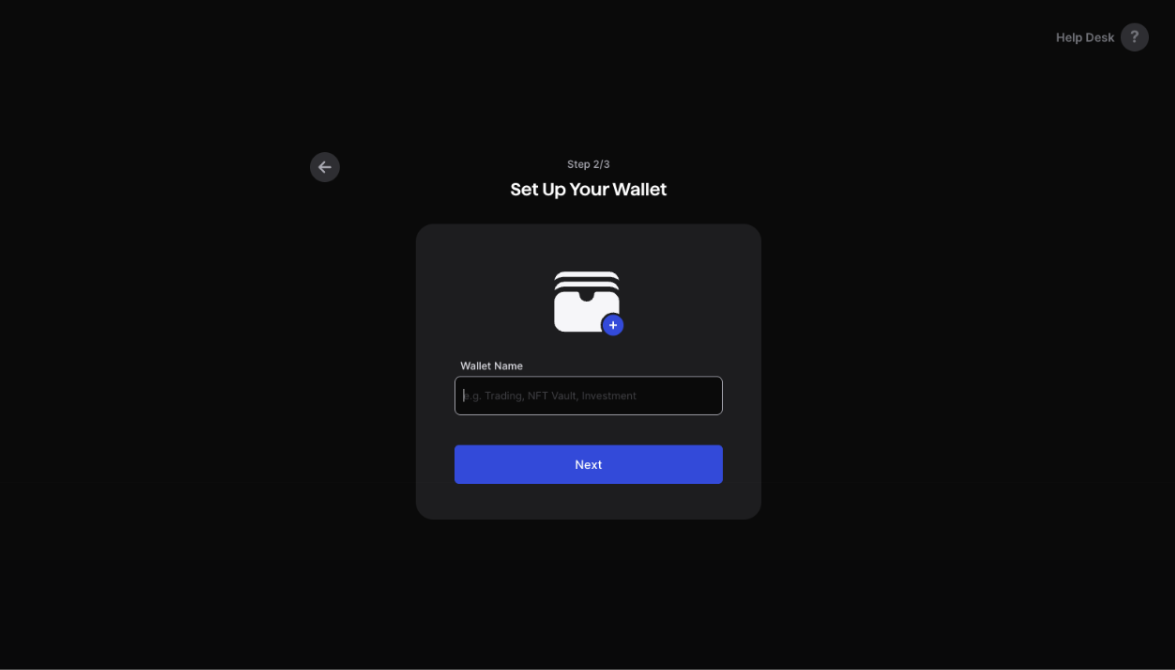
Give your wallet a name for easy reference.
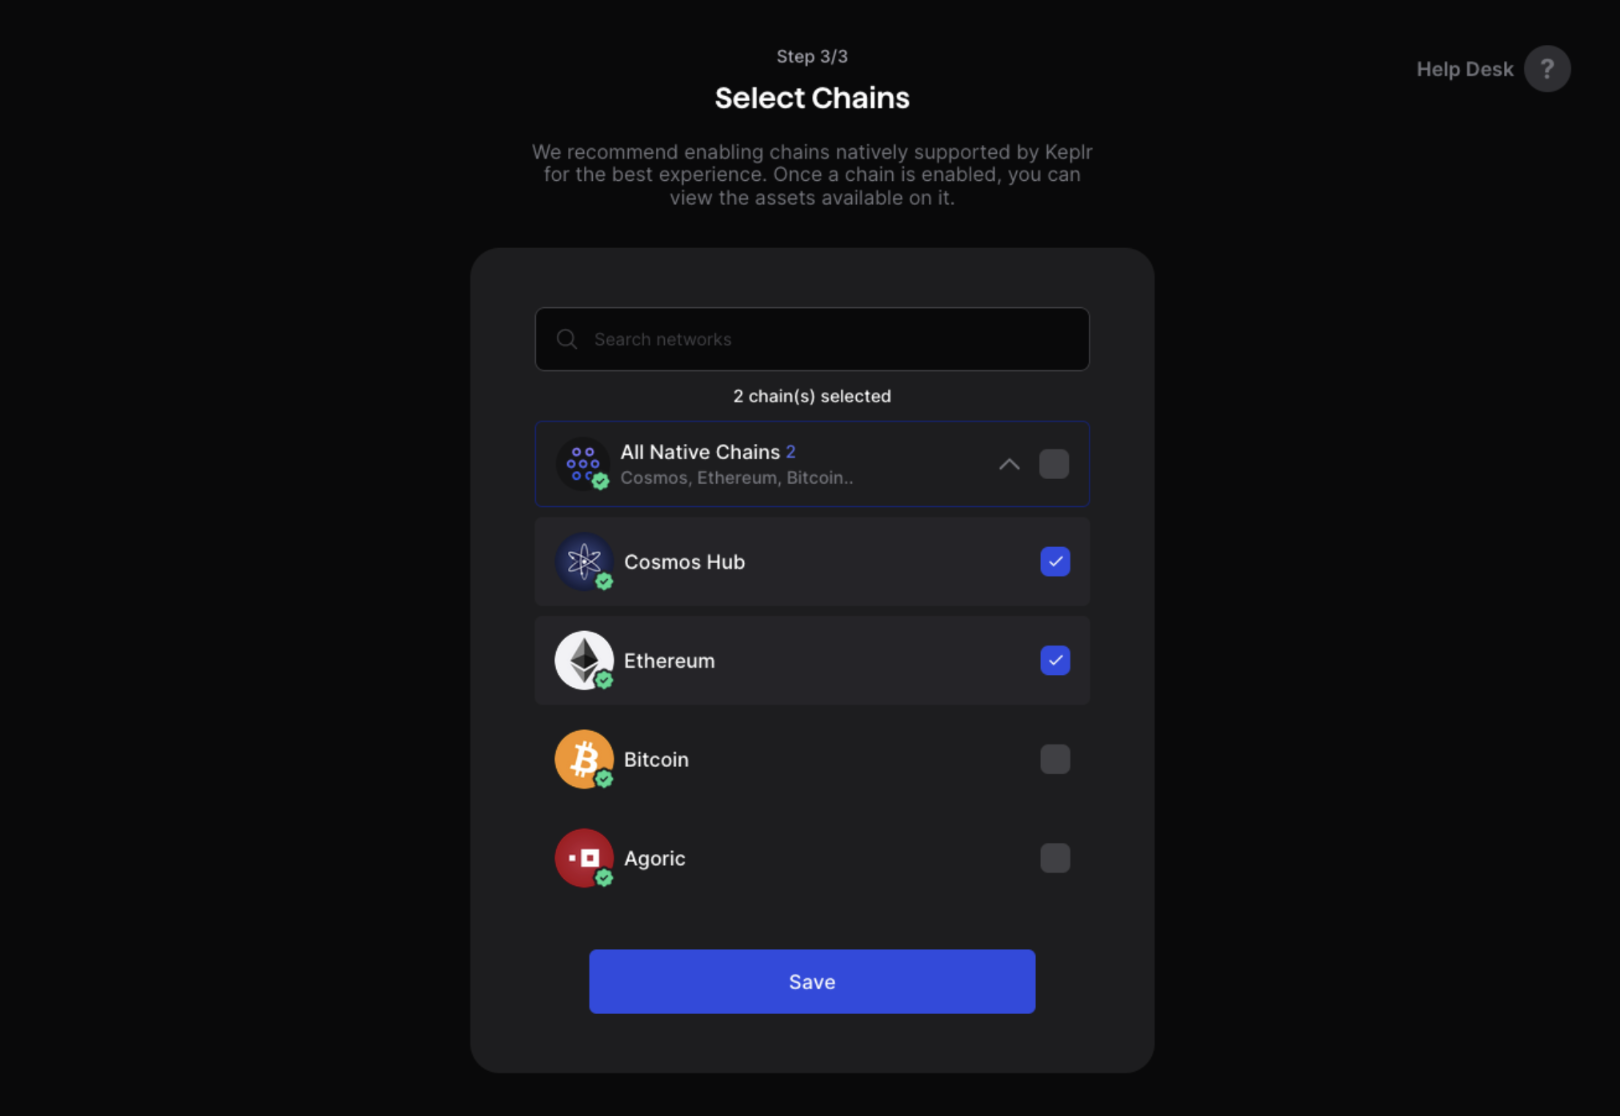
Select Cosmos Hub and Ethereum.
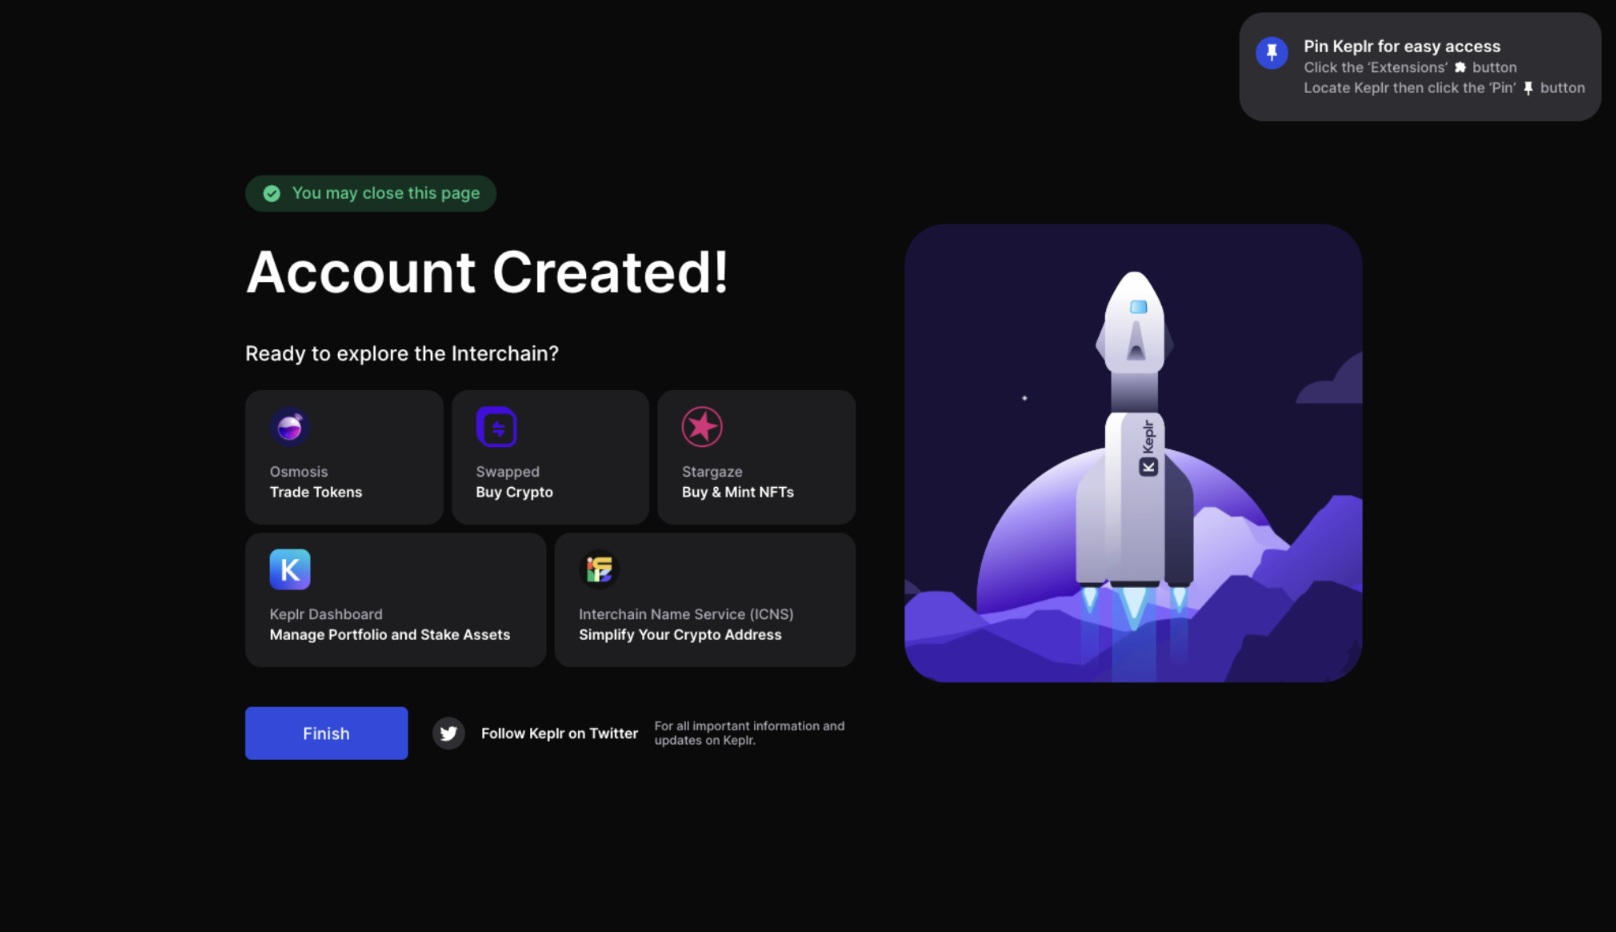
Done — your Gonka account has been successfully imported into Keplr!
Important Notice: Limited Functionality
This option creates an account using a mnemonic phrase and does not support transactions through the bridge. If you want to perform transactions via the bridge, please use Option 1: Via inferenced CLI tool or Option 2: Via Keplr (external wallet, "Connect with Google") instead.
Go to the official Leap website and click "Download Leap".
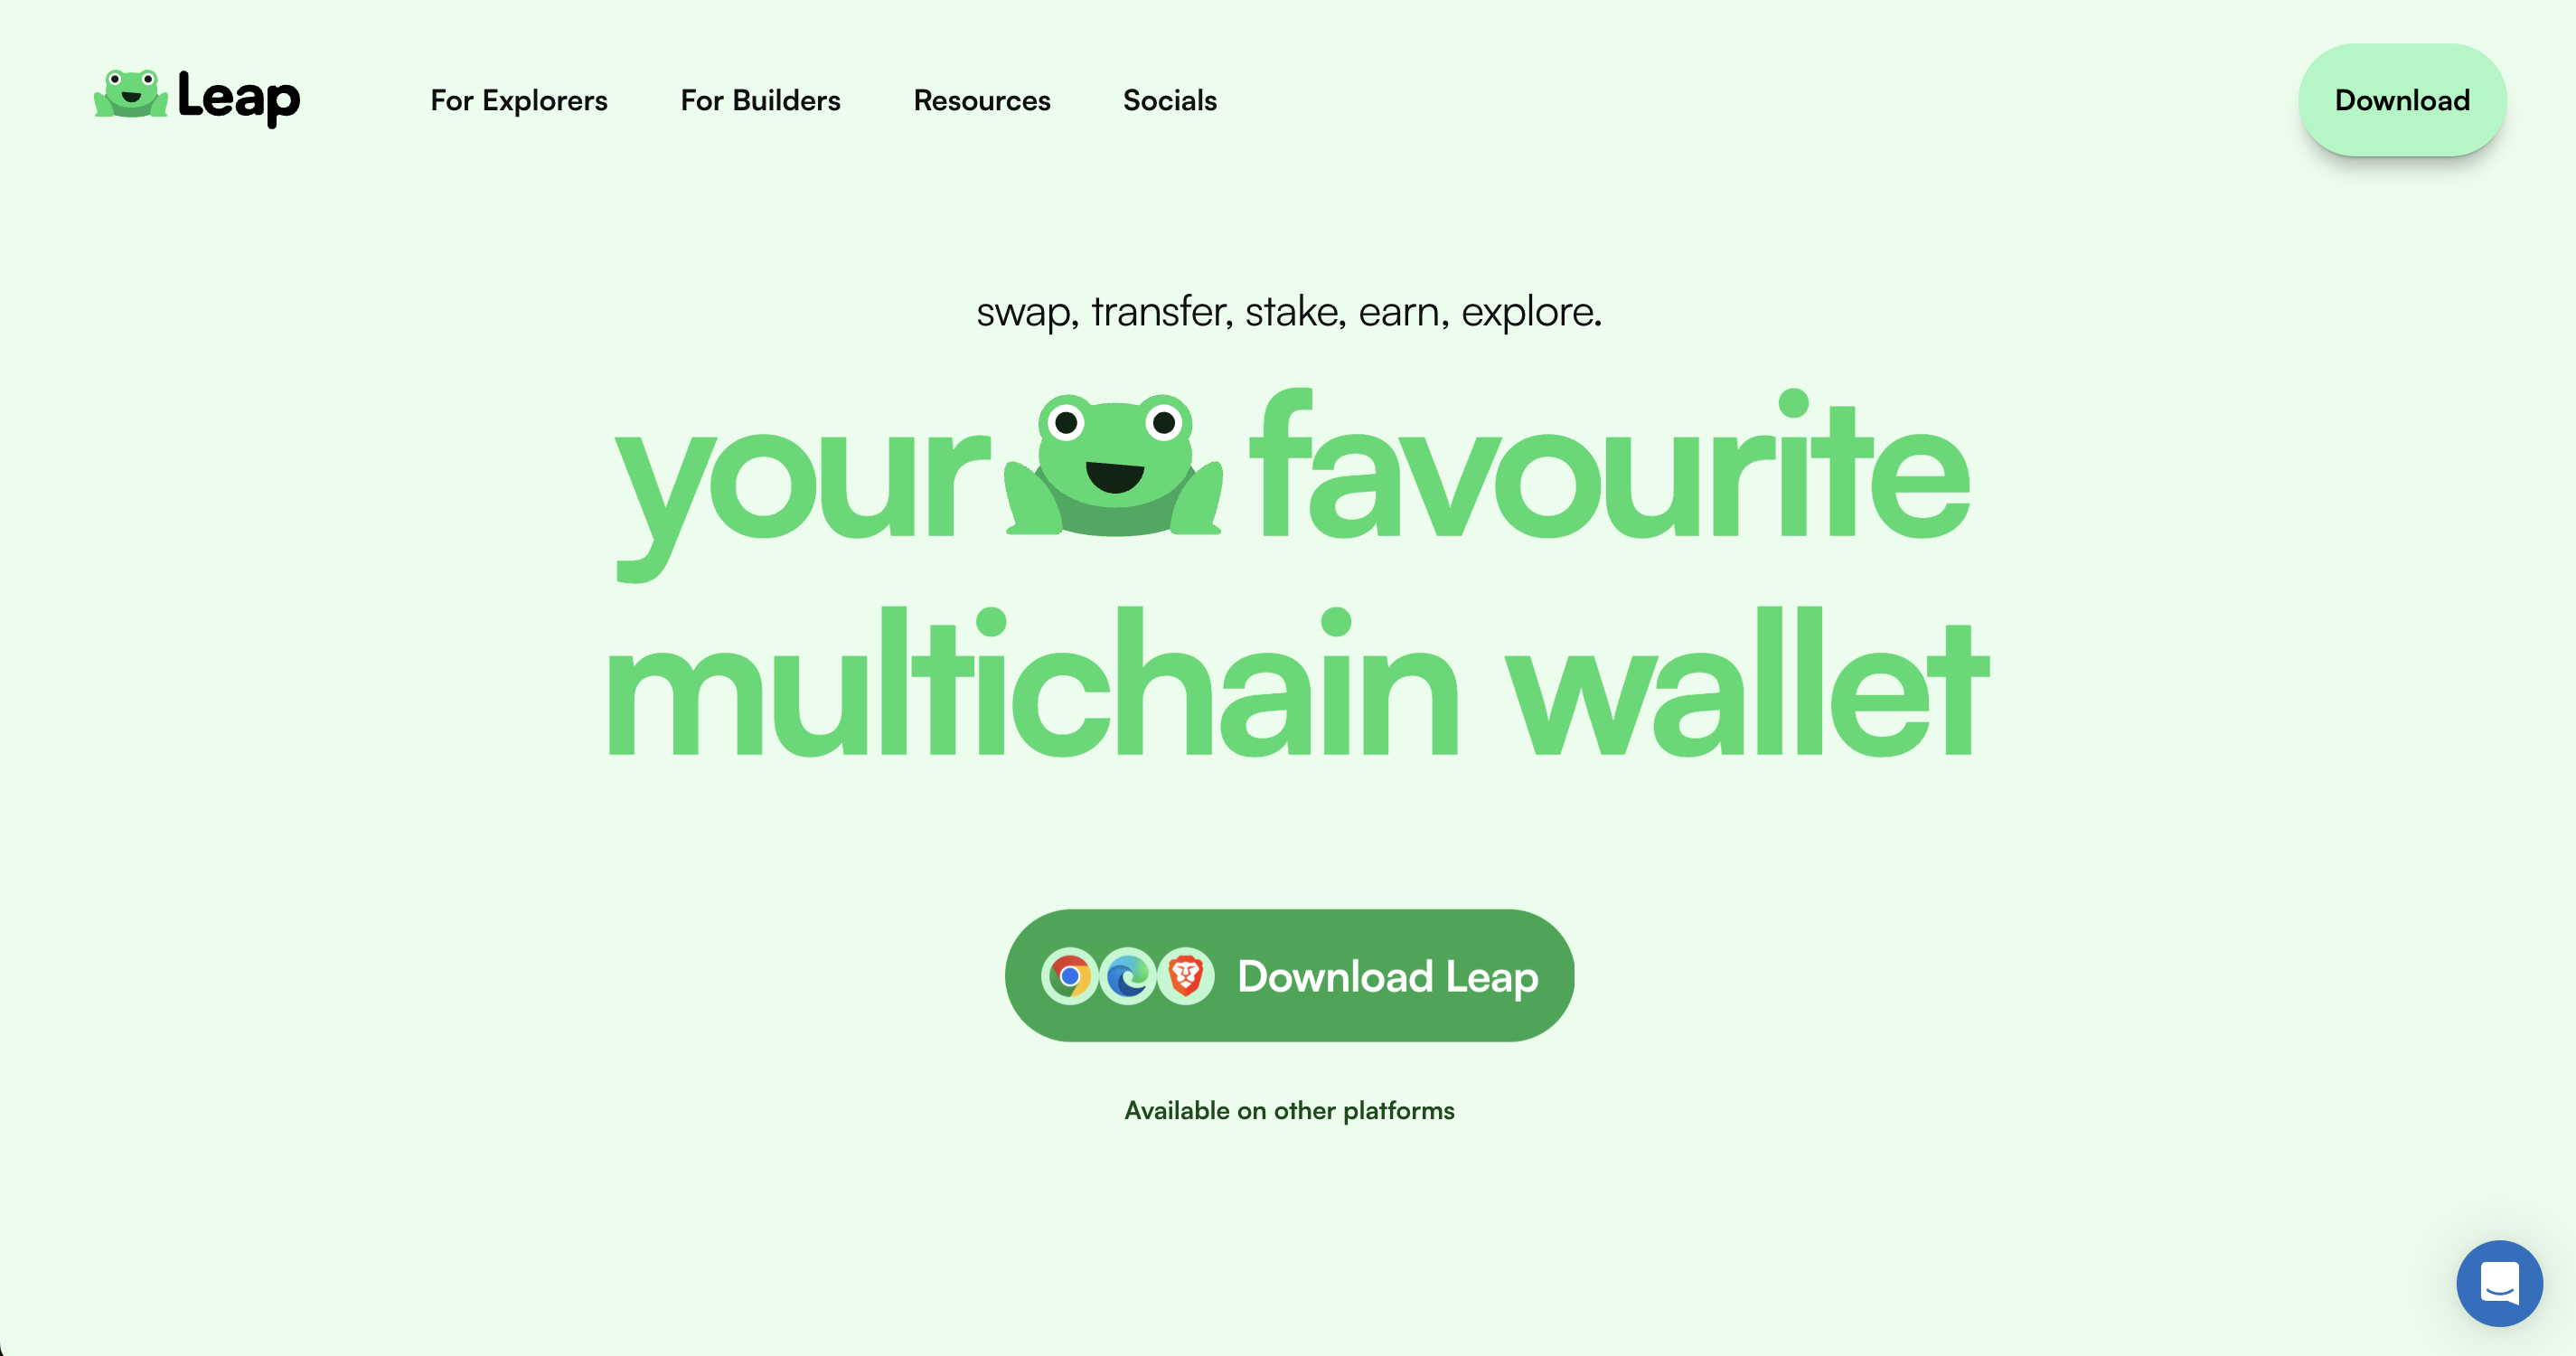
Add the selected extension to your browser.

Click "Create a new wallet".

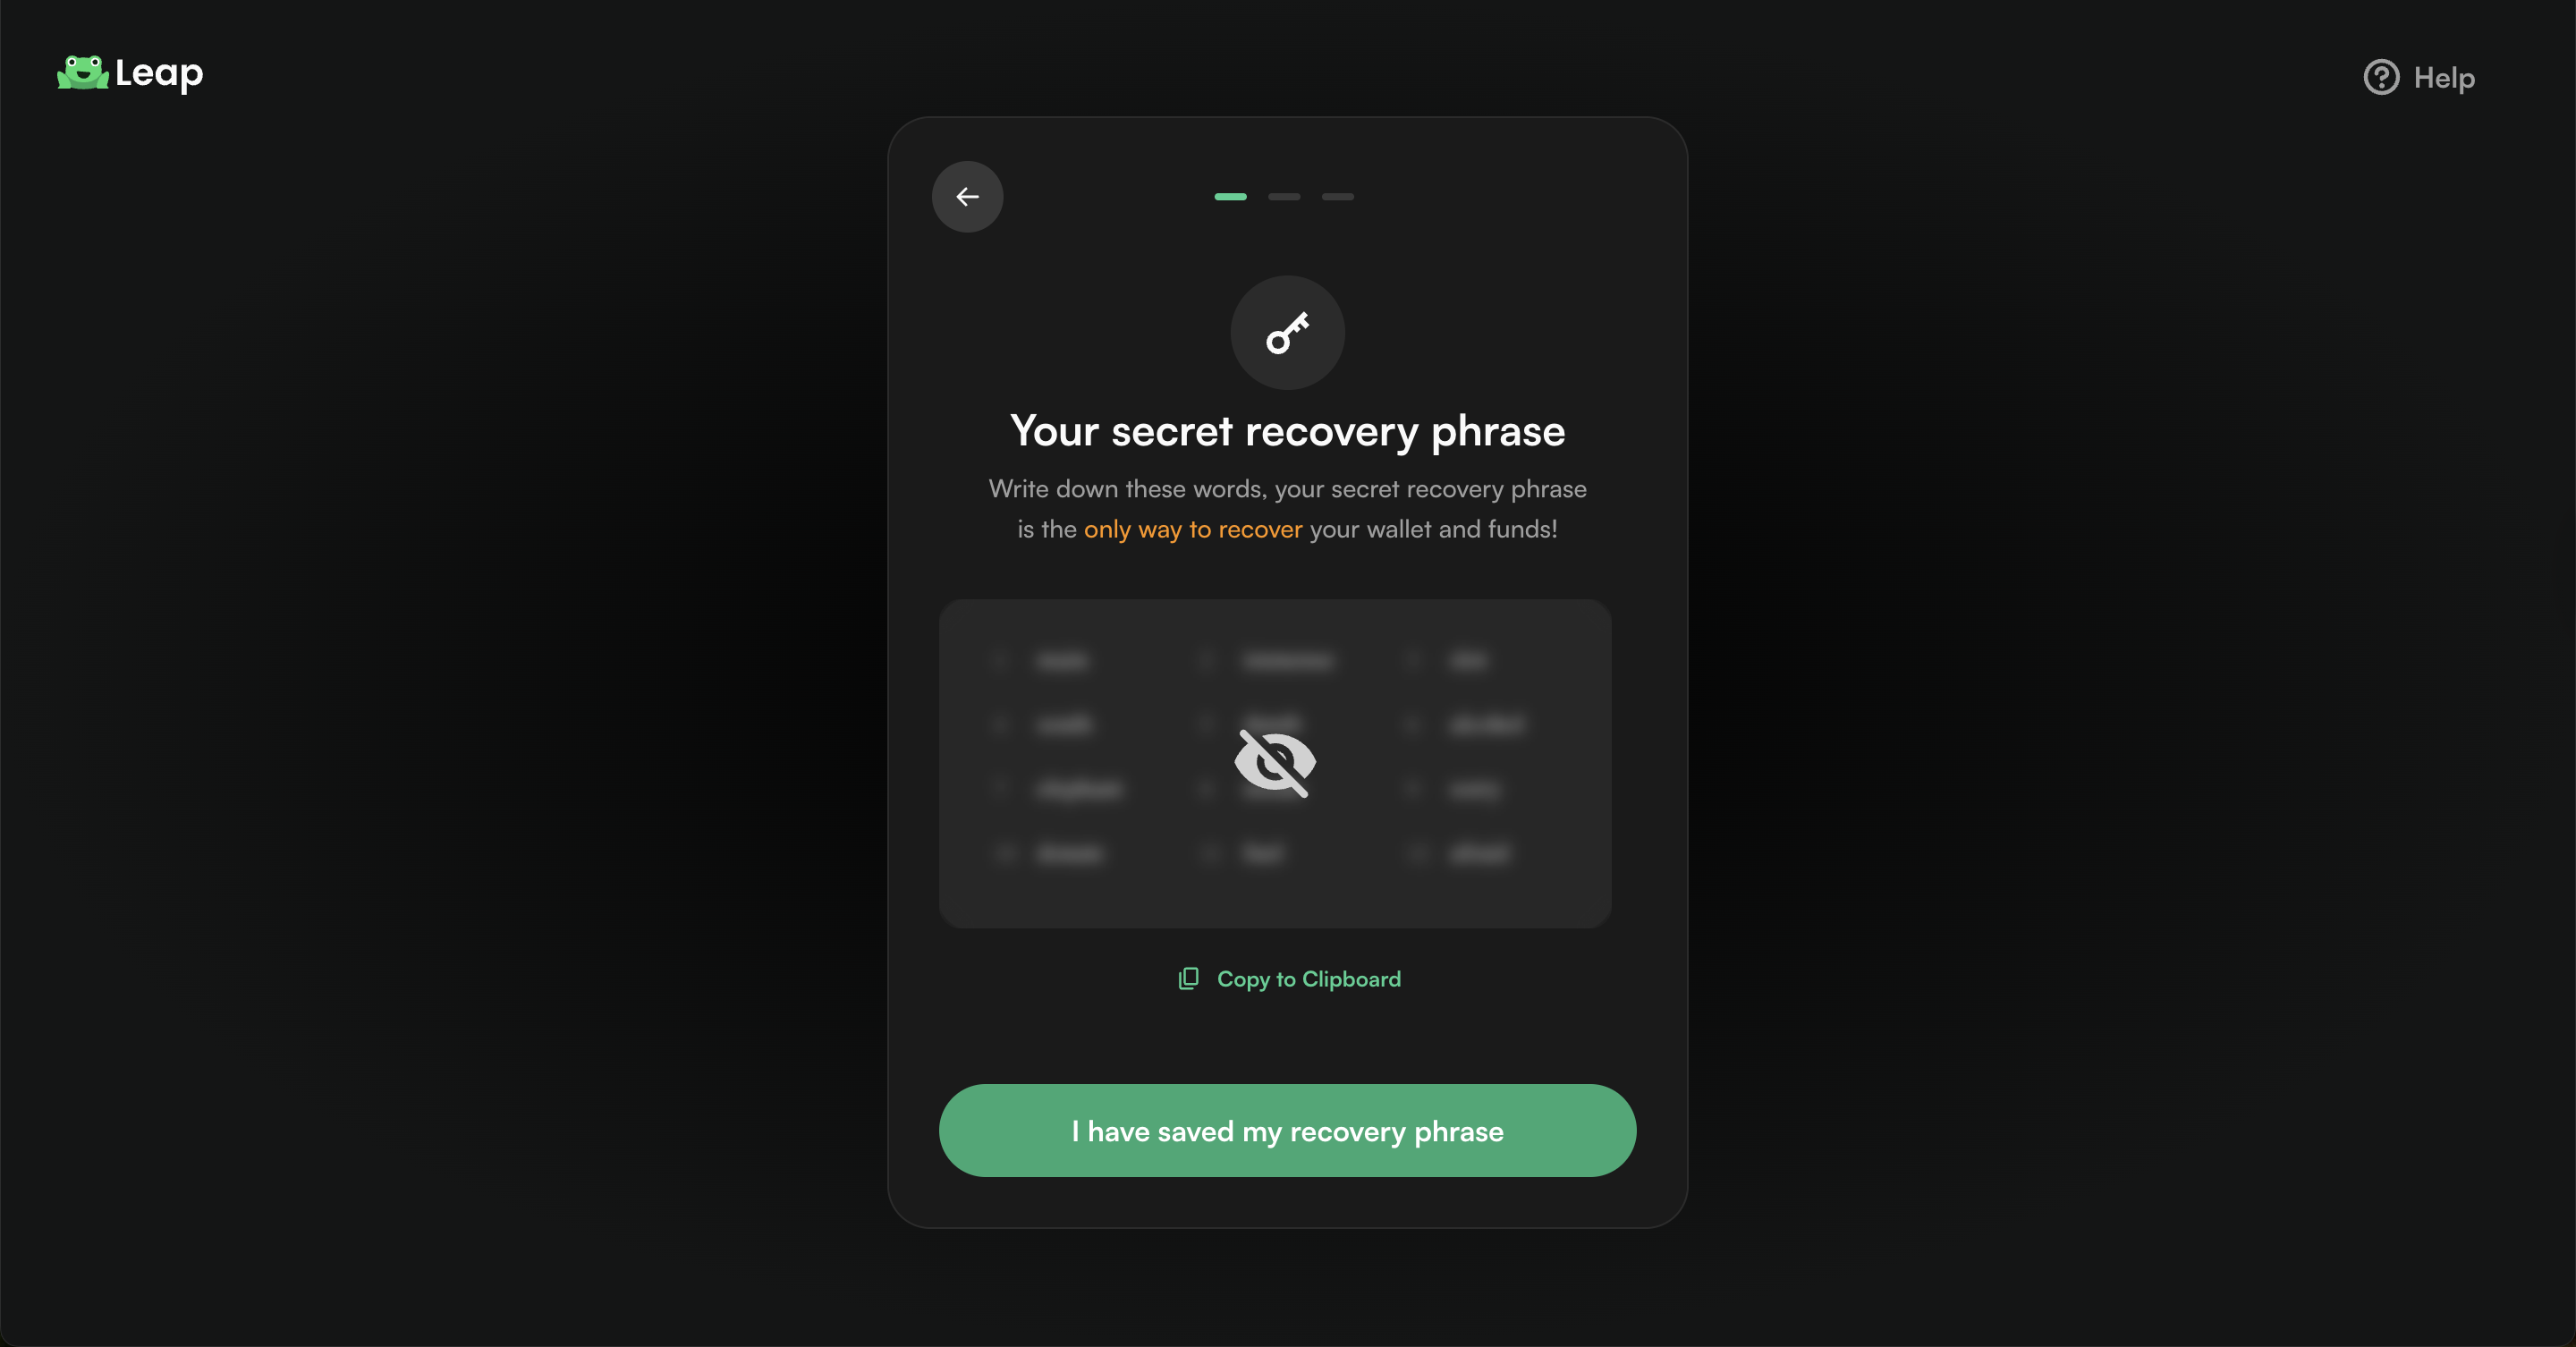
Save your secret recovery phrase. Write down these words, your secret recovery phrase is the only way to recover your wallet and funds!
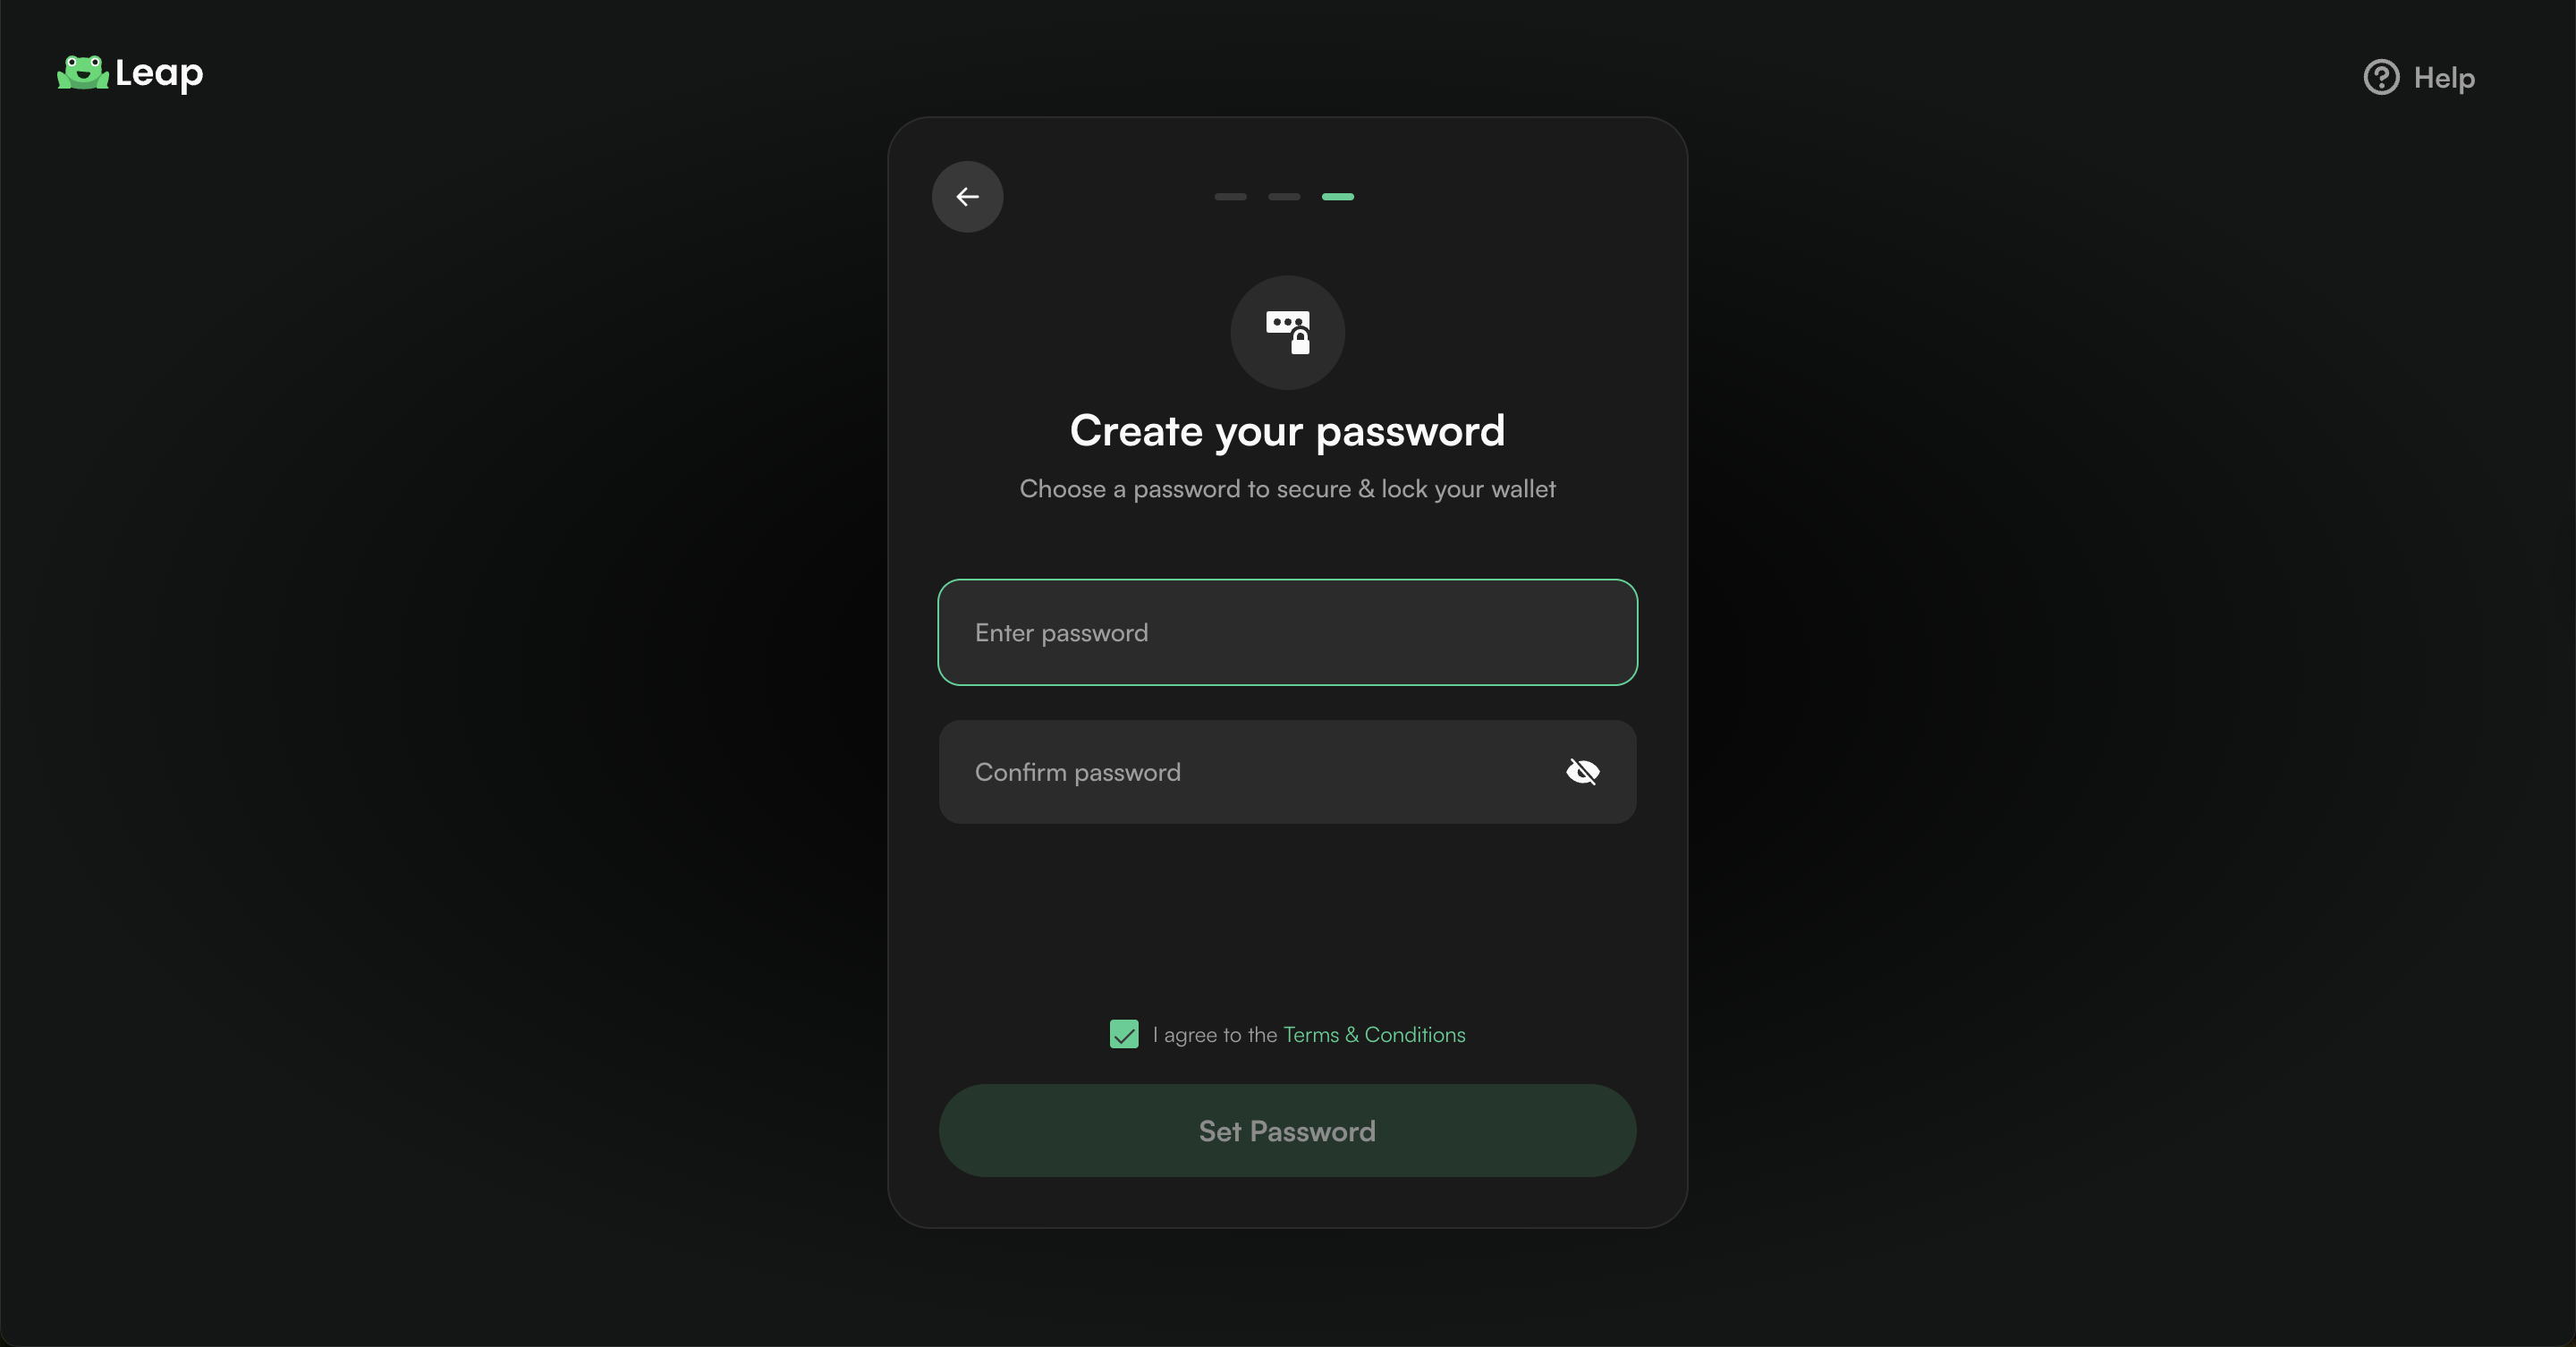
Choose a password to secure & lock your wallet. Agree to the Terms & Conditions.
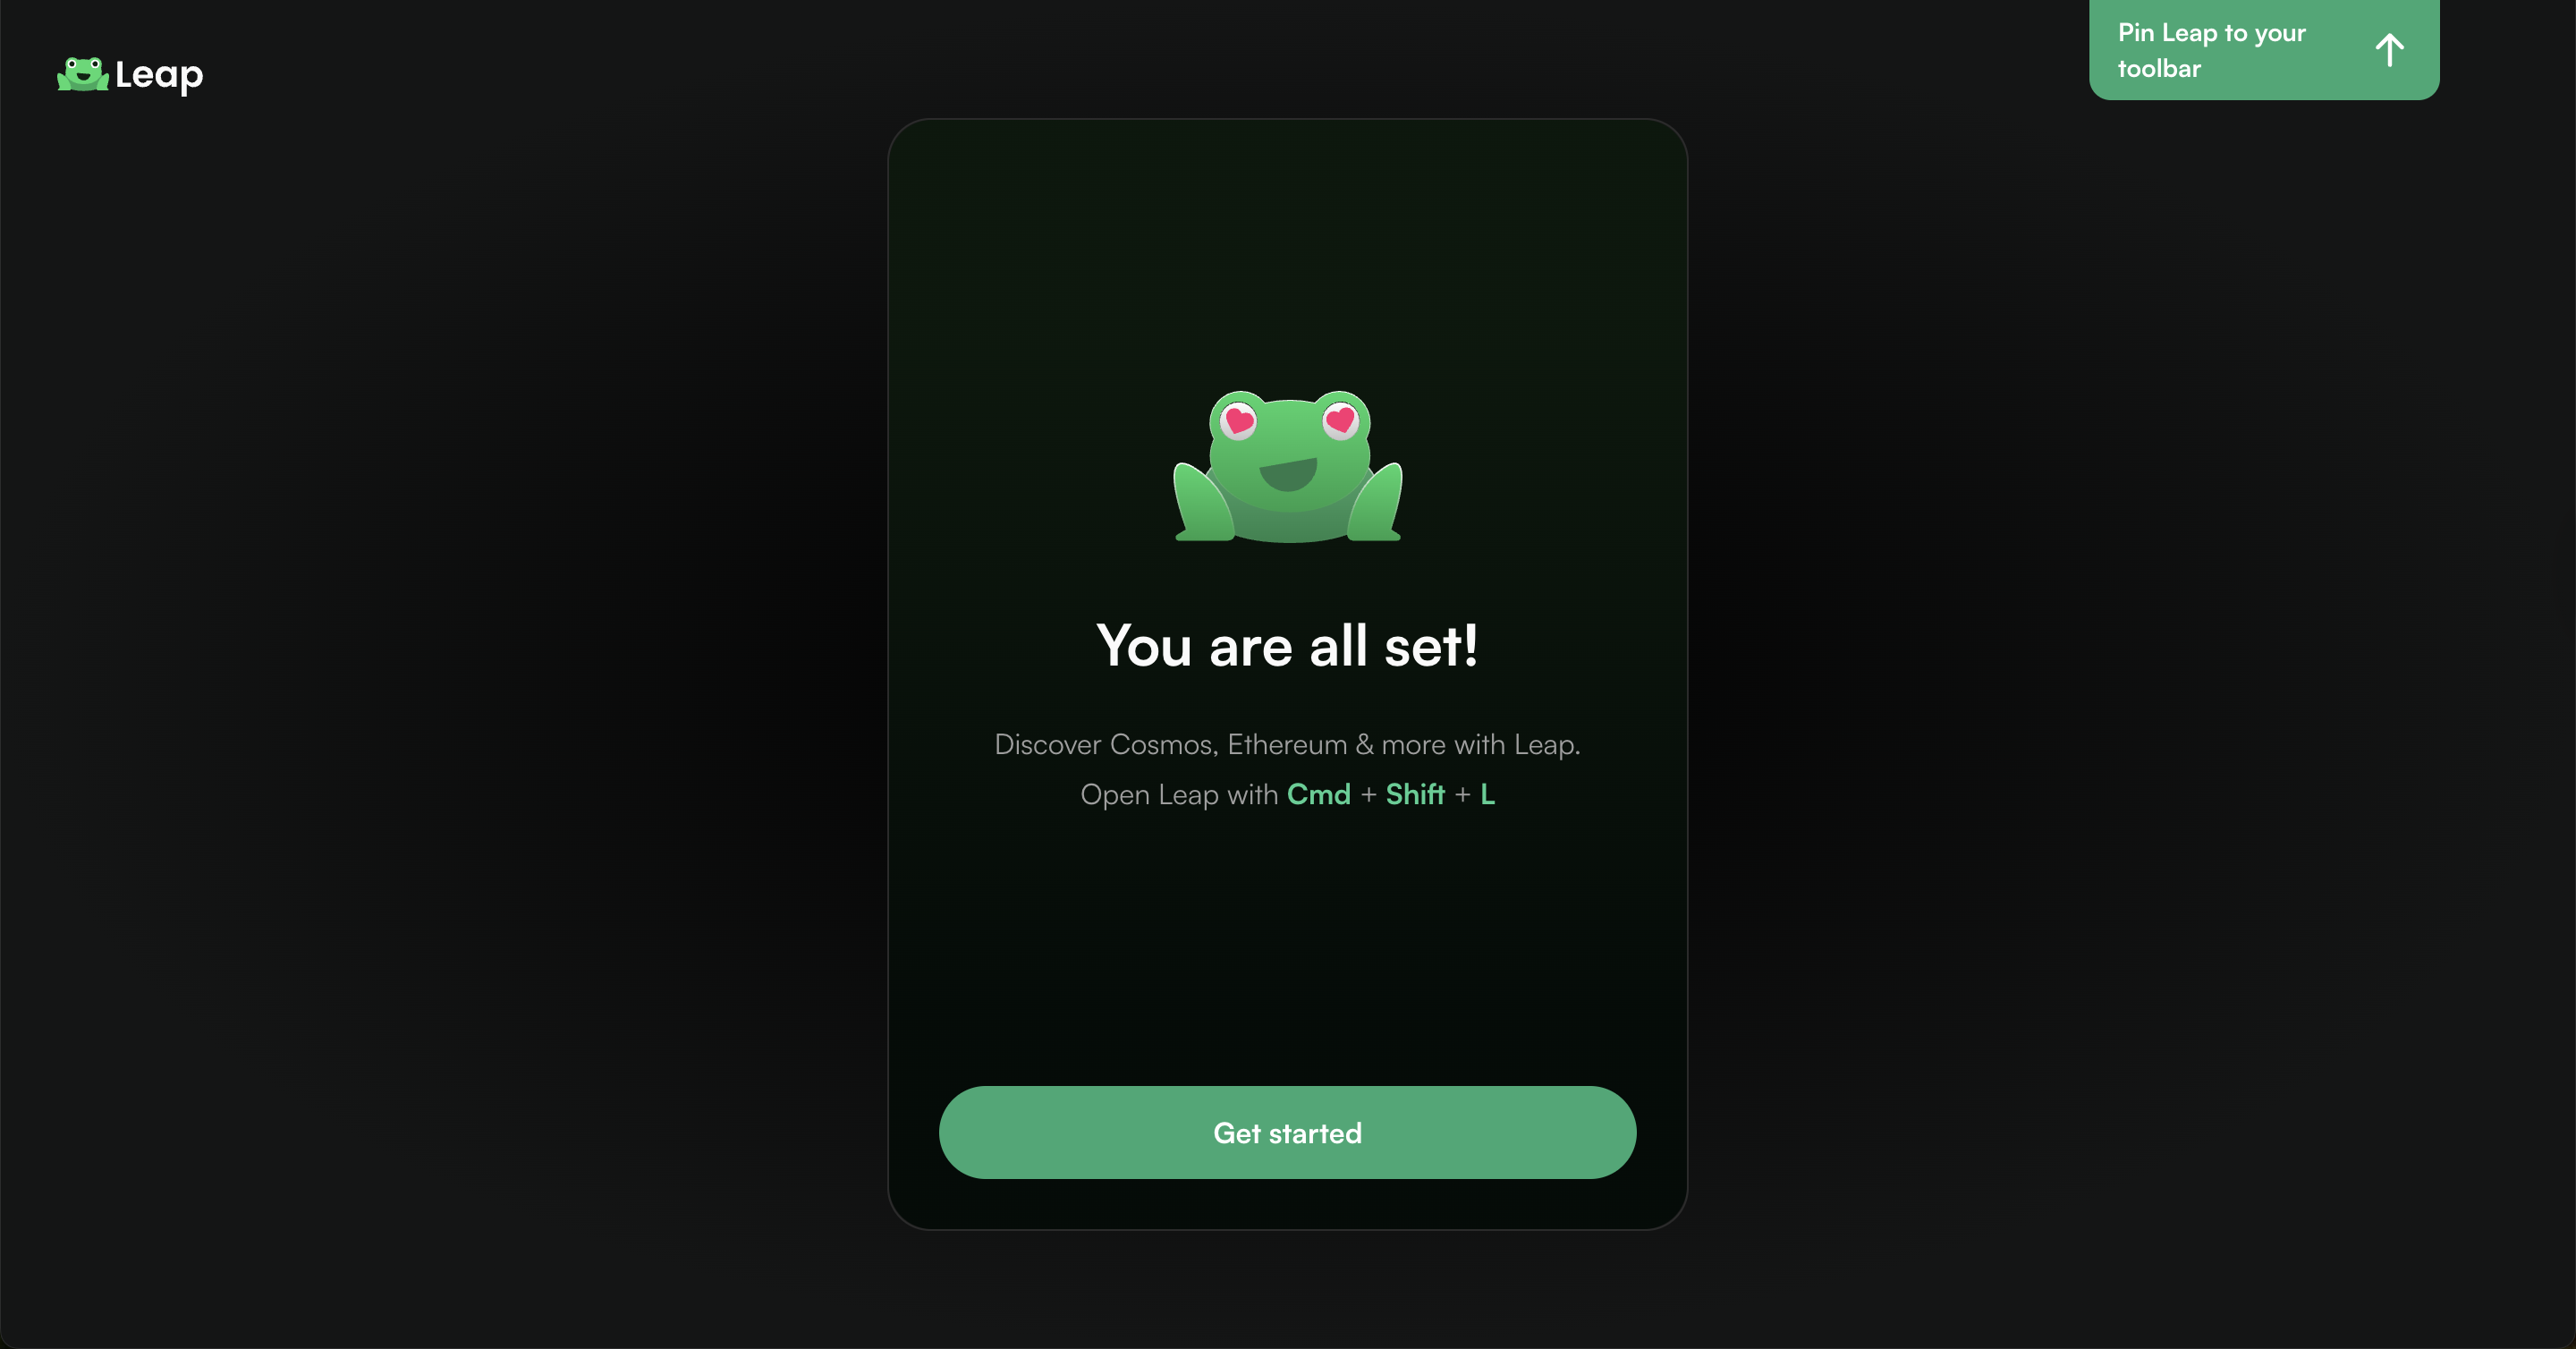
Your Leap wallet has been created.
Open Gonka’s decentralized Dashboard
Choose a random node from the inference_url list of genesis-nodes
- http://185.216.21.98:8000
- http://69.19.136.233:8000
- http://36.189.234.197:18026
- http://36.189.234.237:17241
- http://node1.gonka.ai:8000
- http://node2.gonka.ai:8000
- http://node3.gonka.ai:8000
- http://47.236.26.199:8000
- http://47.236.19.22:18000
- http://gonka.spv.re:8000
An alternative, fully decentralized approach to choosing a random node from the list of active Hosts
Open the Hosts list: http://node2.gonka.ai:8000/v1/epochs/current/participants
Choose any active Host from the list.
Copy their inference_url value.
Paste the inference_url into your browser to load the Gonka dashboard, which shows live on-chain activity.
Once opened, you’ll see real-time data streamed directly from the Host’s node — including network statistics, active workloads, and inference metrics.
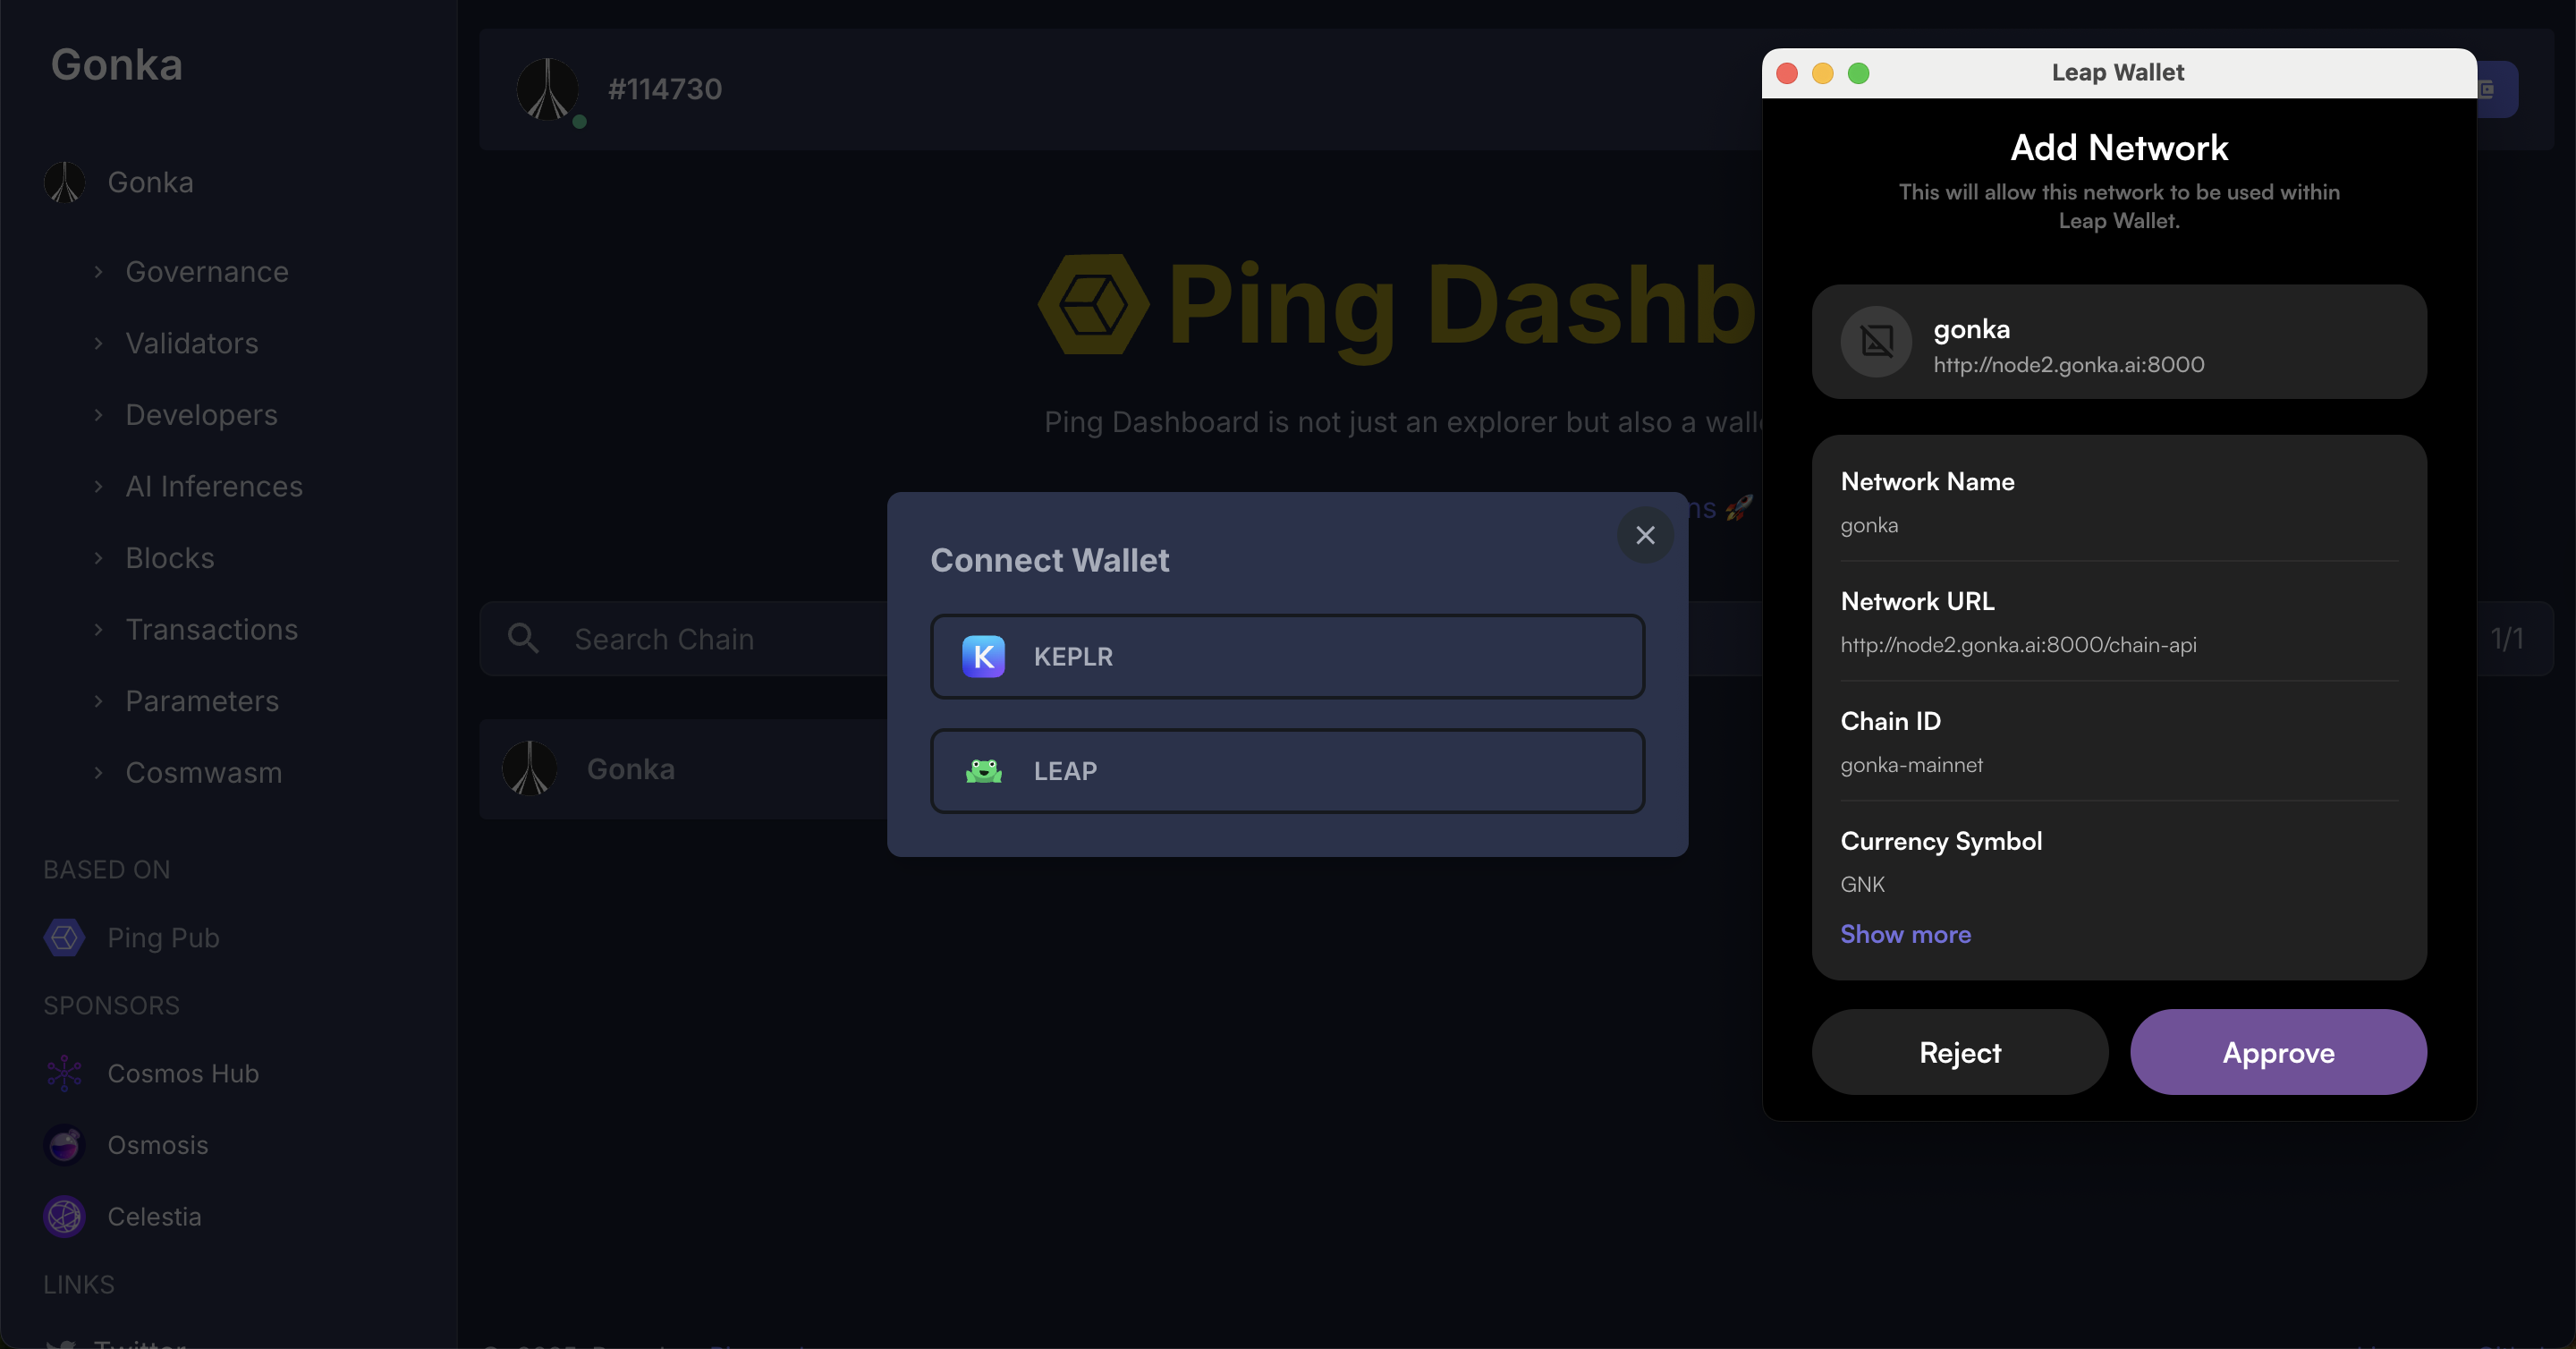
In the top-right corner, click "Connect Wallet" to get started.
Select Leap and hit Connect.
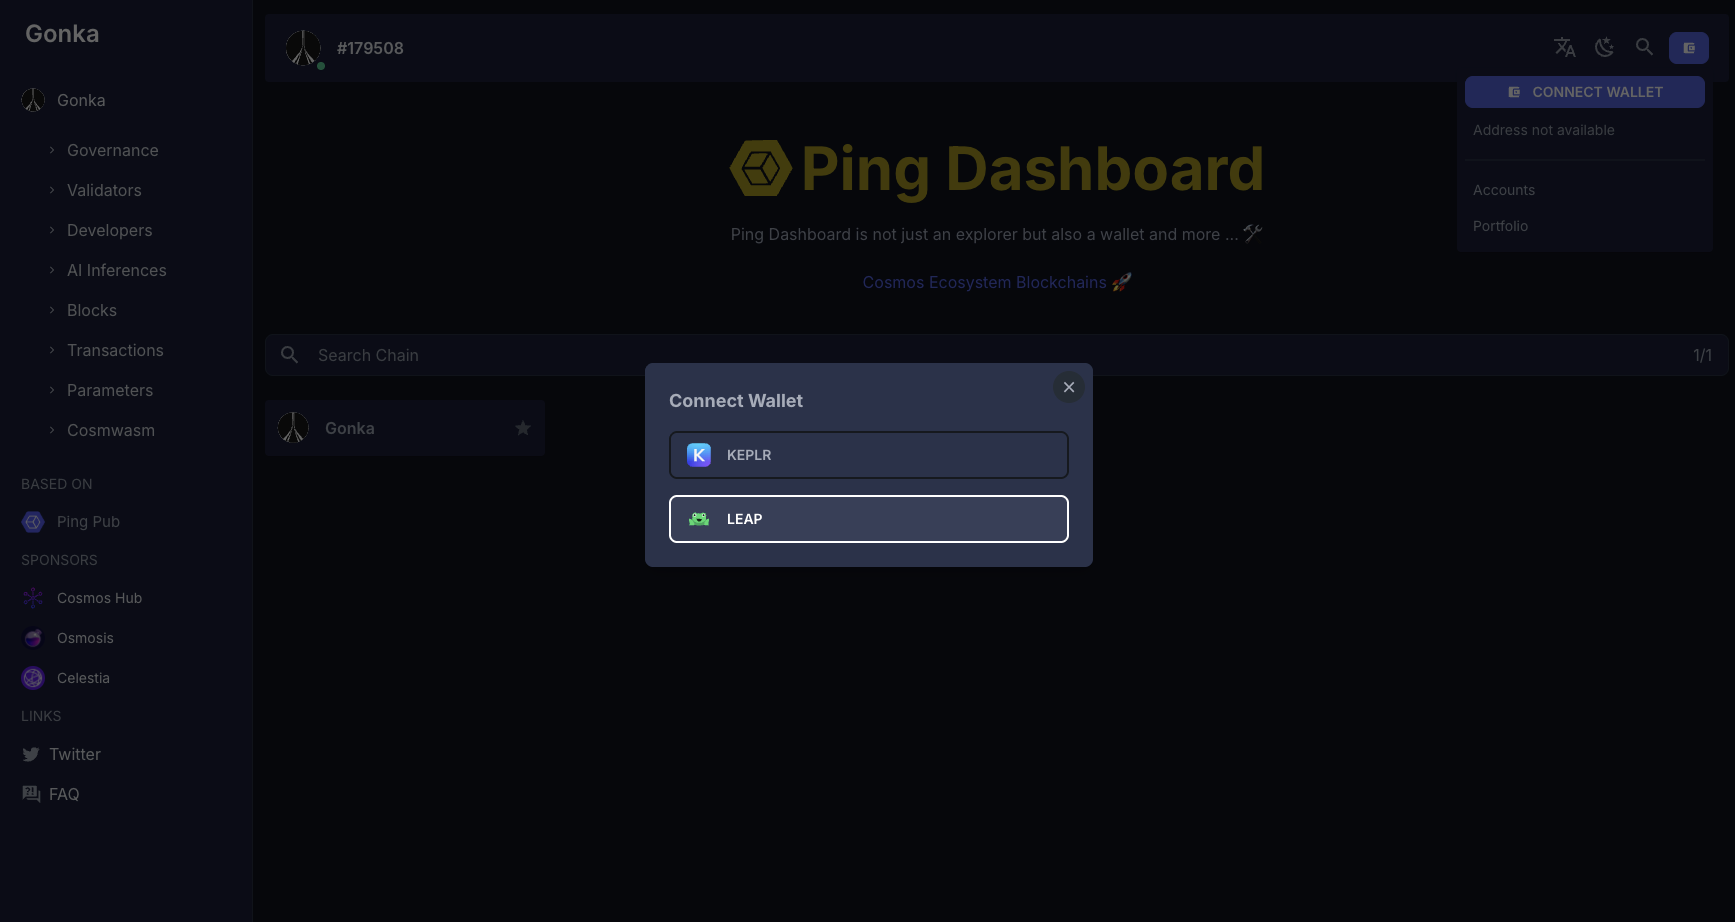
You will see a prompt to add a custom Gonka chain to your wallet. Approve and add Gonka chain.
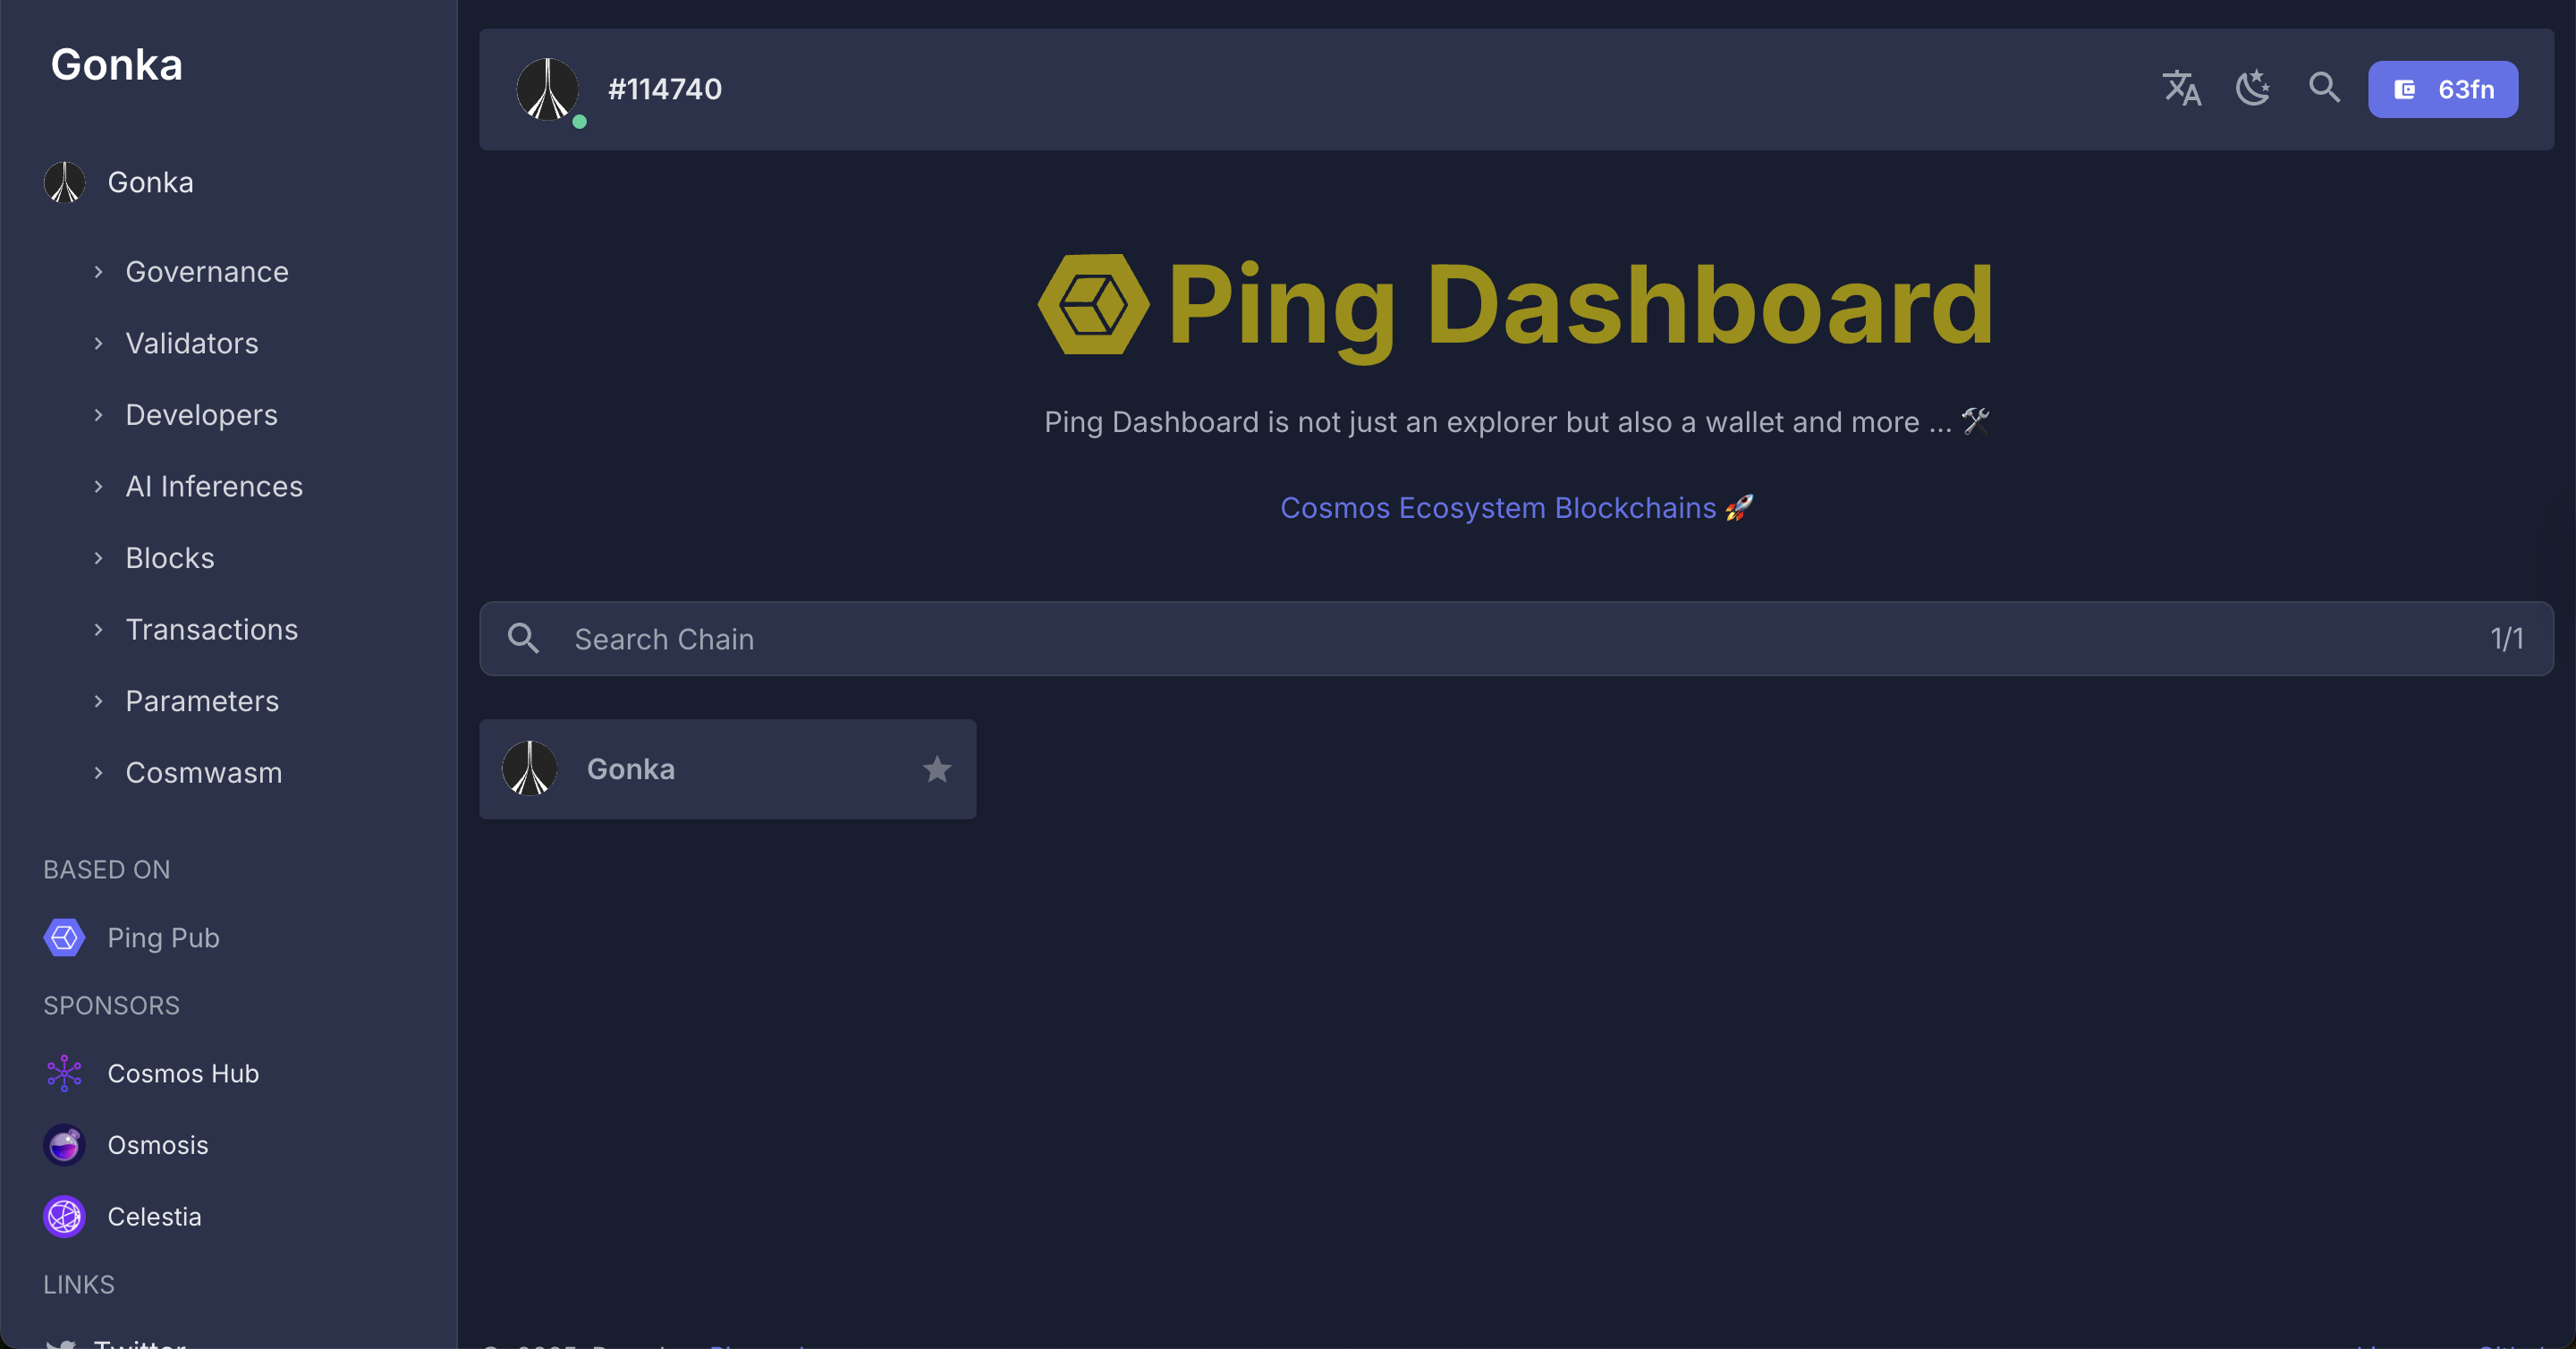
Done! Your Gonka Developer account has been successfully created.
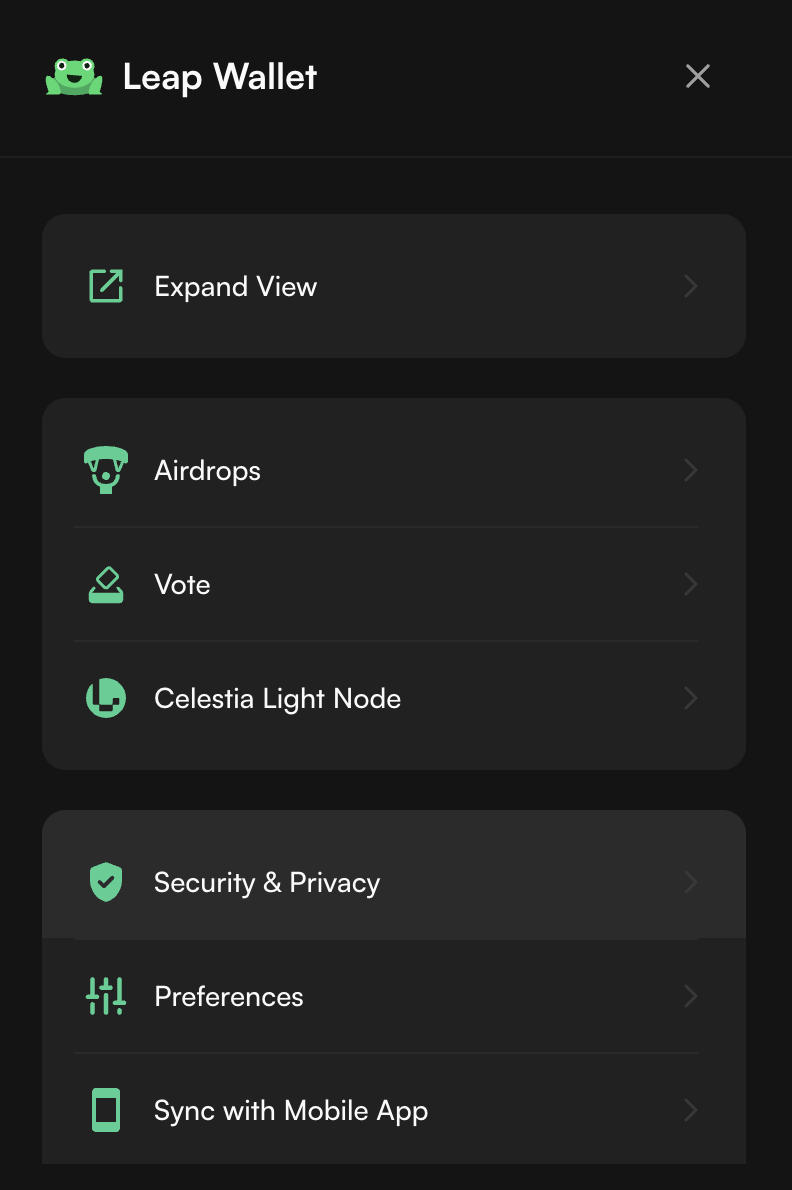
Open the extension and navigate to the menu in the top-left corner.
Click "Security & Privacy".
Click "Show private key".

Enter your password.
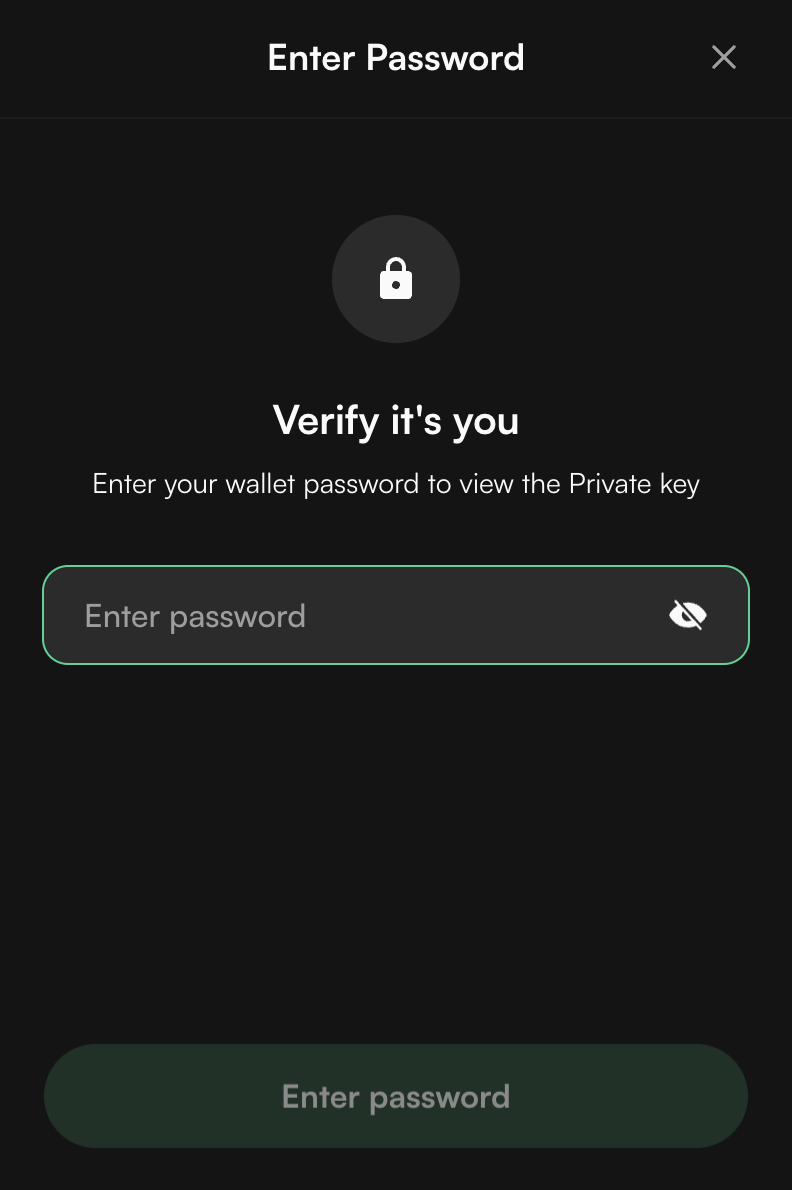
Copy your private key and store it securely (a hard copy is preferred).
Optional: How to add an additional Gonka account to Leap wallet — click to view steps
Open the extension and click on the frog icon and wallet name in the top center button of the extension window.
Click the "Create/Import wallet" button.

Choose "Import using private key". You can import an account created using a recovery (mnemonic/seed) phrase. However, bridge functionality will be limited, as the bridge requires direct access to the raw private key to sign transactions and ensure full interoperability with Ethereum.
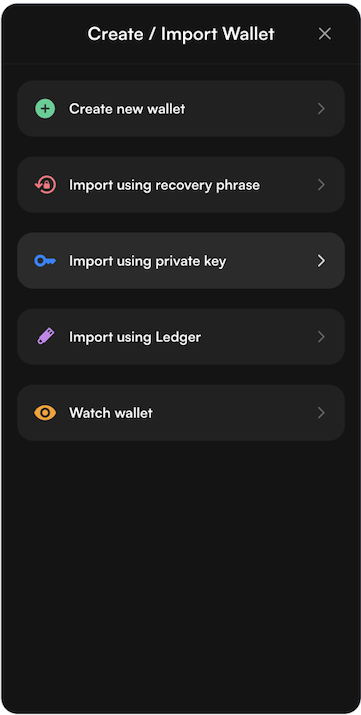
Paste your private key or a recovery (mnemonic/seed) phrase.
Done — your Gonka account has been successfully imported into Leap wallet (click on the frog icon and wallet name in the top center button to switch between wallets).
Important Notice: Limited Functionality
This option creates an account using a mnemonic phrase and does not support transactions through the bridge. If you want to perform transactions via the bridge, please use Option 1: Via inferenced CLI tool or Option 2: Via Keplr (external wallet, "Connect with Google") instead.
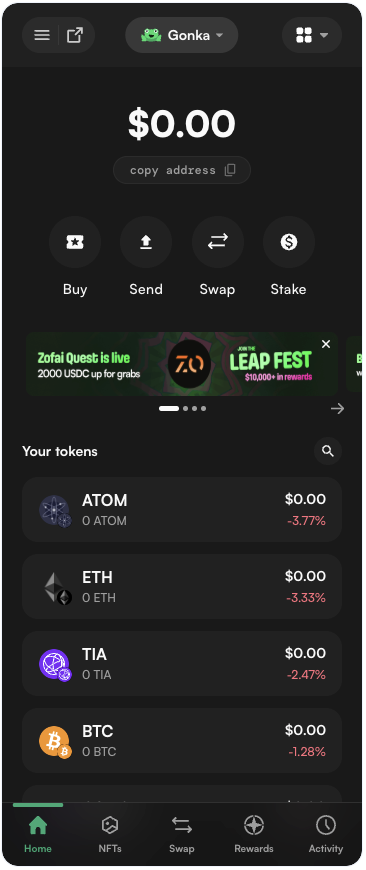
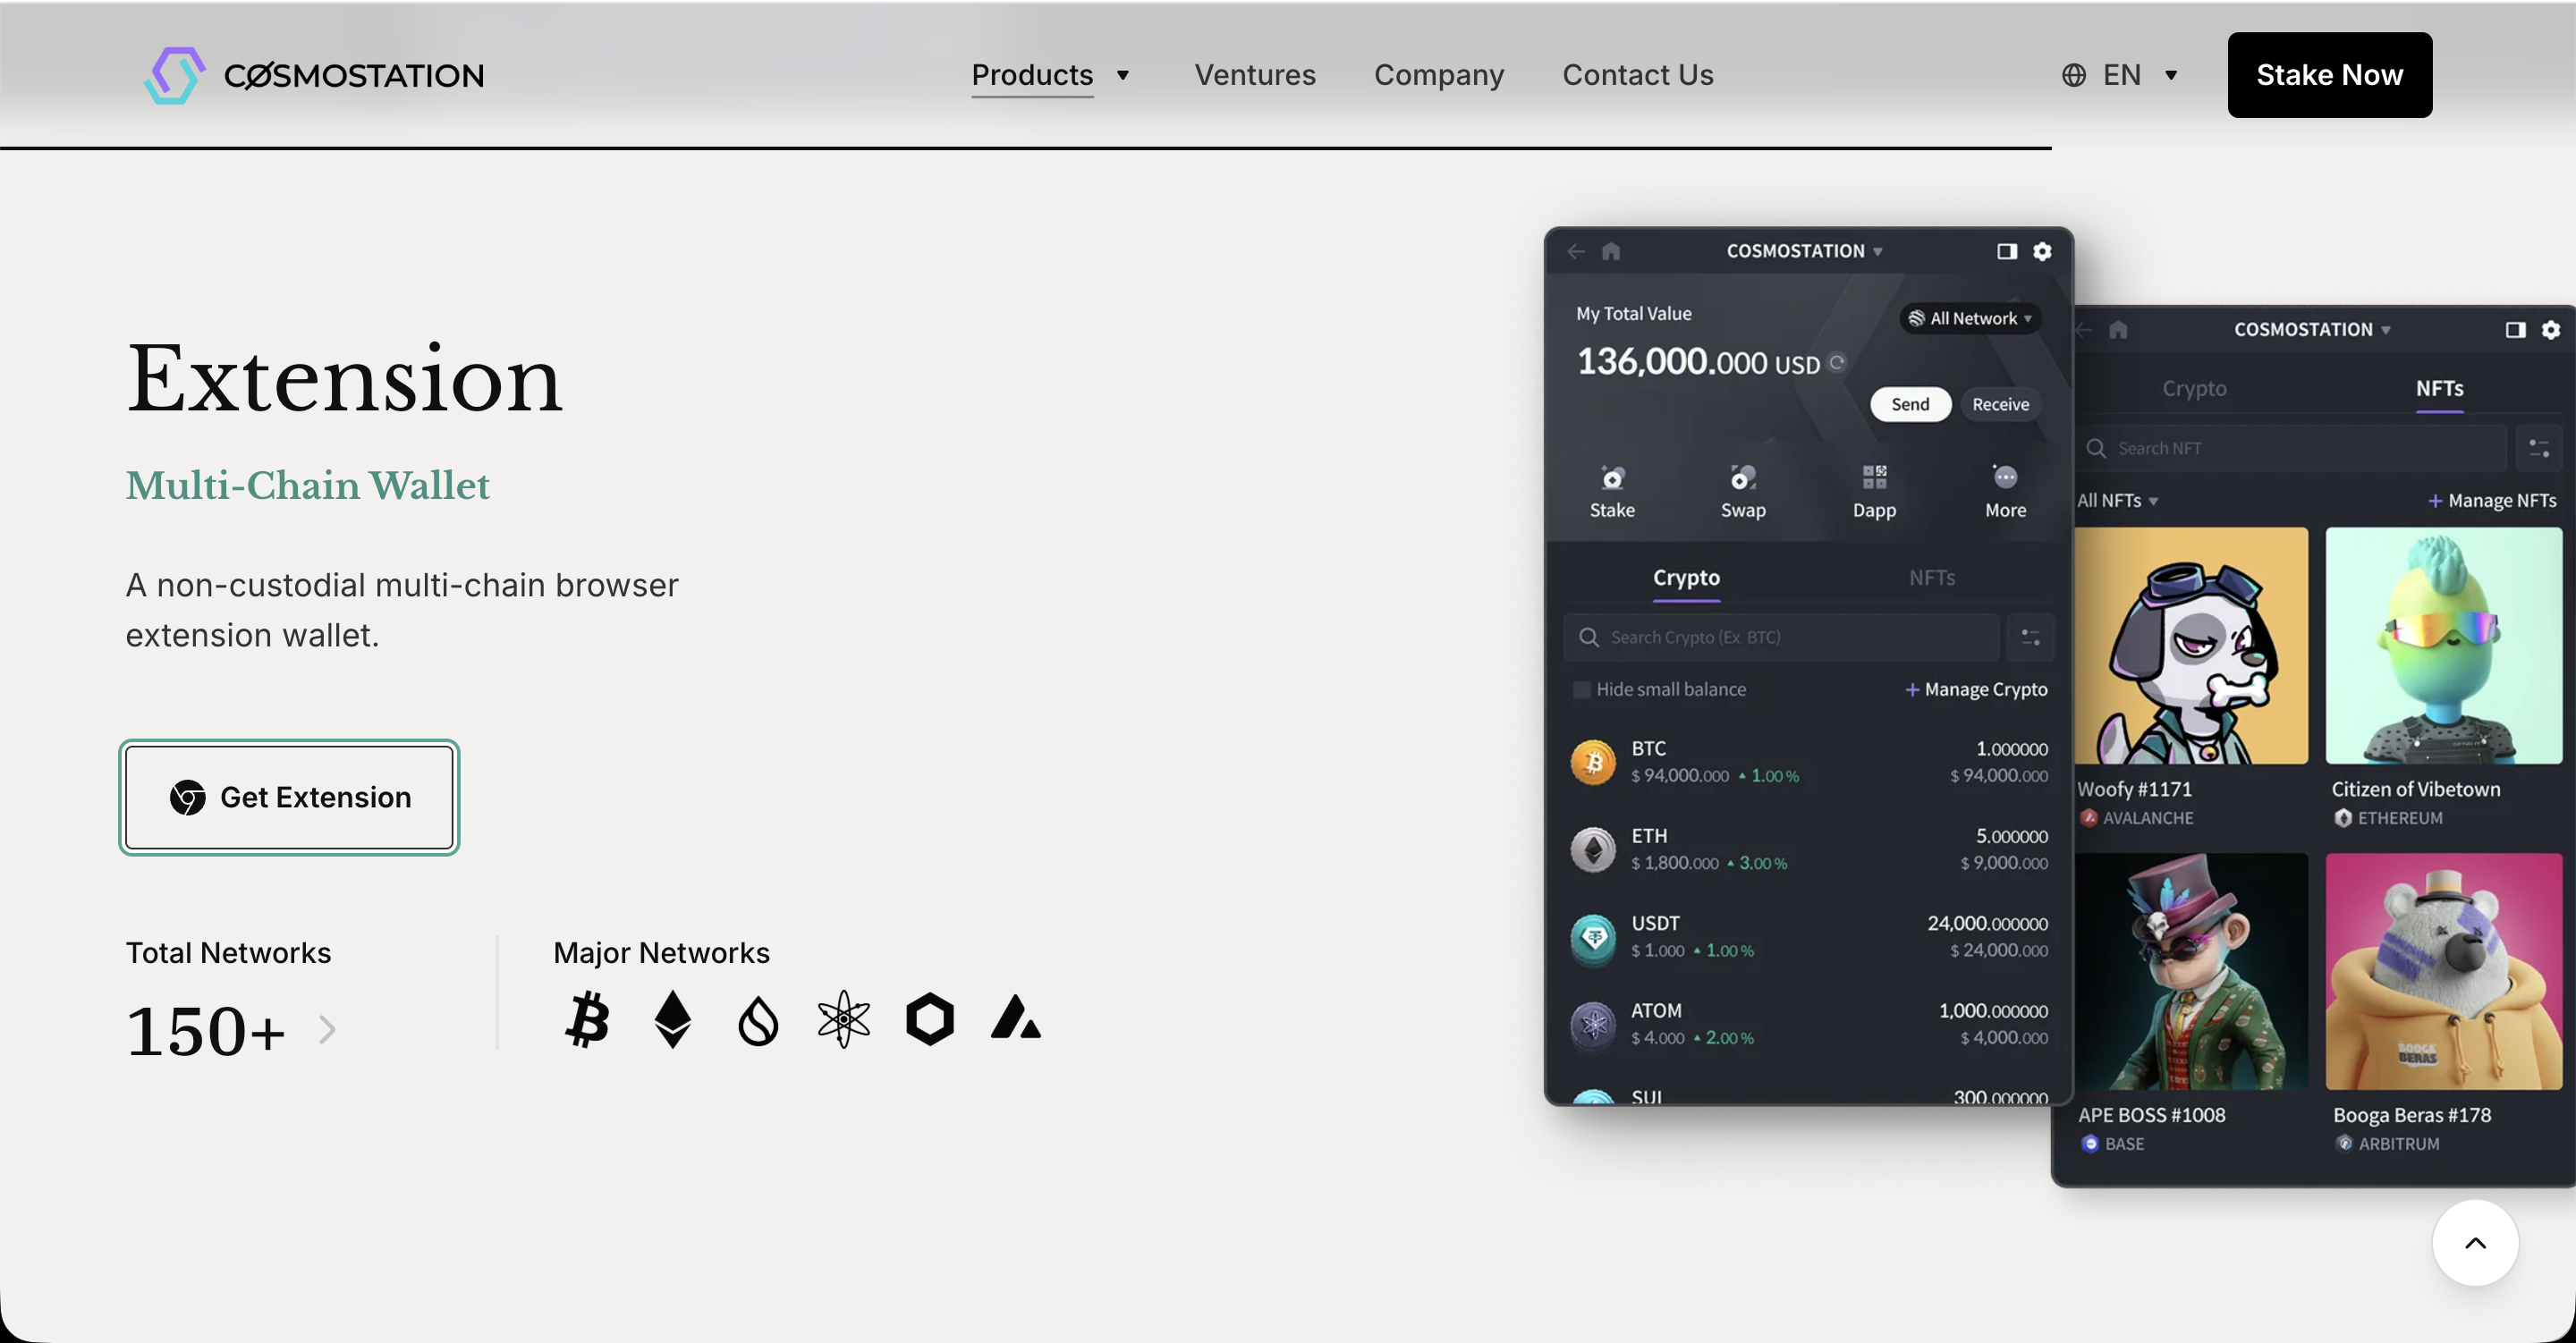
Get Cosmostation Wallet browser extension.
Add an extension to your browser.
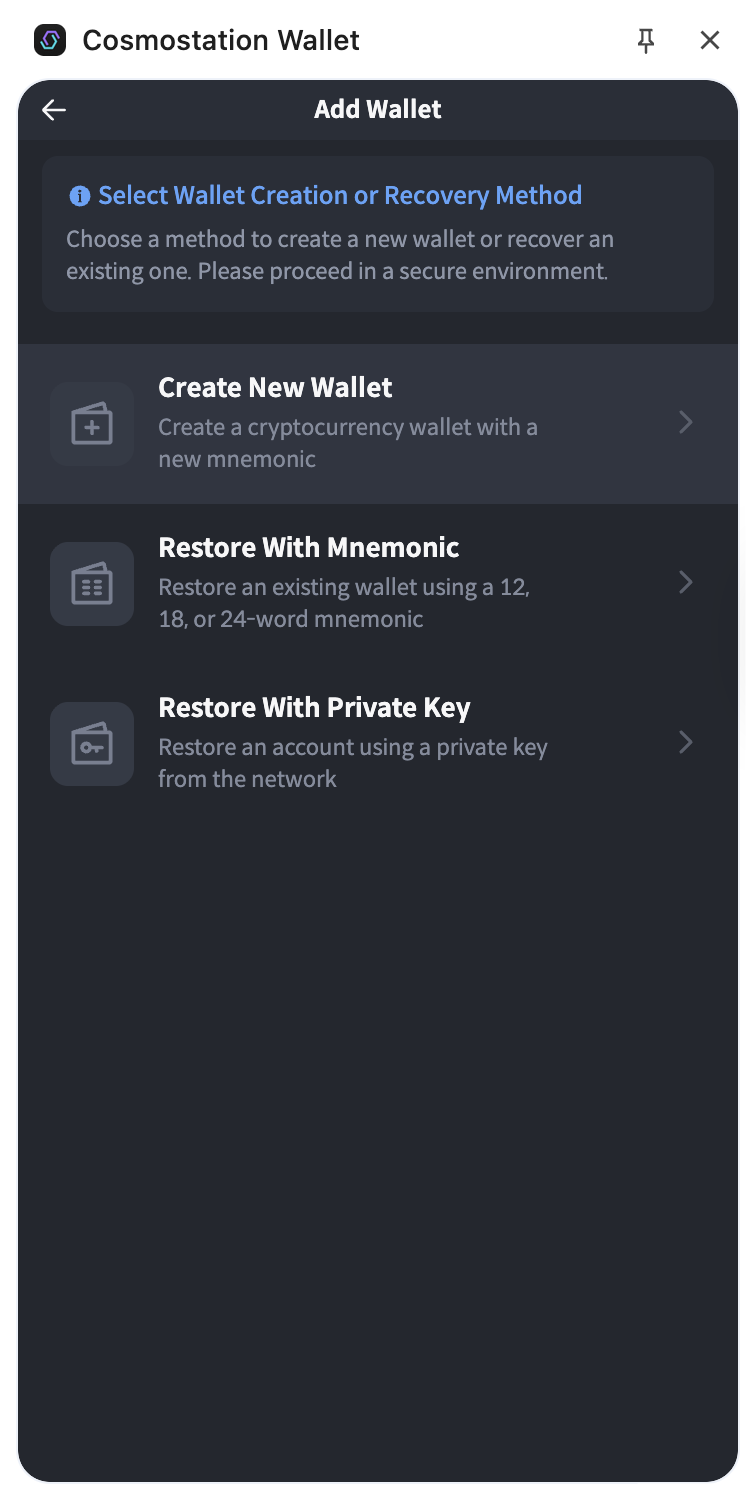
Choose "Create new wallet".
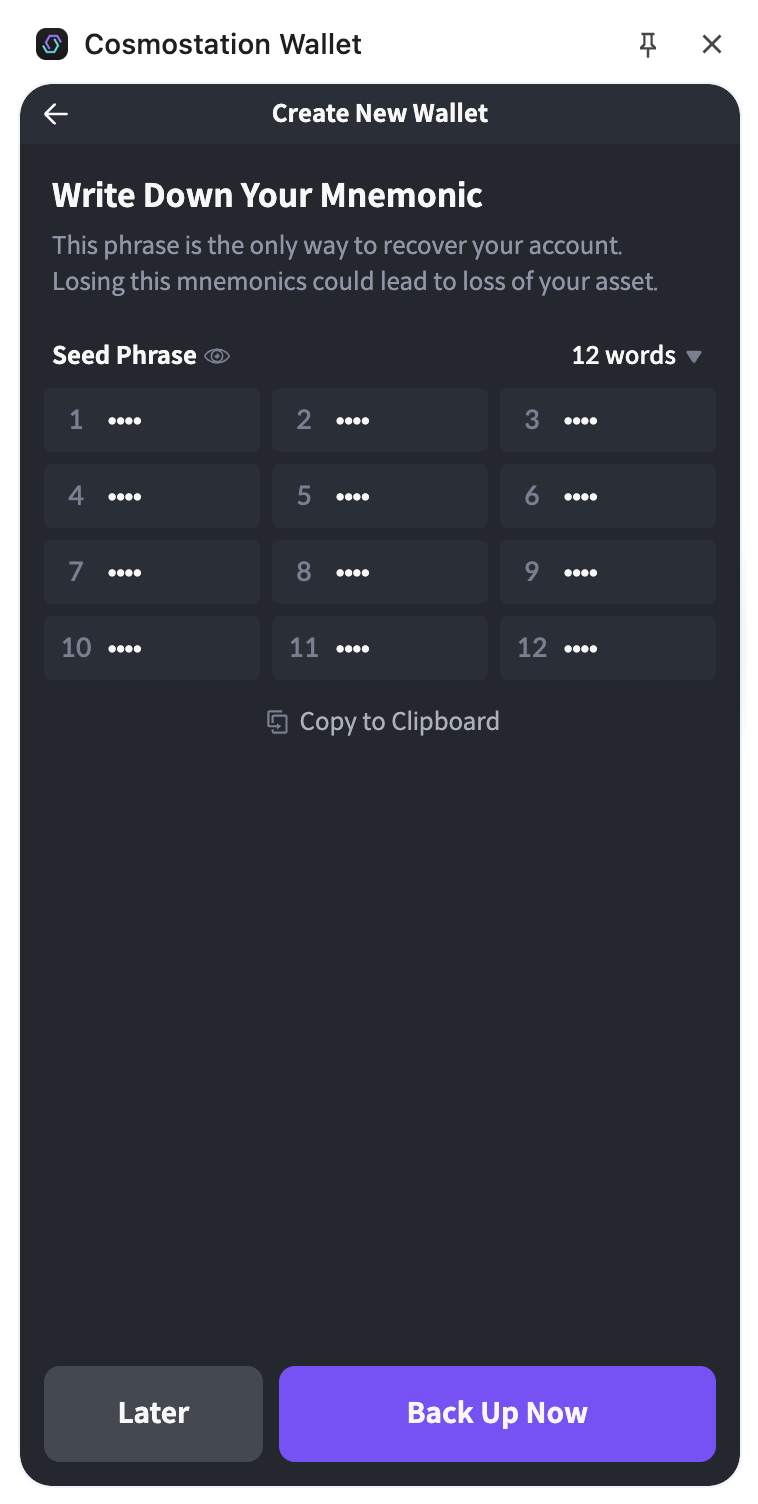
Write down your mnemonic phrase. DO NOT share your recovery phrase with ANYONE. Anyone with your recovery phrase can have full control over your assets. Please stay vigilant against phishing attacks at all times. Back up the phrase safely.
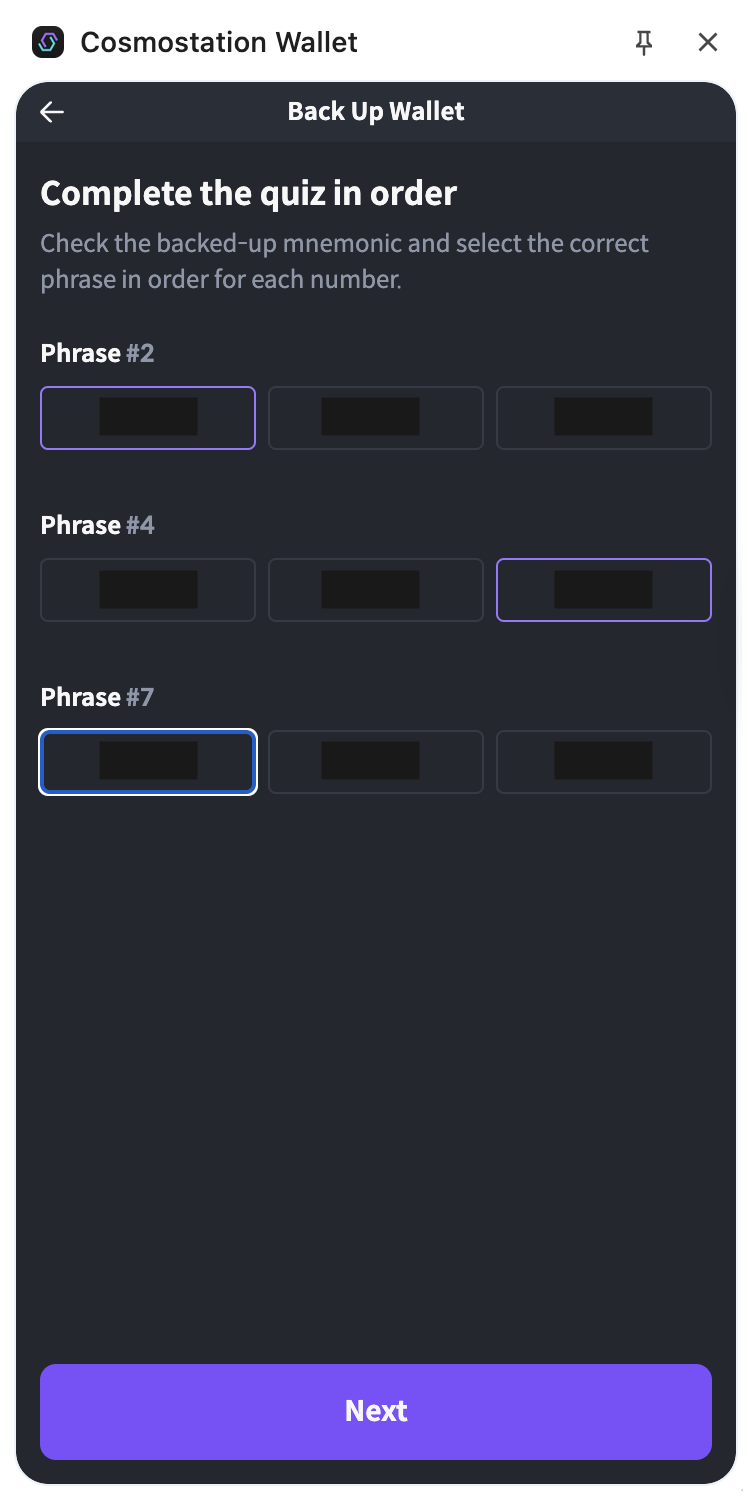
Complete the quiz in order. Check the backed-up mnemonic and select the correct phrase in order for each number.
Set account name. Please enter a name for your account. You can change the account name at any time.

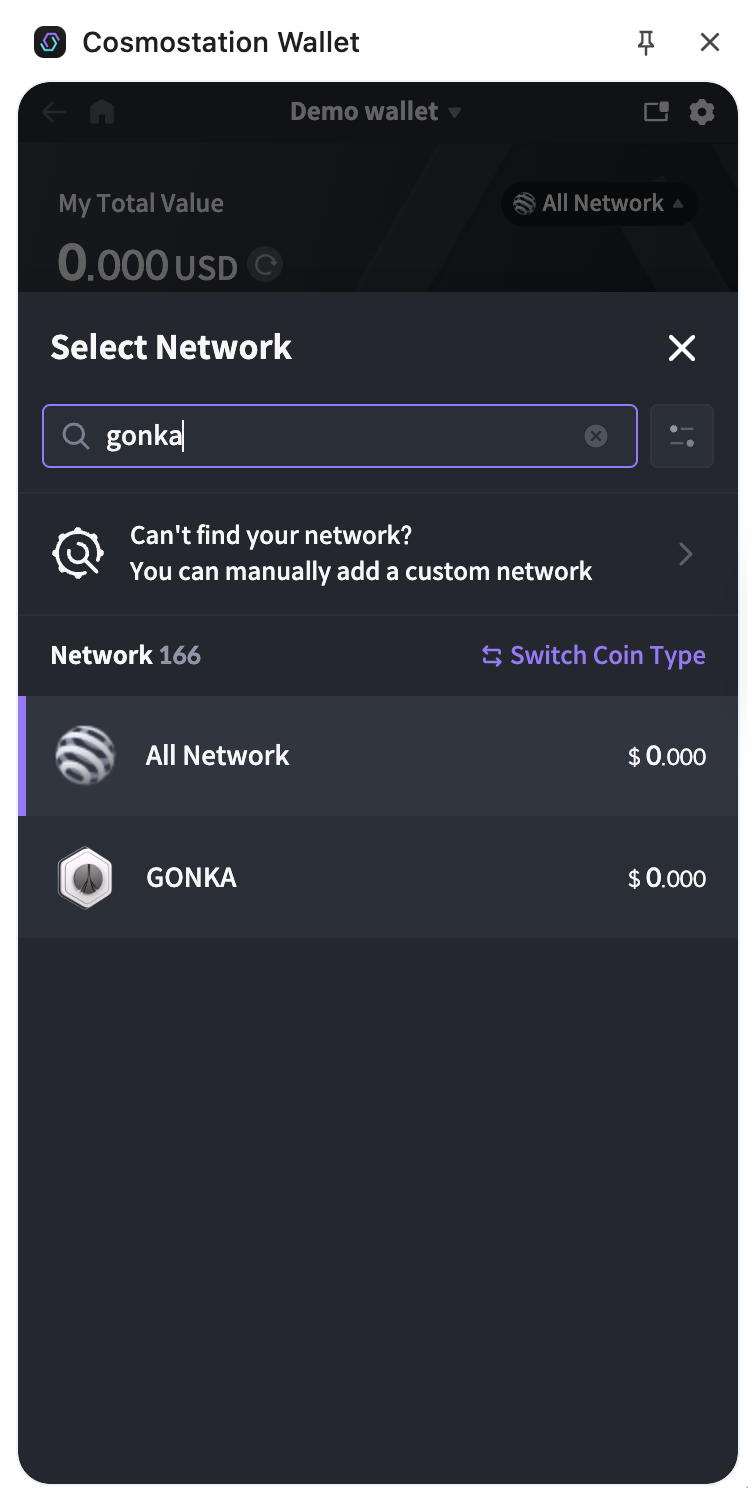
In the top-right corner, click “All Networks” and select the Gonka chain to add it to your wallet.
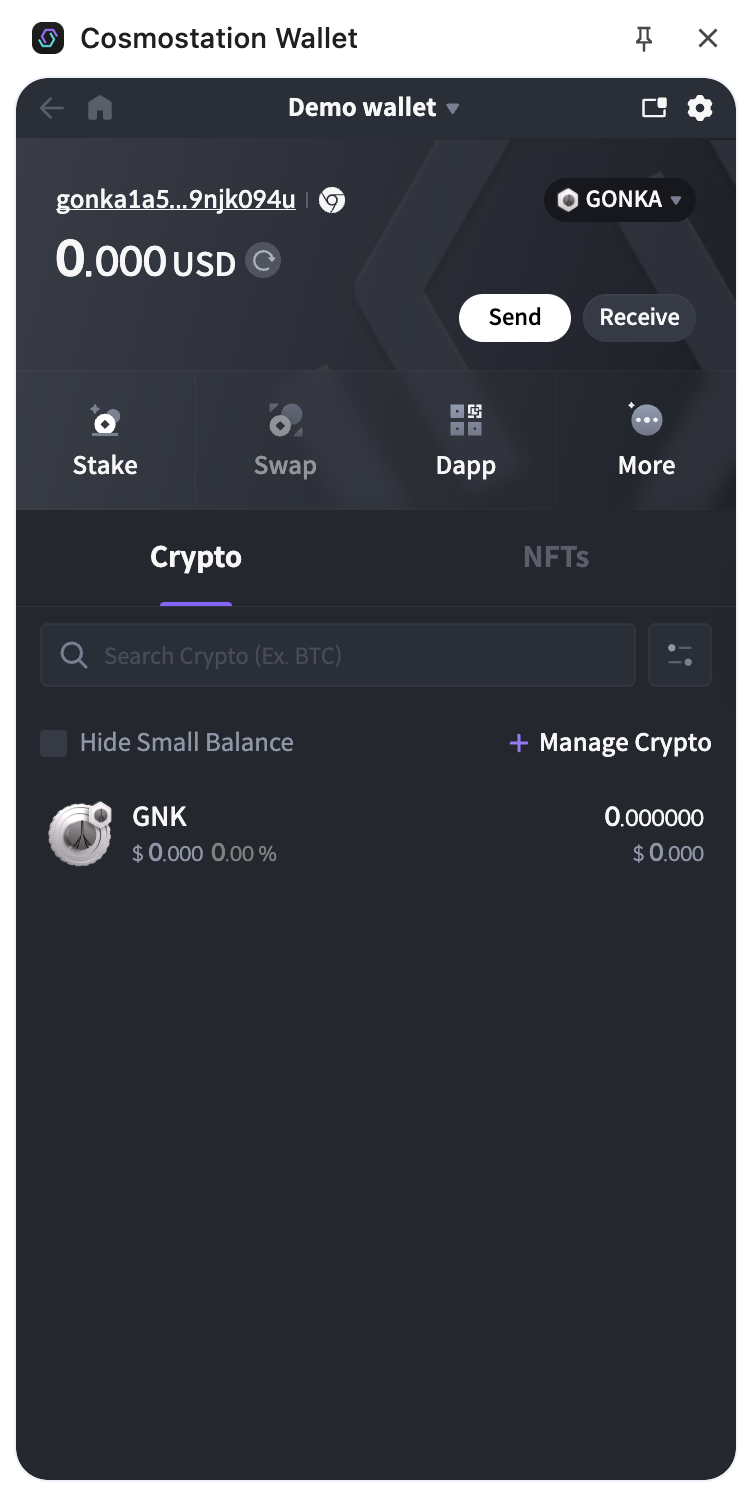
Done! Your Gonka Developer account has been successfully created.
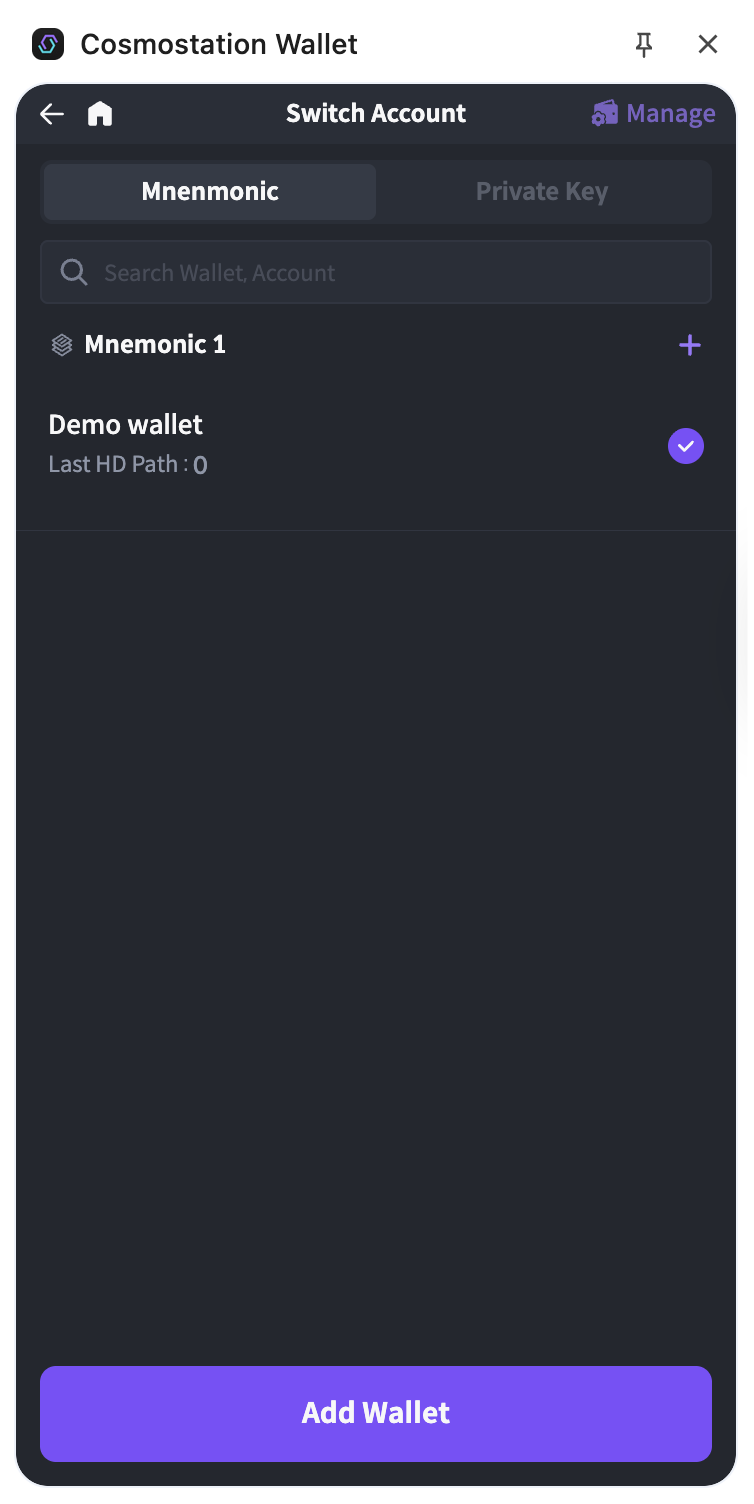
Click on the Wallet name at the top. Click "Manage" on the top-right corner, then click the Wallet name.
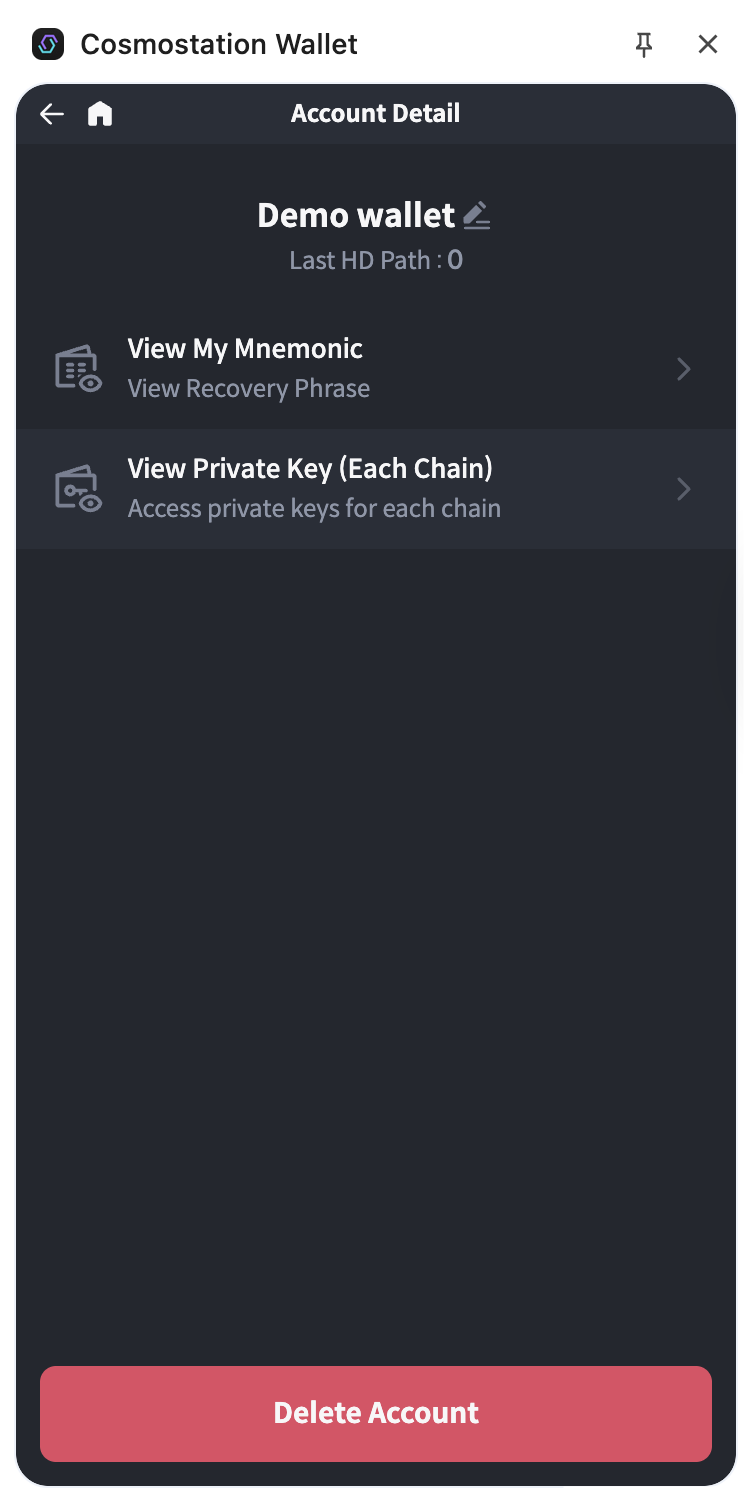
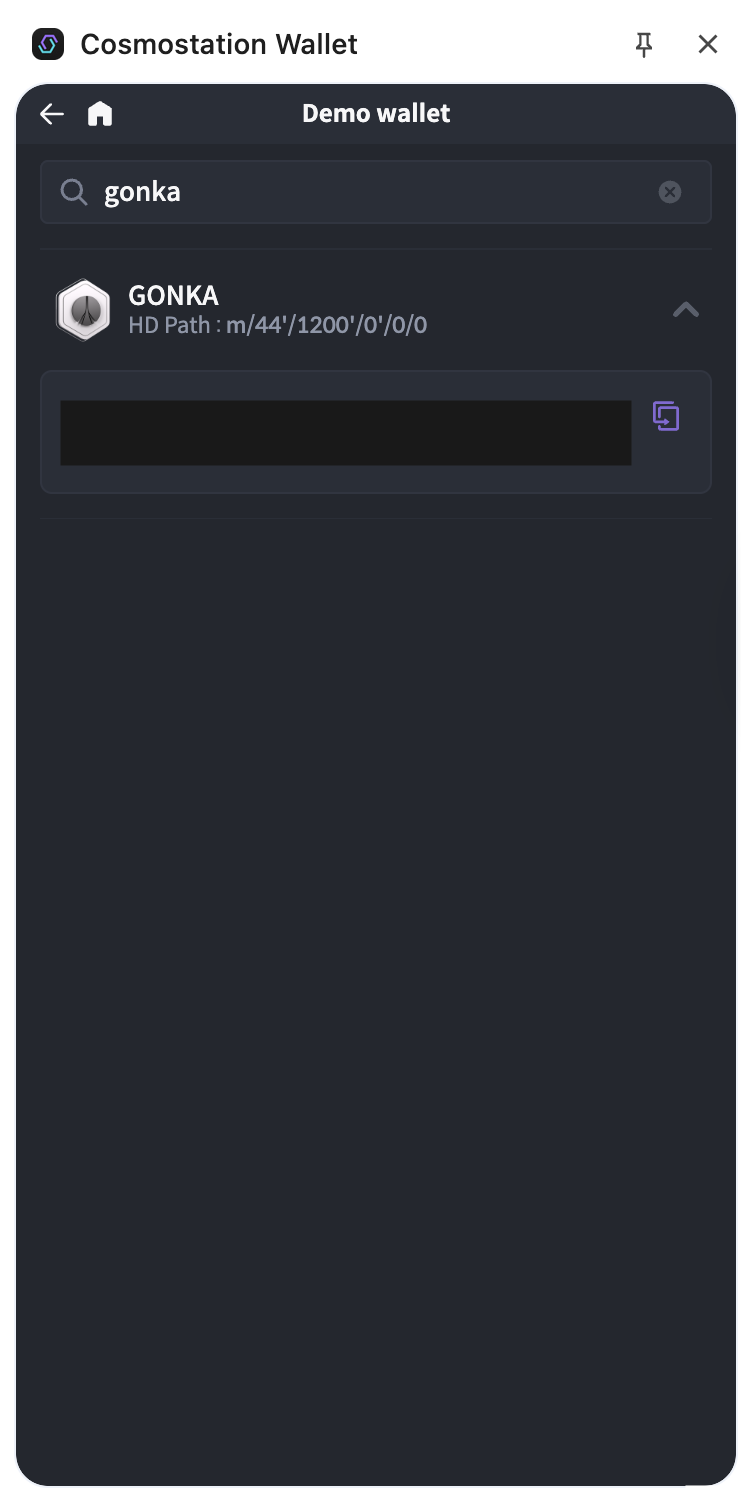
Click "View private key".
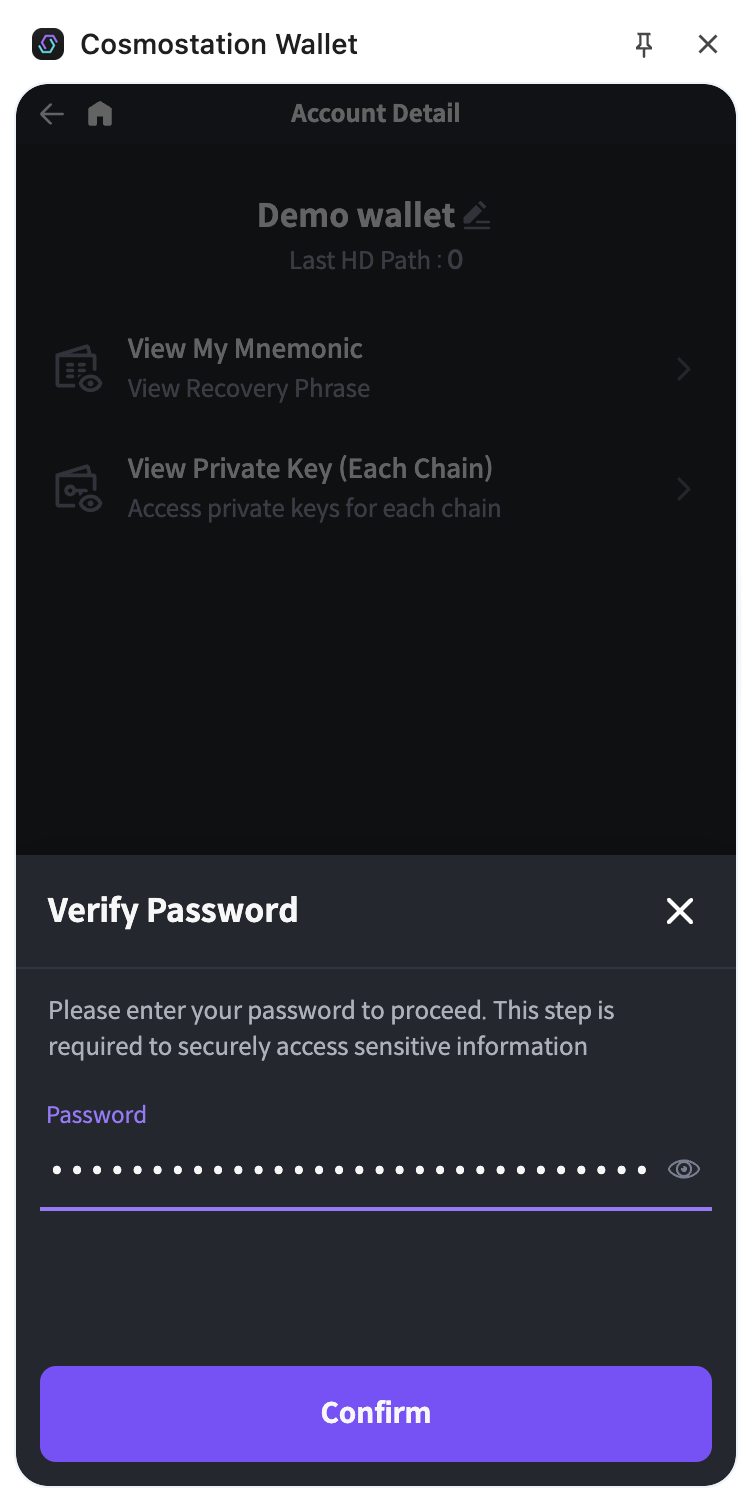
Verify your password.
Choose "Gonka" from the list.
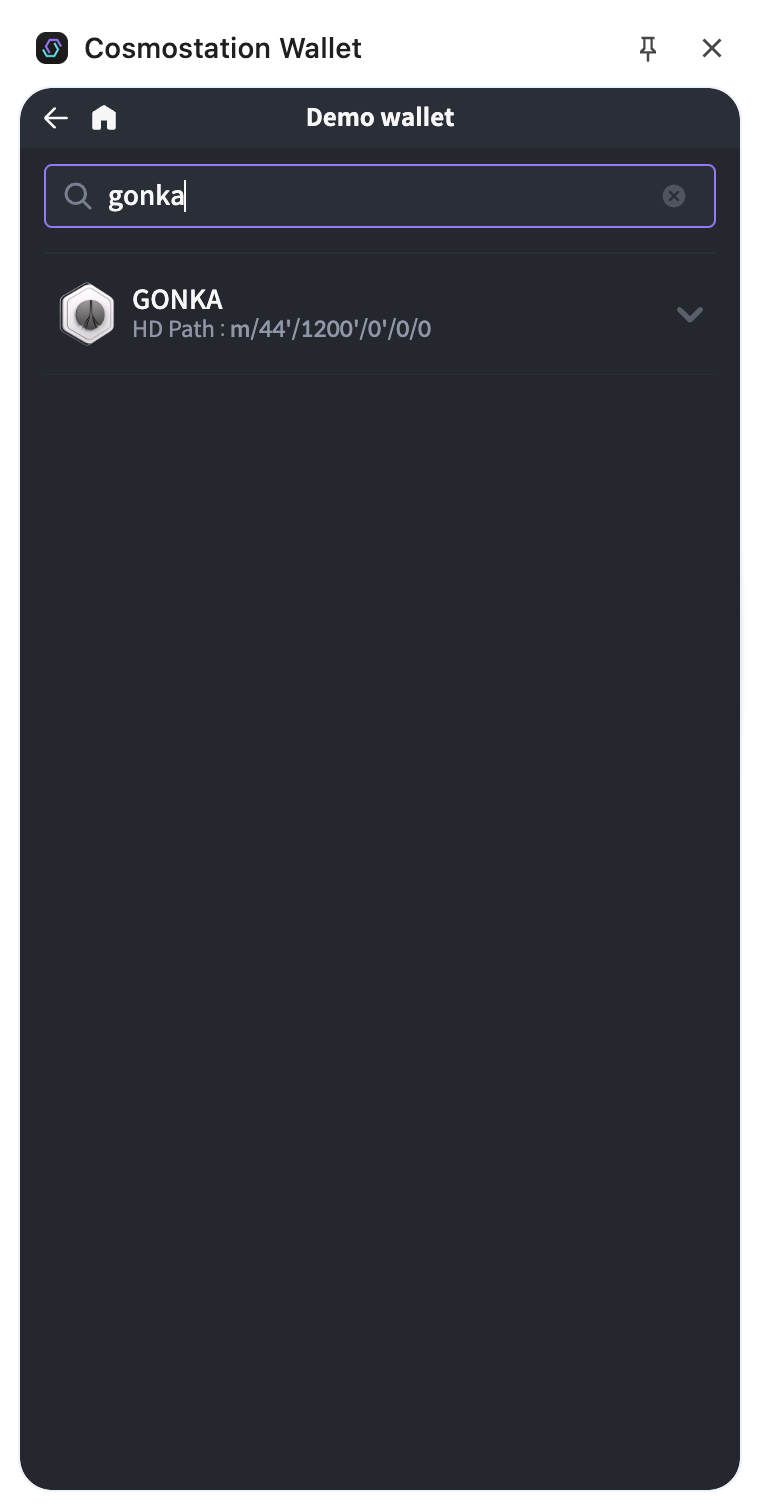
Click on "Gonka" to see the private key. Copy your private key or recovery phrase and store it securely (a hard copy is preferred).
Add private key to the environment variable GONKA_PRIVATE_KEY, or the .env file.
export GONKA_PRIVATE_KEY=<your-private-key>
./inferenced keys list [--keyring-backend test]
3. Inference using modified OpenAI SDK
Limited Transfer Agent Nodes
Currently, the list of nodes that can be used for inference requests is limited. To check the full list of available transfer agents, use:
curl "http://node2.gonka.ai:8000/chain-api/productscience/inference/inference/params" | jq '.params.transfer_agent_access_params.allowed_transfer_addresses'
Active Transfer Agents URLs:
- http://node1.gonka.ai:8000
- http://node2.gonka.ai:8000
- https://node3.gonka.ai
To use the Gonka API in Python, you can use the Gonka OpenAI SDK for Python. Get started by installing the SDK using pip:
pip install gonka-openai==0.2.6
If you encounter build errors, you may need to install system-level libraries
brew install pkg-config secp256k1
With the SDK installed, create a file called example.py and copy the example code into it:
1 2 3 4 5 6 7 8 9 10 11 12 13 14 15 16 | |
Execute the code with python example.py. In a few moments, you should see the output of your API request.
To use the Gonka API in server-side JavaScript environments like Node.js, Deno, or Bun, you can use the Gonka OpenAI SDK for TypeScript and JavaScript. Get started by installing the SDK using npm or your preferred package manager:
npm install gonka-openai@0.2.6
With the SDK installed, create a file called example.mjs and copy the example code into it:
1 2 3 4 5 6 7 8 9 10 11 12 13 14 15 16 | |
Execute the code with node example.mjs. In a few moments, you should see the output of your API request.
To use the Gonka API in Go, you can use the Gonka OpenAI SDK for Go. Get started by installing the SDK using go get:
go get github.com/gonka-ai/gonka-openai/go@v0.2.6
With the SDK installed, create a file called example.go and copy the example code into it:
1 2 3 4 5 6 7 8 9 10 11 12 13 14 15 16 17 18 19 20 21 22 23 24 25 26 27 28 29 30 31 32 | |
Execute the code with go run example.go. In a few moments, you should see the output of your API request.
To perform inference from another language, see the Gonka OpenAI client library repository, and adjust the examples accordingly.
4. Tool Calling
Only type: "function" is supported — vLLM implements the OpenAI chat completions spec, not the Assistants API (code_interpreter, file_search are unavailable).
Define functions and the model will return structured call arguments when the user's request matches — you decide what to do with them.
1 2 3 4 5 6 7 8 9 10 11 12 13 14 15 16 17 18 19 20 21 22 23 24 25 26 27 28 29 30 31 32 33 34 35 36 37 38 | |
1 2 3 4 5 6 7 8 9 10 11 12 13 14 15 16 17 18 19 20 21 22 23 24 25 26 27 28 29 30 31 32 33 34 35 36 37 | |
1 2 3 4 5 6 7 8 9 10 11 12 13 14 15 16 17 18 19 20 21 22 23 24 25 26 27 28 29 30 31 32 33 34 35 36 37 38 39 40 41 42 43 44 45 46 47 48 49 50 51 52 53 54 55 | |
Need help? Find answers on FAQ page, or join Discord server for assistance with general inquiries, technical issues, or security concerns.